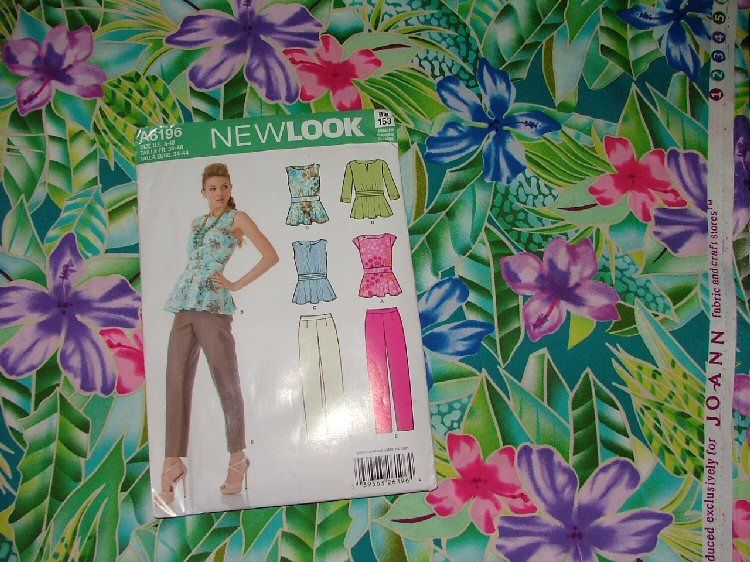
The top will be a peplum top with tiny cap sleeves. The shorts will be a solid color that matches one of the colors in my floral fabric, with trim made of the original fabric, to tie it together as a matched set. I do not have the shorts solid color fabric yet. I'm headed to JoAnn to look. I also need a 20 inch zipper to match while I am there.
For the top, I'll use New Look 6196, View A. Except, I'll finish the front with the slit, like in View C. It will be out of the Hawaiian print fabric, except the Midriff Band. That will be from the Turquoise solid I came home with.
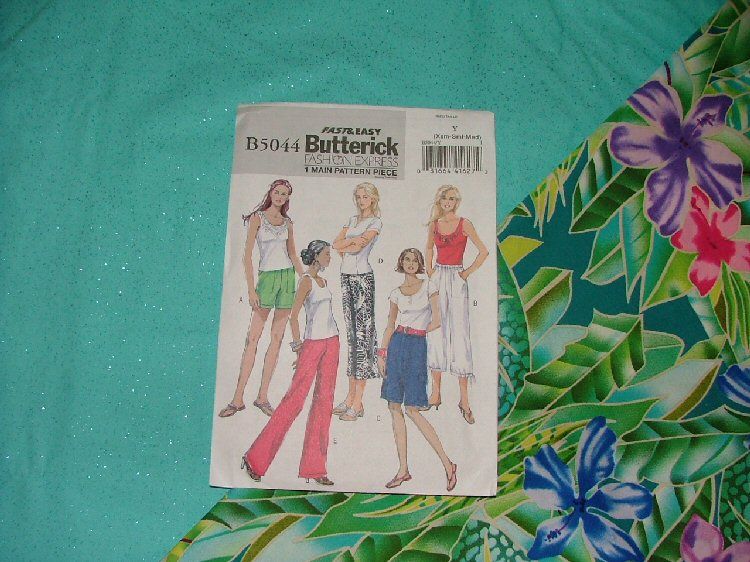
The shorts will be Butterick 5044, View A. I'll add my own little twist to them, to make them totally married to each other! The main part will be Turquoise and the pockets will be from my Hawaiian print.
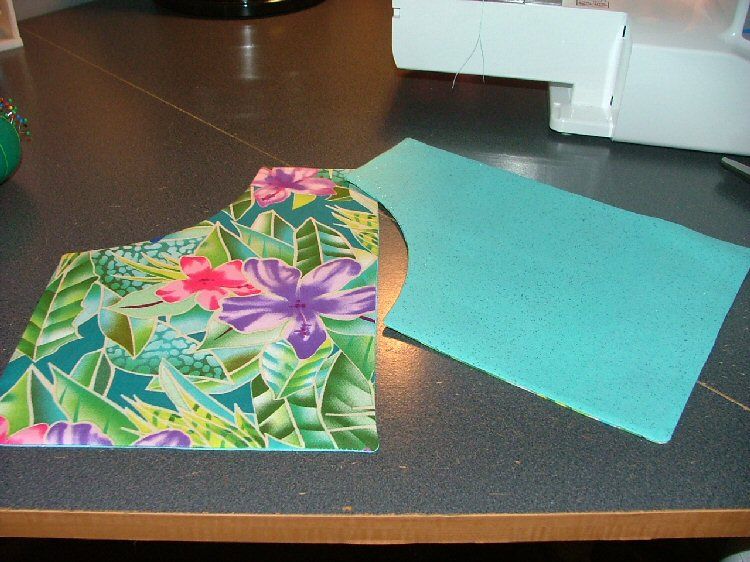
I start by making my pockets.
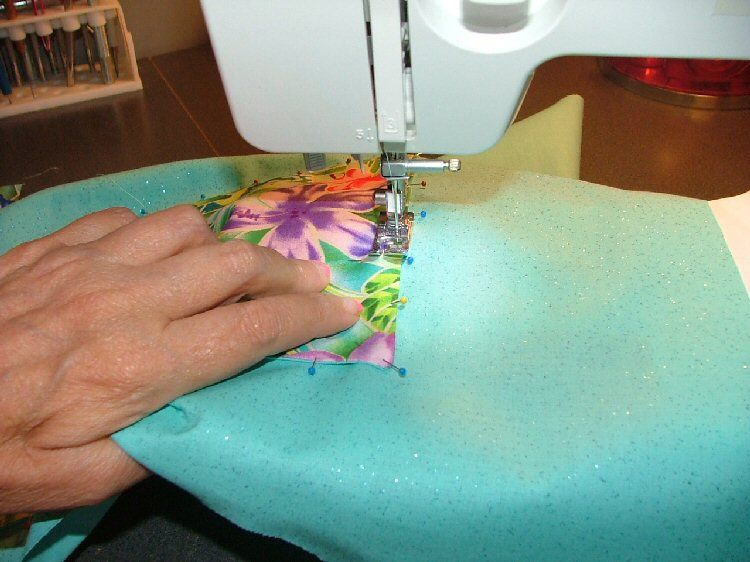
I pin them in place on each side.
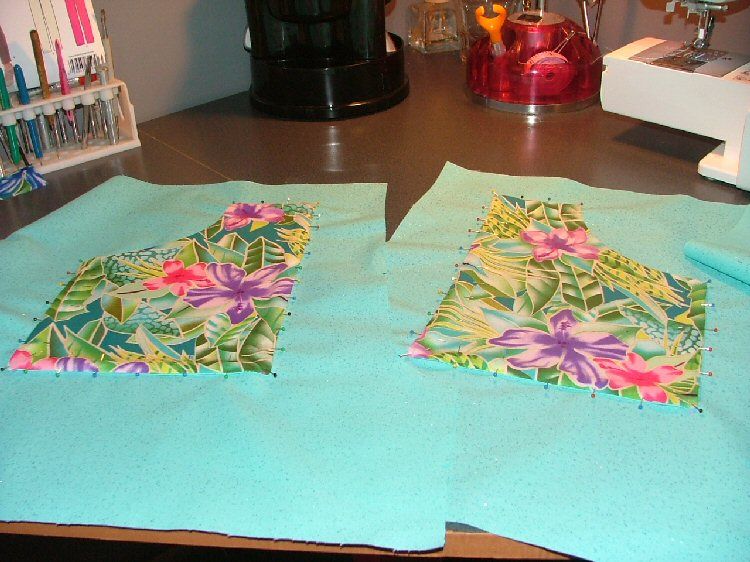
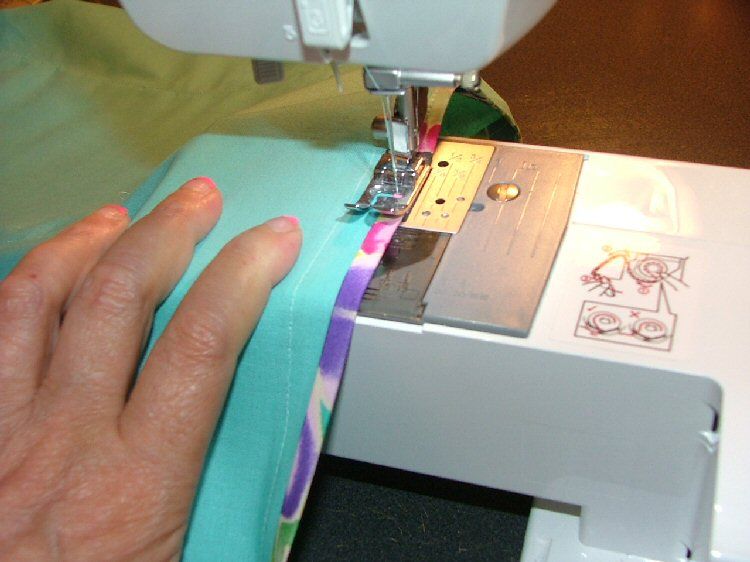
And stitch them on.
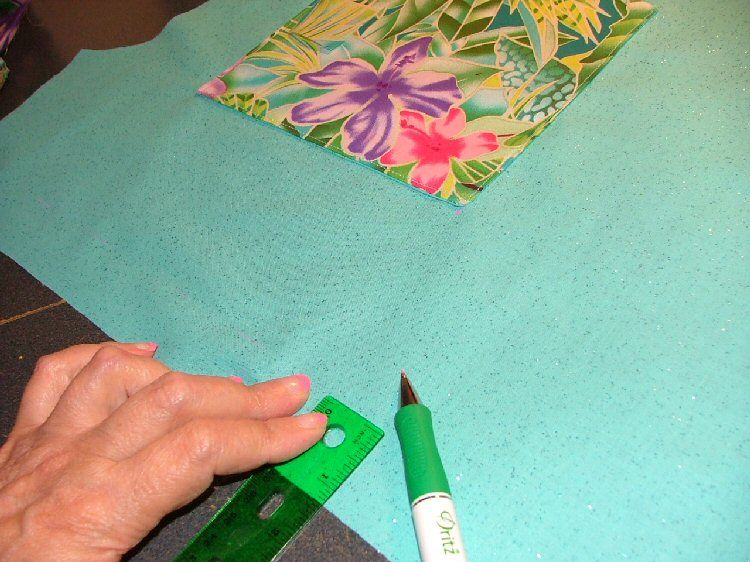
Although my pattern does not call for a cuffed bottom, I decide I want to add one of sorts. It will be a "Faux Cuff", just added for decoration and because I like it. I mark each leg to guide me in the application.
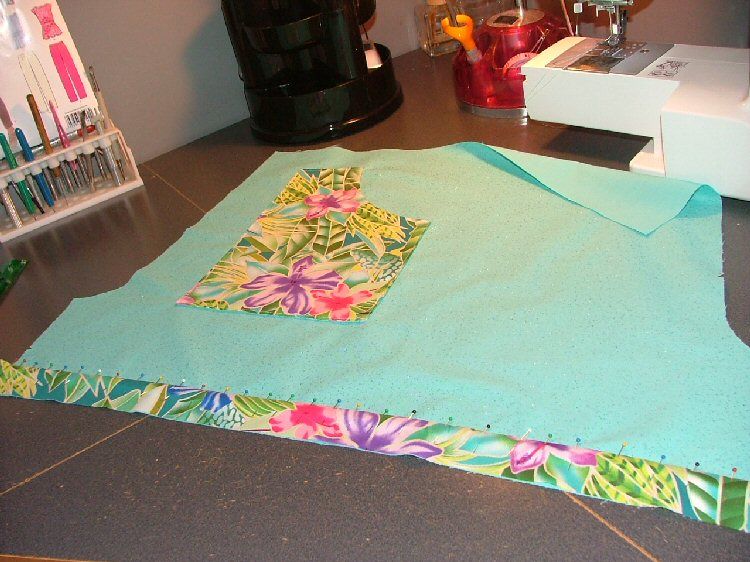
I cut two strips from my print and pin them in place at the bottom of each leg. I sew these in place. I'll hem them later.
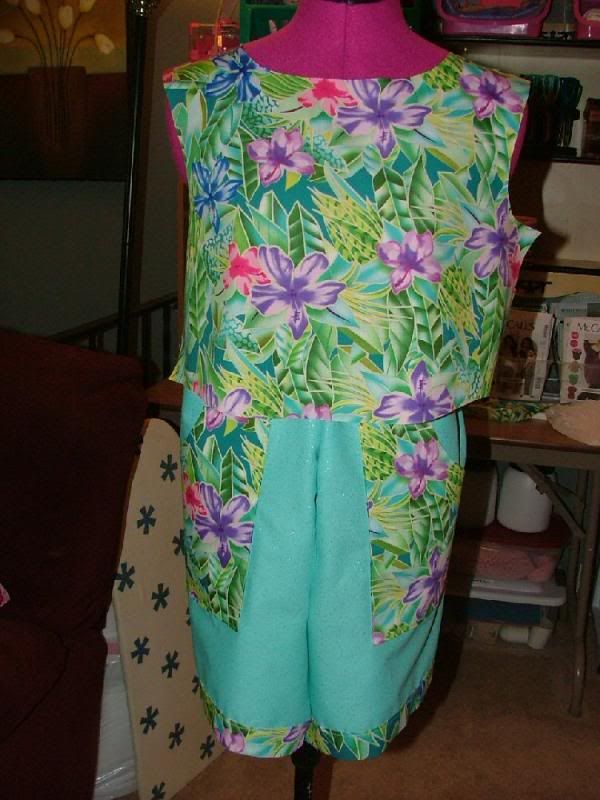
I pin some of the pieces up on my form, to get an idea how it might look. So far, I like it. Now, to finish it!
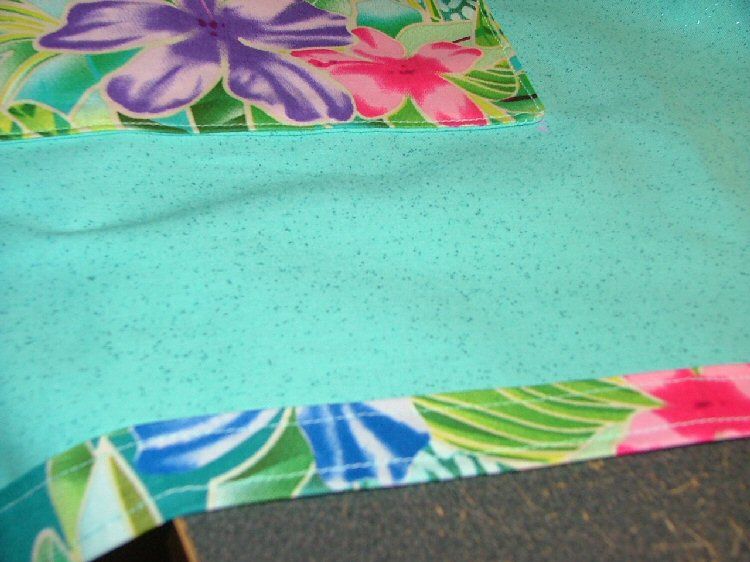
I measure and press my hem. Then, I sew it in place.
It kinda looks like a cuff to me!
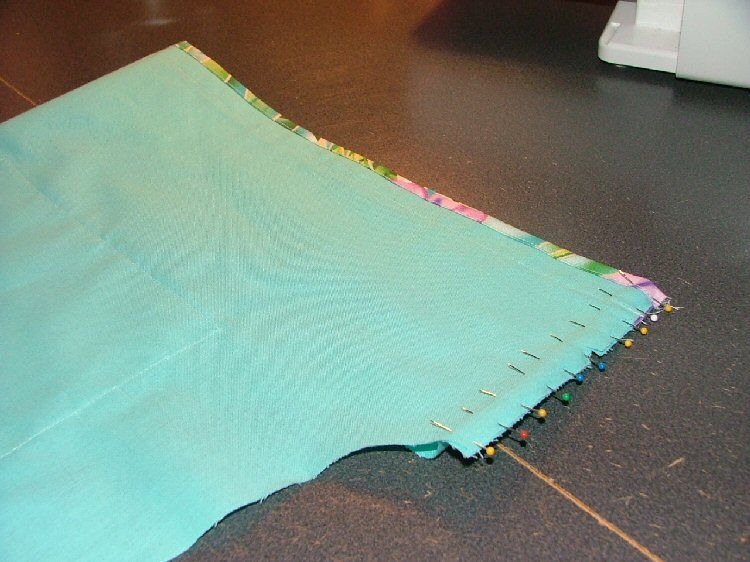
Now to make this into a pair of shorts! I pin and sew each leg at the inseam.
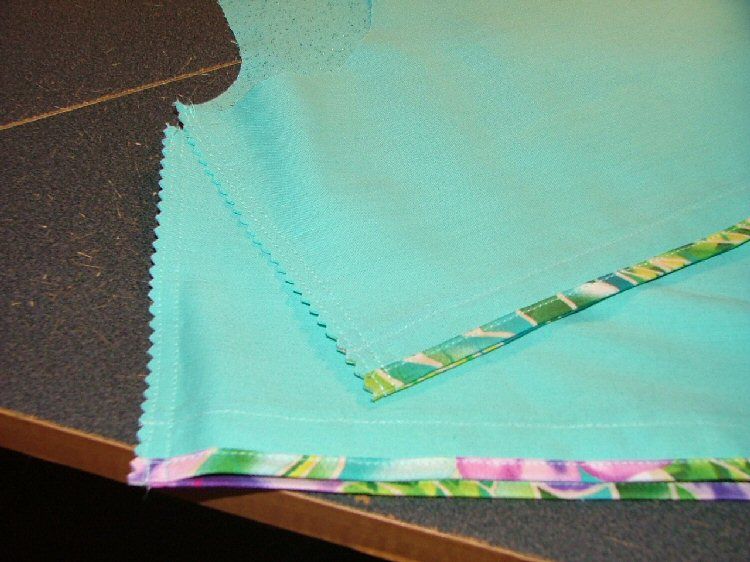
I stitch it again for strength and clean up my edges.
I slip one leg into the other and with right sides together, I pin and sew them around the seat and crotch area.
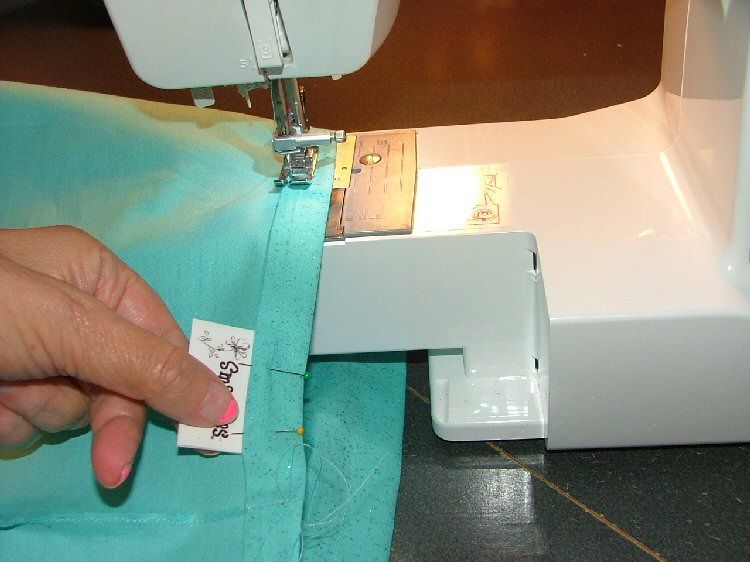
I create an elastic casing at the waist. I add my label here too.
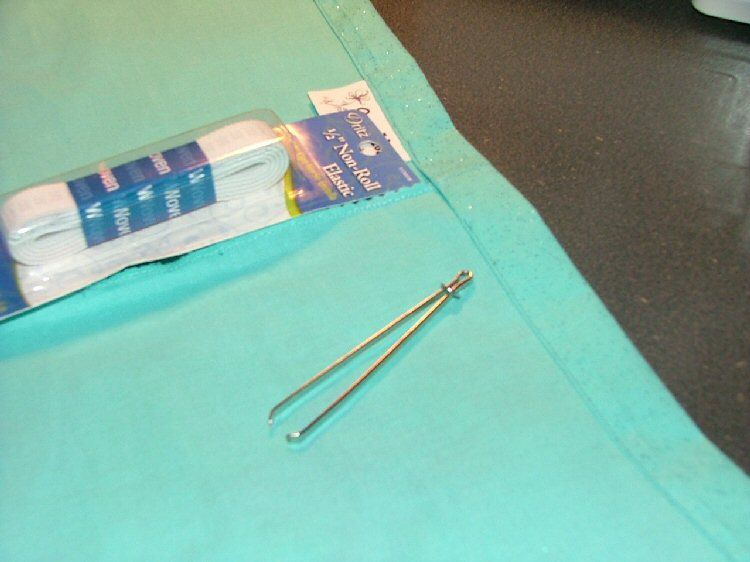
I measure and thread my elastic through the casing. I sew each end together, close up my opening and stitch my elastic in place.
A finished pair of shorts! Mighty colorful, I must admit!
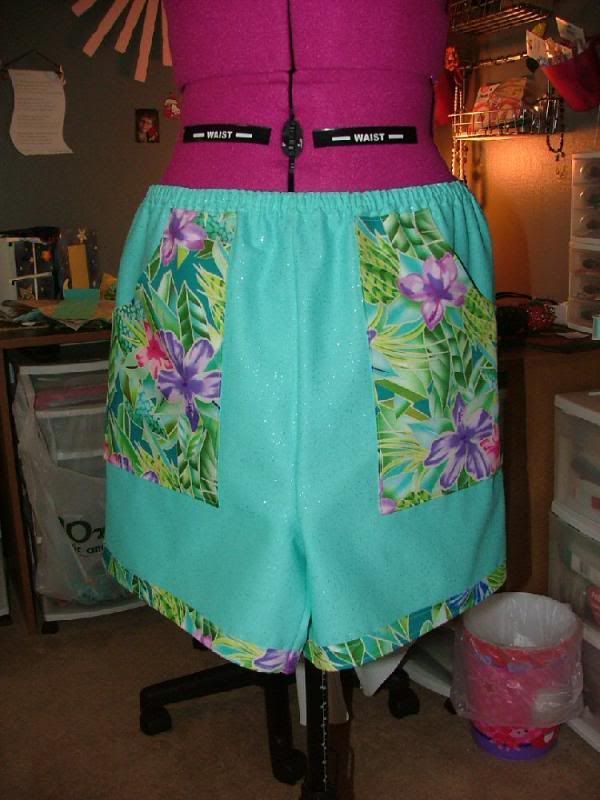
They are just pinned up to mt dress form. They really do have a back side!

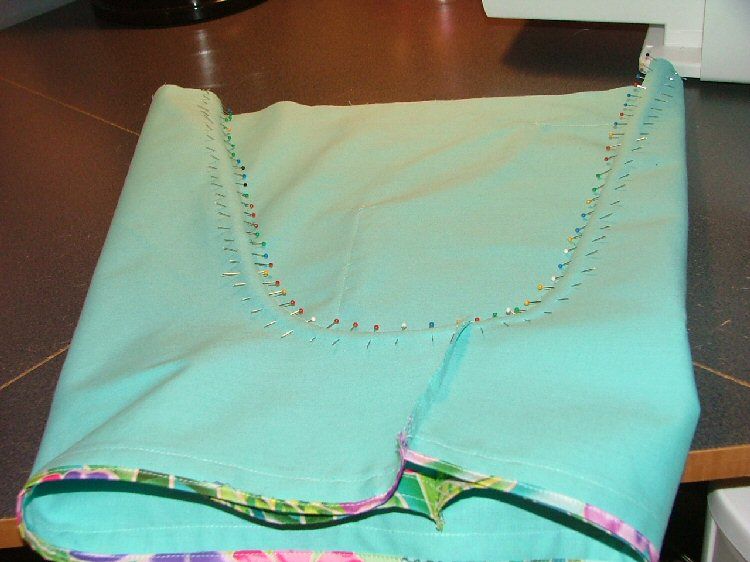
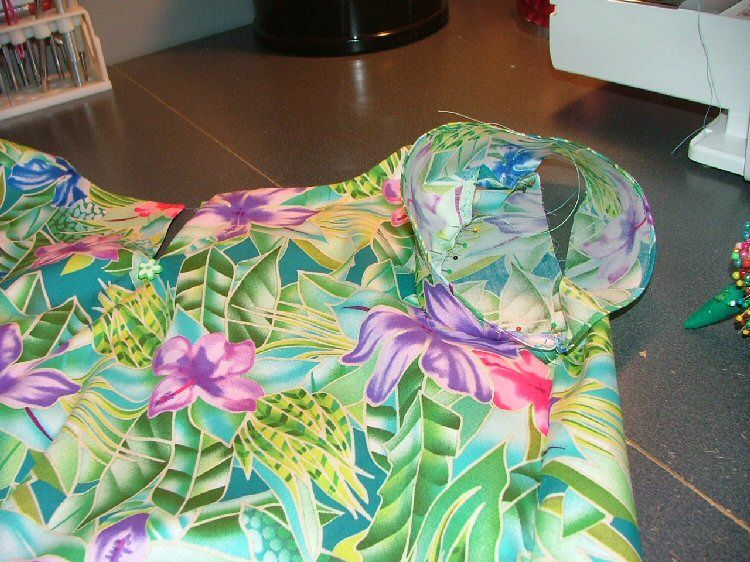
Now, to get my blouse going. I stitch the front and back pieces together at the shoulders. I create my neck facing and pin it in place around my neckline.
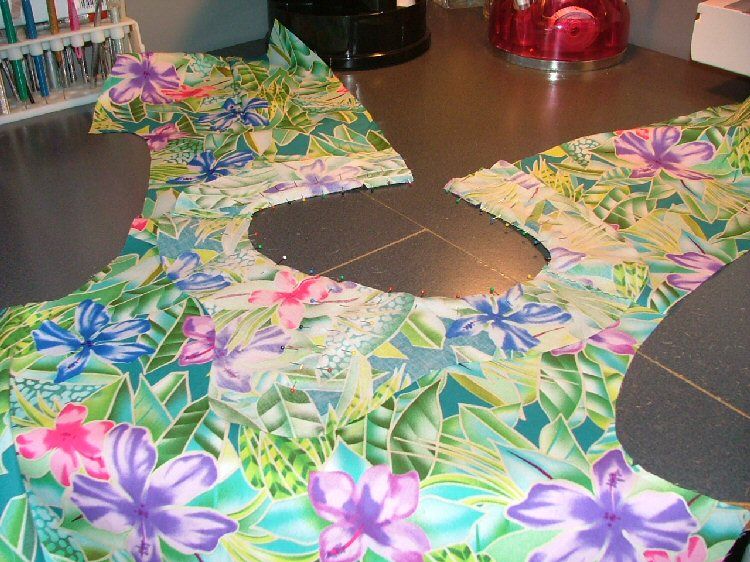
I sew it and clean up all my edges. I also cut a slip opening in the front. I turn it all right side out and press it neatly.
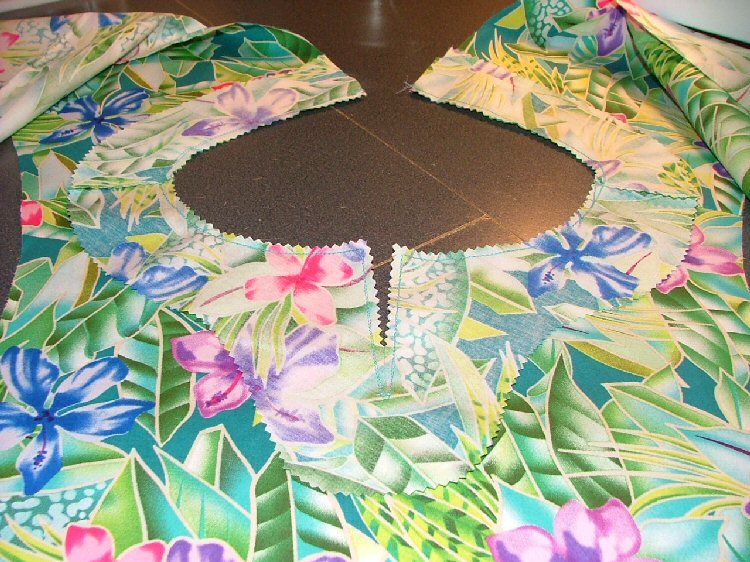
This is what the front slit looks like, after it's pressed.
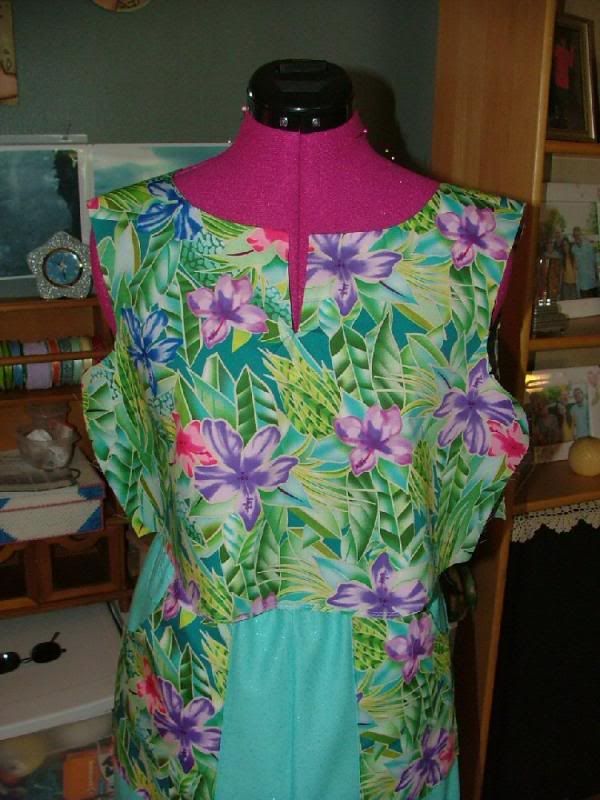
I sew the sides together, attach the midriff band, attach the peplum and hem the bottom.
Almost finished, I add my sleeves.
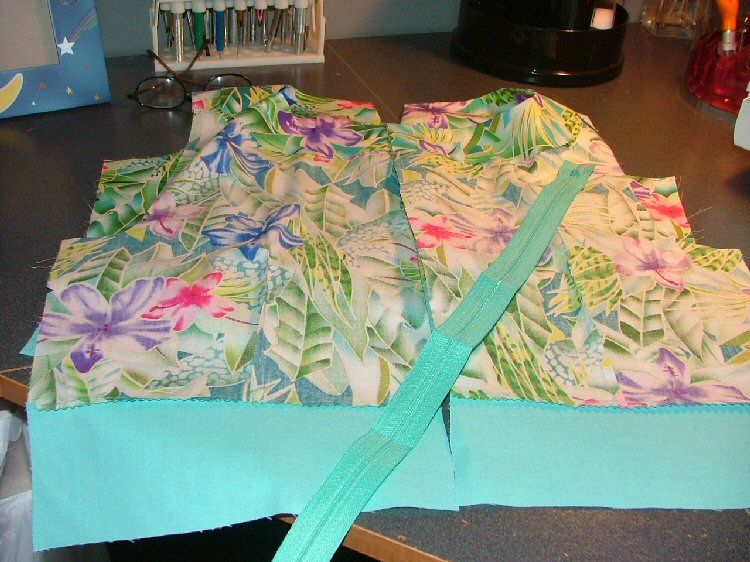
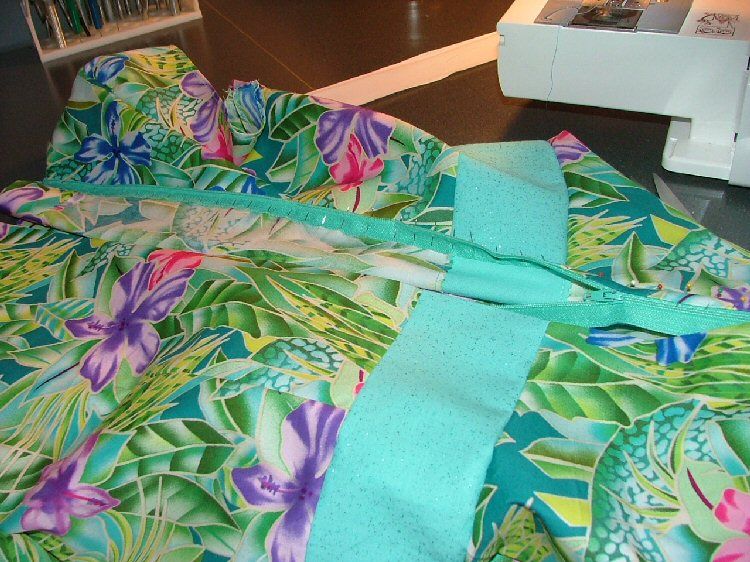
Pinning my zipper in place. This is a 20 inch zipper, it'll go on for days!
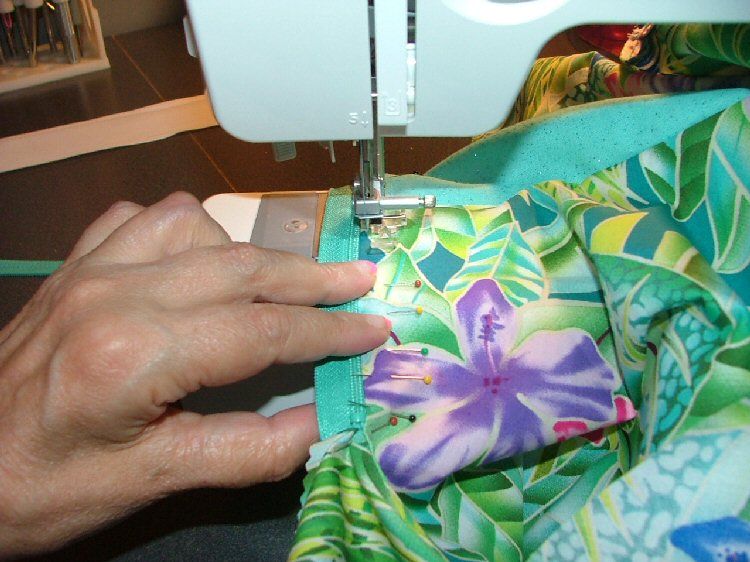
I sew my zipper in.
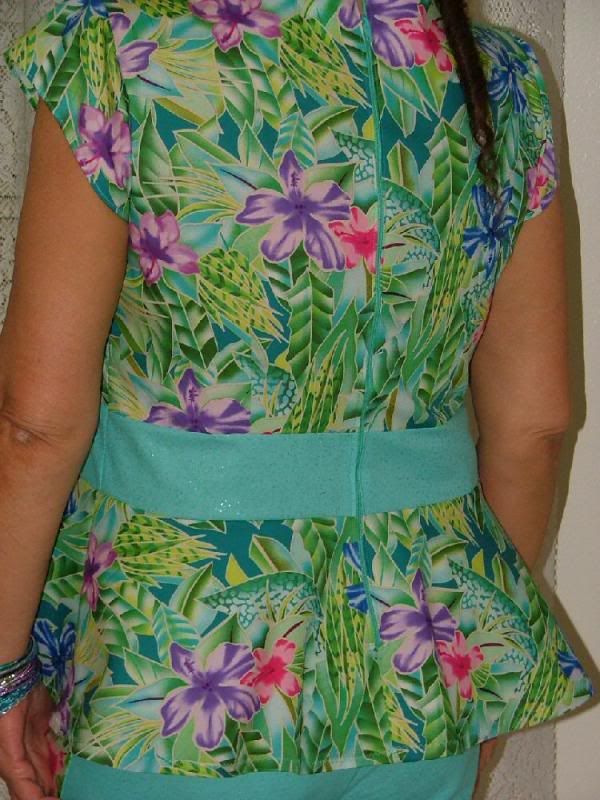
This is how the zipper looks in the back. My bands matched up perfectly! Looks pretty good to me!
My shorts and top together in side, front and back views.

I'll be making these shorts again, in many colors and many prints, I'm sure!
~Originally posted on May 04, 2013, by Stef~
May the Fourth be with you!
No comments:
Post a Comment