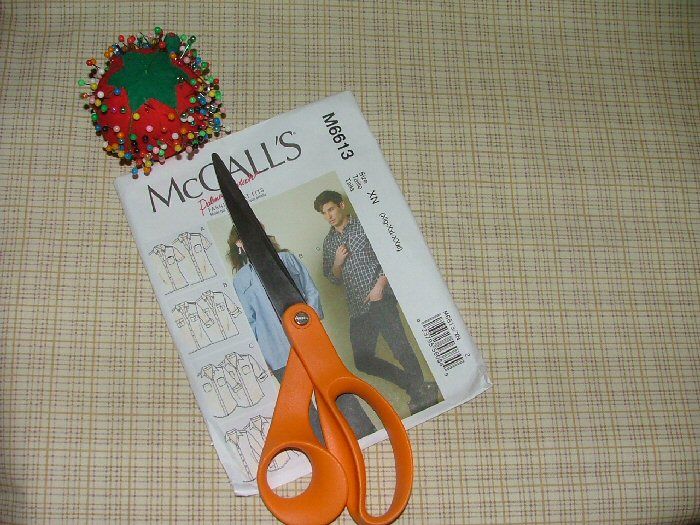
I pin and cut all my pattern pieces. Then I cut out the interfacing. There is one in the collar, collar band and one in each of the front panels. This is where the buttons and button holes will eventually be.
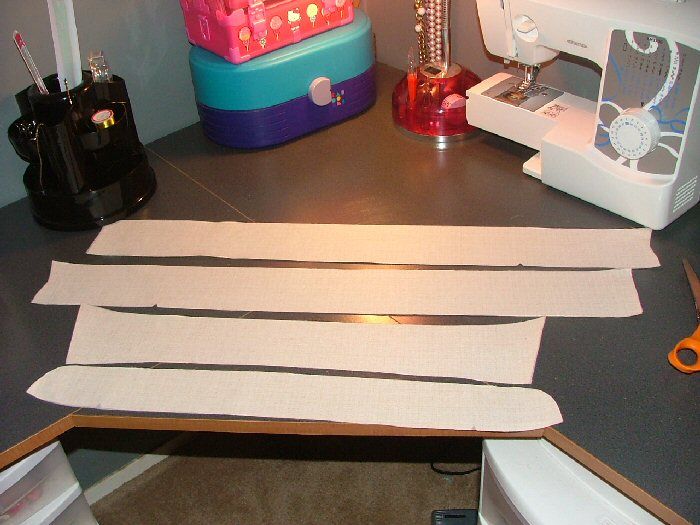
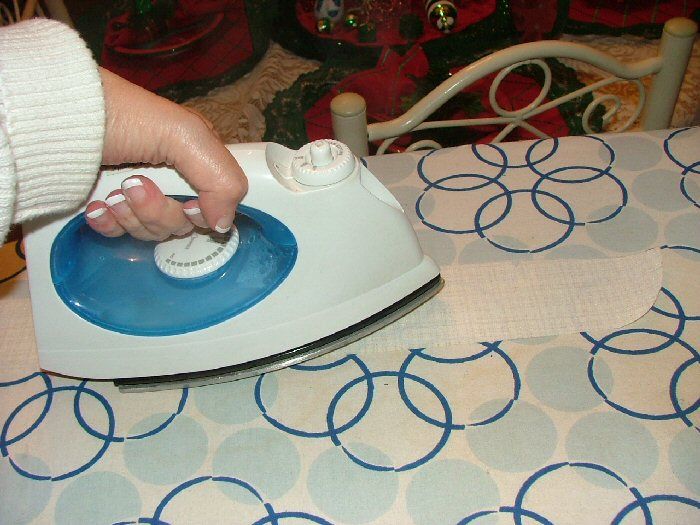
I fuse them all to the appropriate pieces with a steam iron. I'll set them aside and use them later.
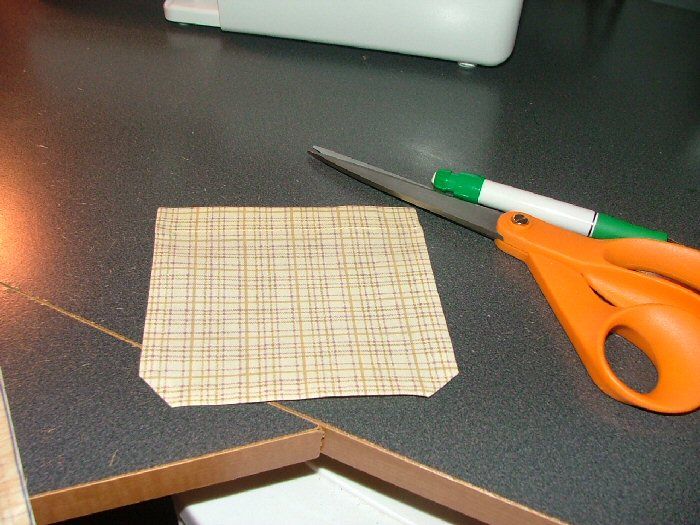
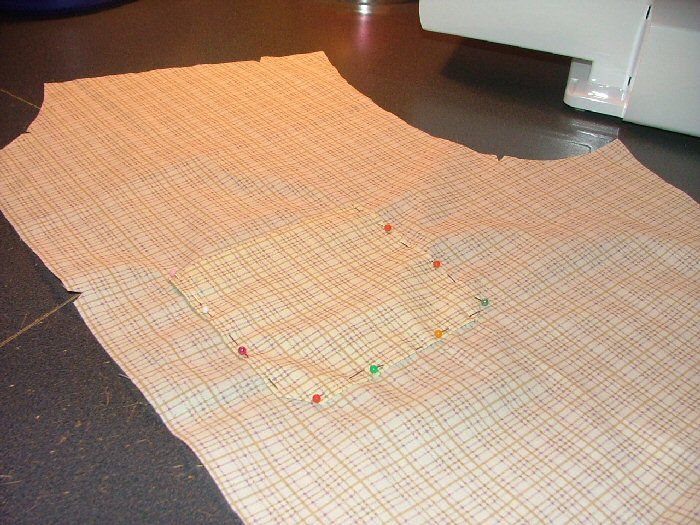
I start with the pocket. This shirt will have just one pocket, on the left side. I finish the top and press the seam allowance in, on the remaining three sides.
I pin it into place on the left front piece.
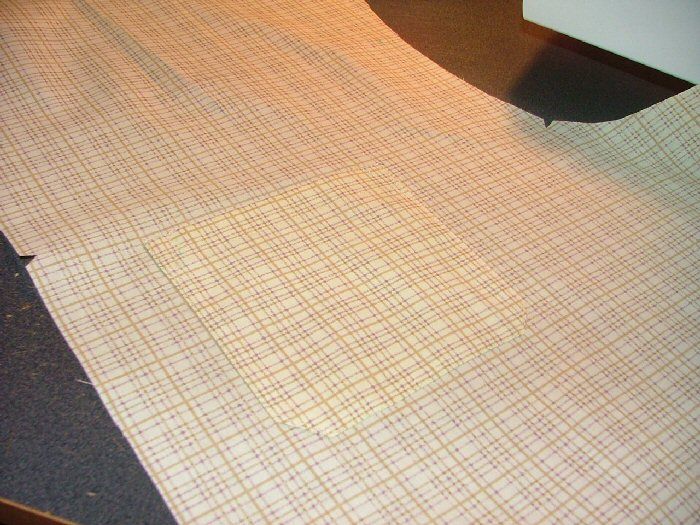
And sew it in.
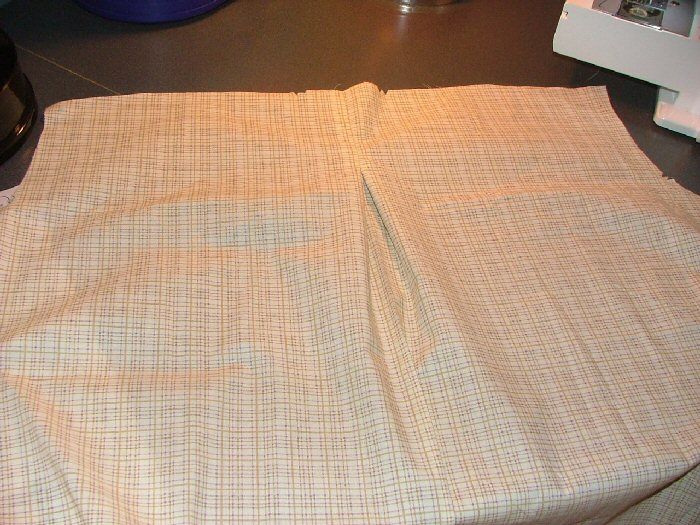
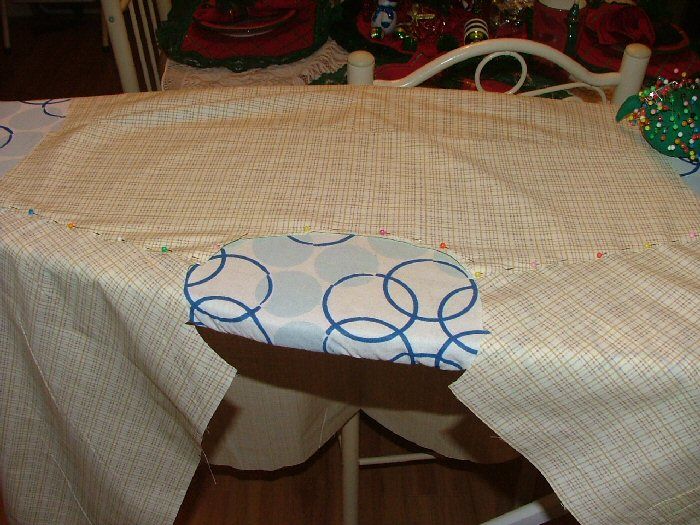
Next, I make a pleat in the center of the back.
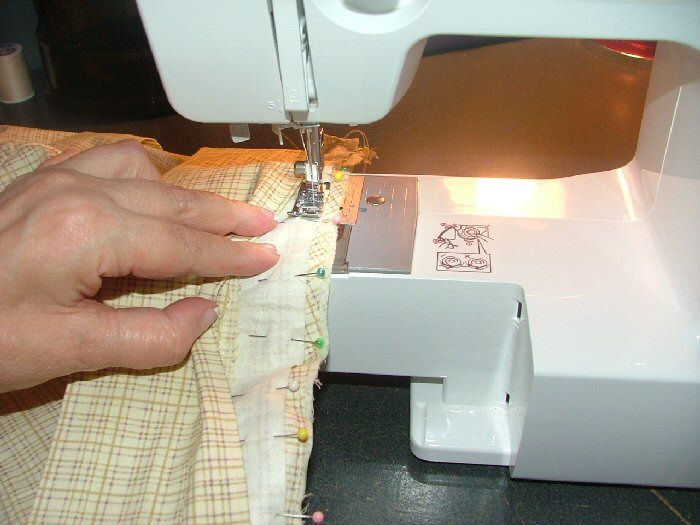
I pin the yoke pieces in place, on both sides of the back and sew them into place.
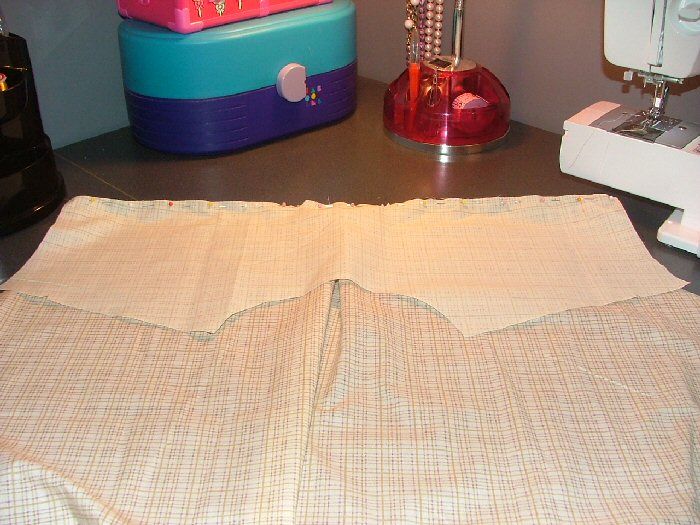
I press it flat and enclose my seams inside both yoke pieces. I pin it and get ready to sew it.
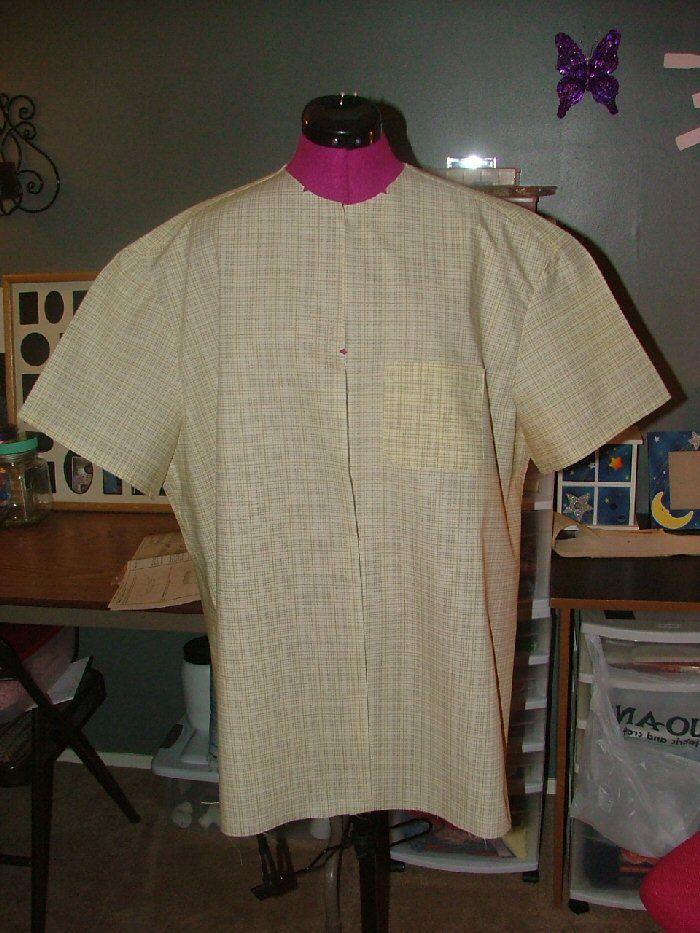
It's starting to take shape. Next, I'll sew the side seams together and neaten up my seams to prevent fraying.
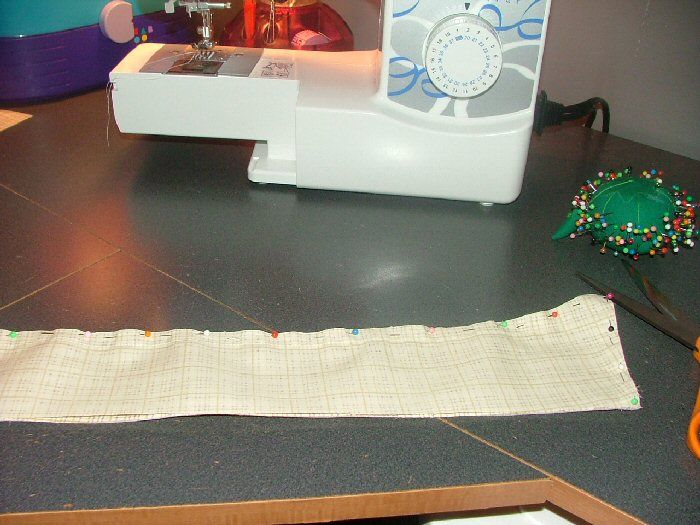
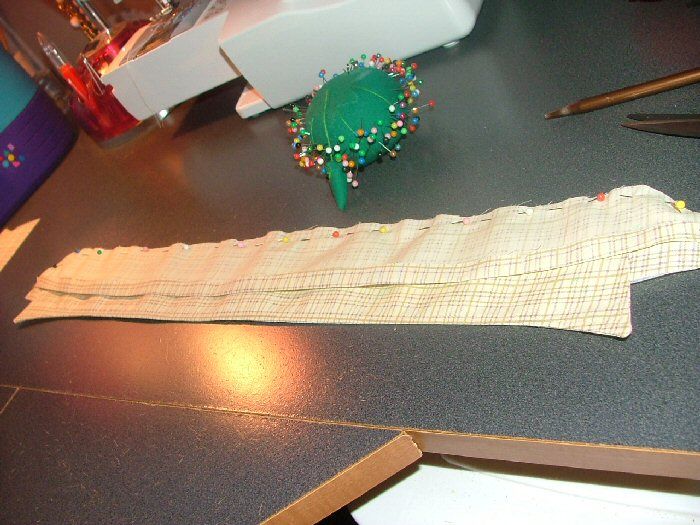
I get the sleeves ready. I hem them before I even think about adding them to the shirt, it's so much easier that way!
I pin them in place and stitch them. I also neaten up the seams.
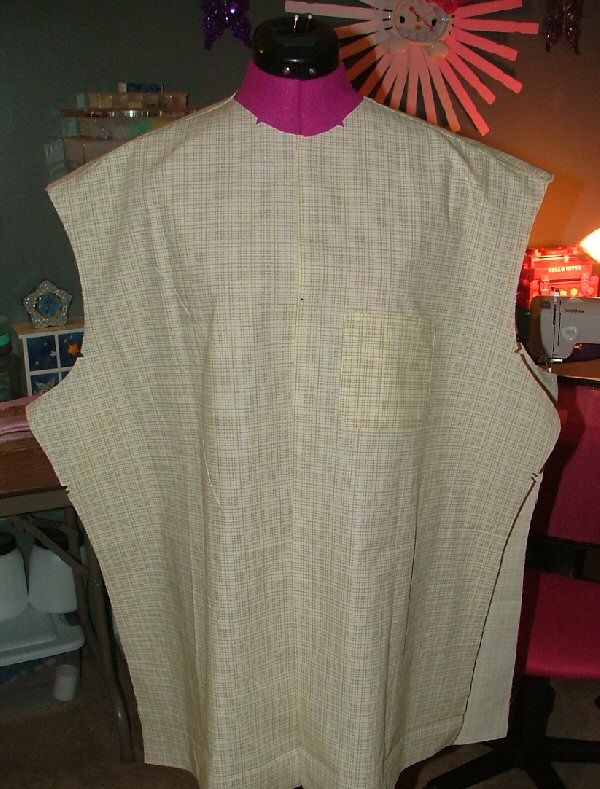
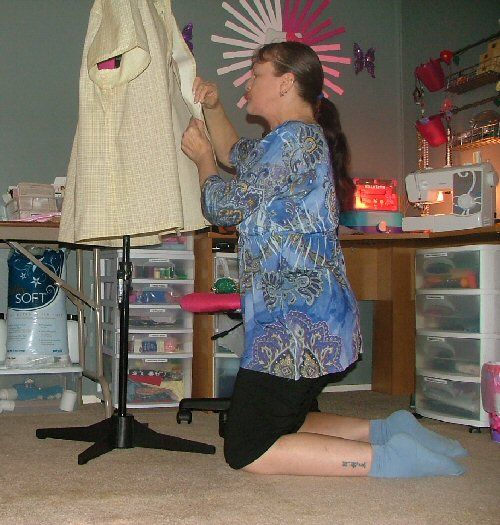
Now, I'll add the front panels.
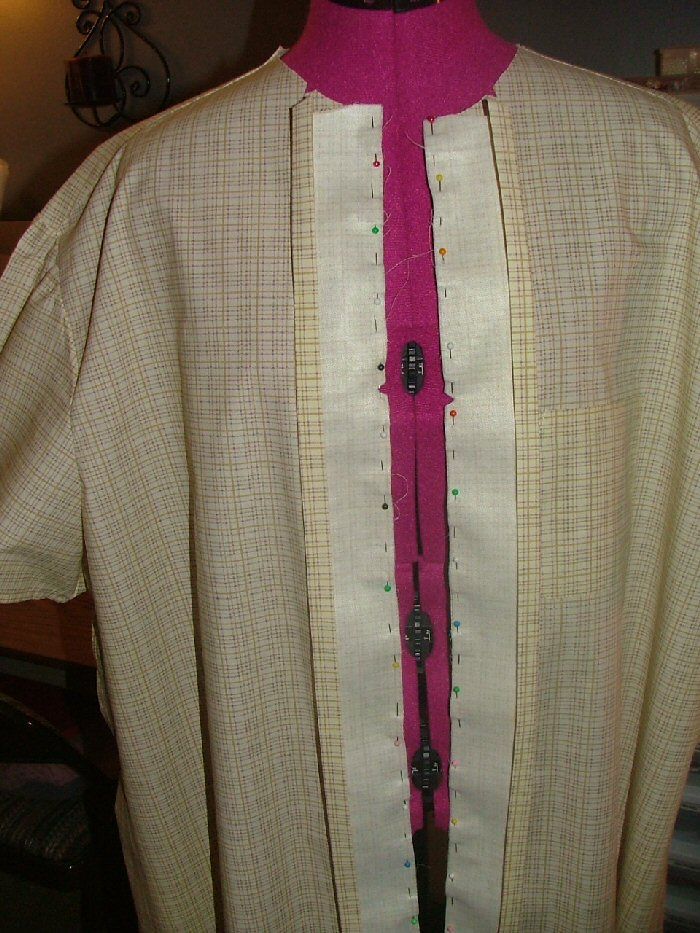
It is easy to pin them in place while it is hanging on my dress form.
Now to sew them on and turn it into an actual front of a shirt! Once they are sewn on, I'll trim and press the seams. Then, I'll fold the already pressed edge over, to cover the seam. It will be stitched in place and I'll baste all around the outside, about 1/4 inch. This is where I'll add the buttons and button holes. I do that last!
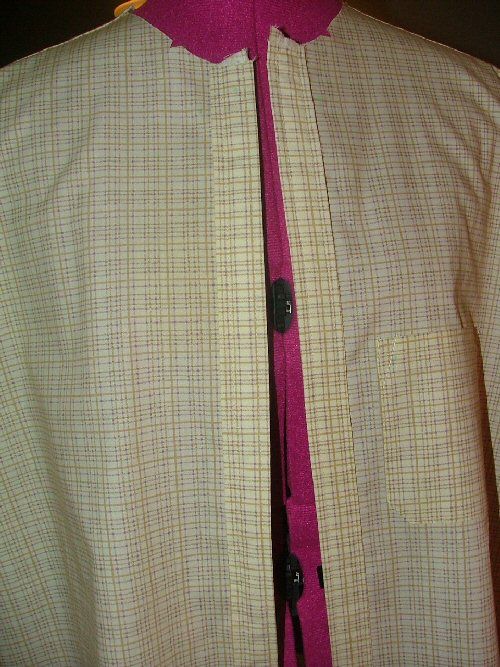
The finished front.
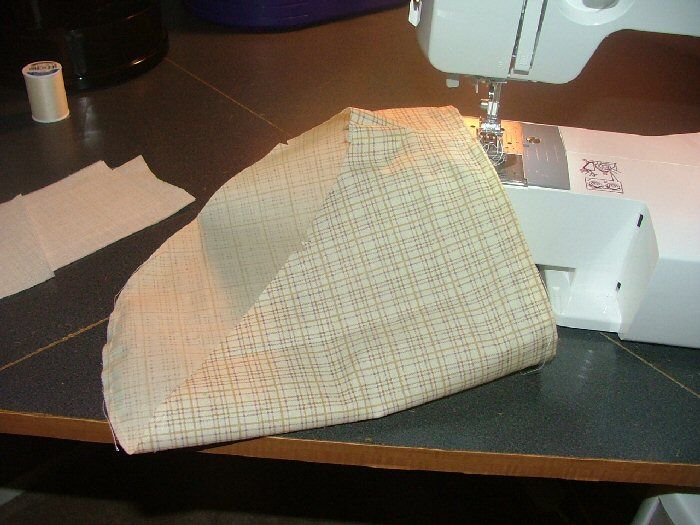
Now, to construct the collar. I pin my right sides together and sew three sides, leaving the bottom open. I turn it right side out and press it. I also add a top stitch around the edge, about 1/8 inch.
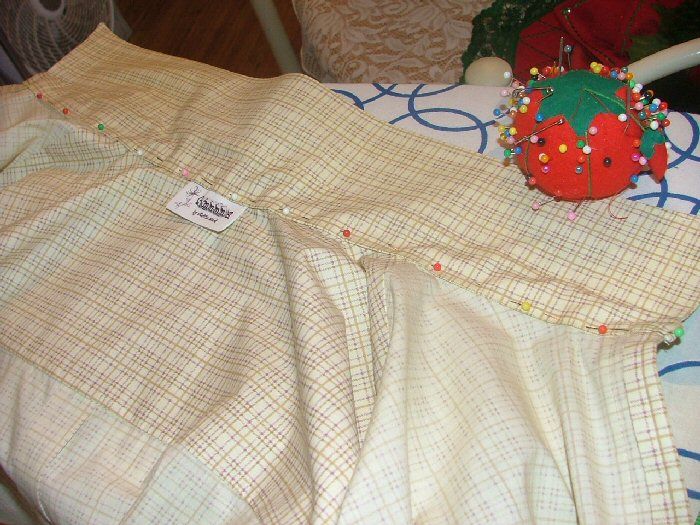
On the bottom edge of my collar, I pin the collar band pieces, keeping right sides together.
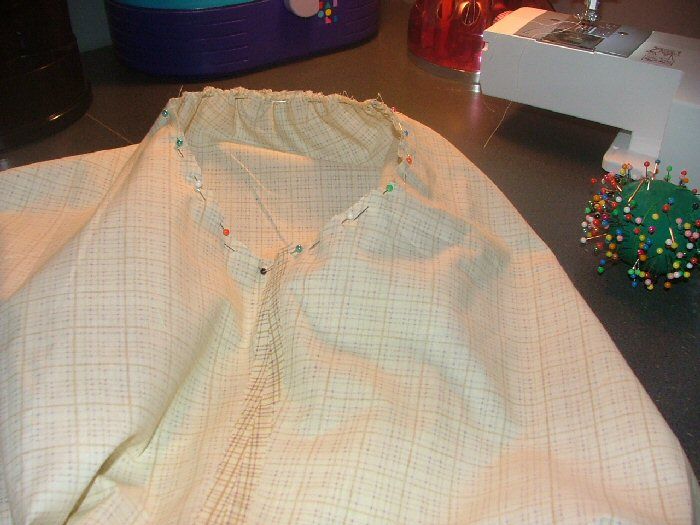
I turn this out, press it and baste it to keep it secure. All that is left is to attach the collar to the shirt and some finishing touches. I pin the collar to the shirt, make any adjustments and sew it in place. I had already pressed the inside edge and hold it out of the way. I don't want this sewn in place yet.
Once the collar is sewn on, in the back, I turn it over, clean up the edges and enclose the raw seam under the already pressed edge in front. I pin it in place and add my label. I sew it very close to the edge and my shirt is finished. All that remains is adding button holes and buttons.
I mark and create my button holes on the left side, because it's a man's shirt.

I measure and mark for button placement and then hand sew them on.
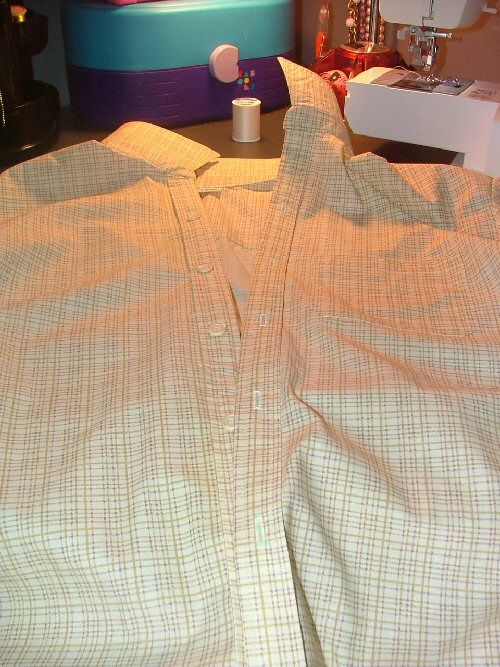
Looks like a decent shirt to me. I sure hope Rick likes it. =D

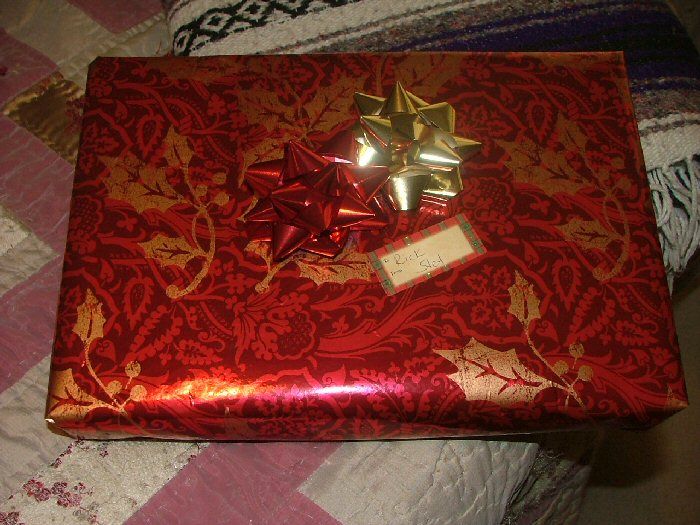
All wrapped and ready for Christmas morning.
Now, I can relax a little. I really want to make myself a simple white blouse to wear with my new black and white pants and vest. I think I'll go start that now!
Update: Rick, wearing his new shirt on Christmas Morning...

Originally posted on December 18, 2012, by Stef.
No comments:
Post a Comment