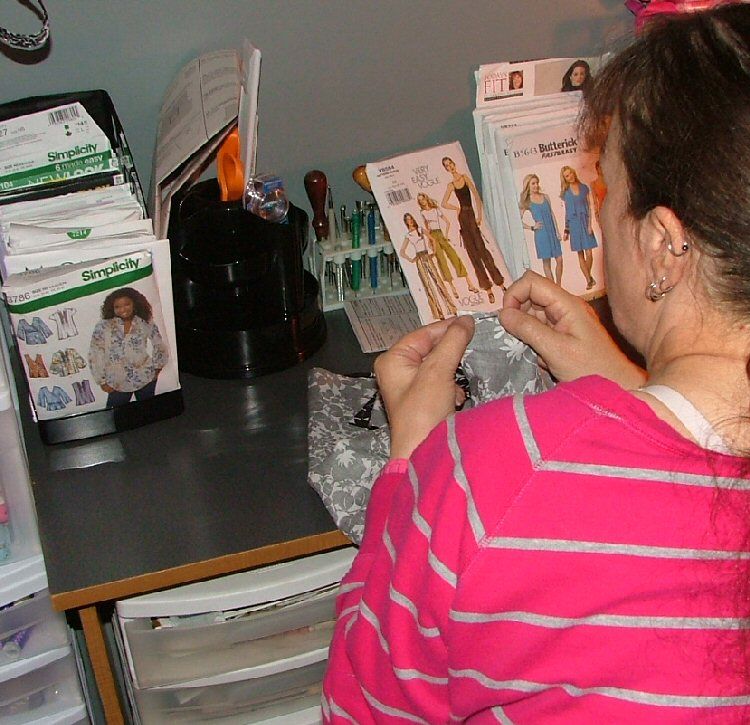
I'll start with the small details. That way, when I get to them, they're ready. First, the pockets. My pockets will have drawstring like ties. I start by adding button holes to the pocket fronts. You'll see where I'm going with this in a few pictures.
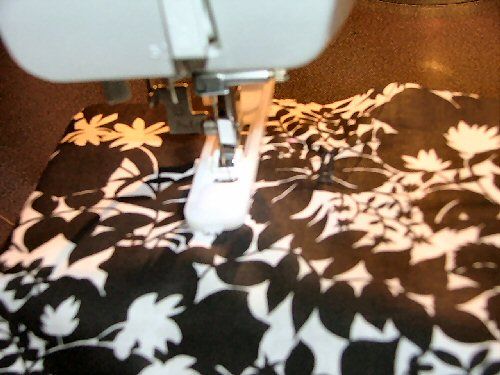
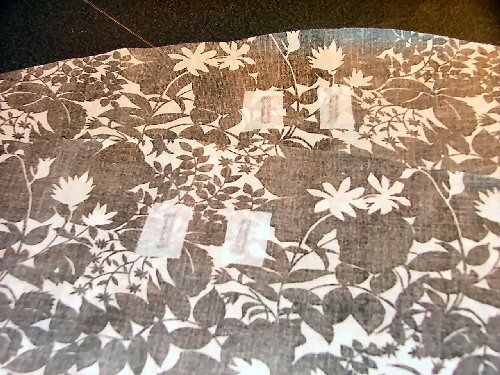
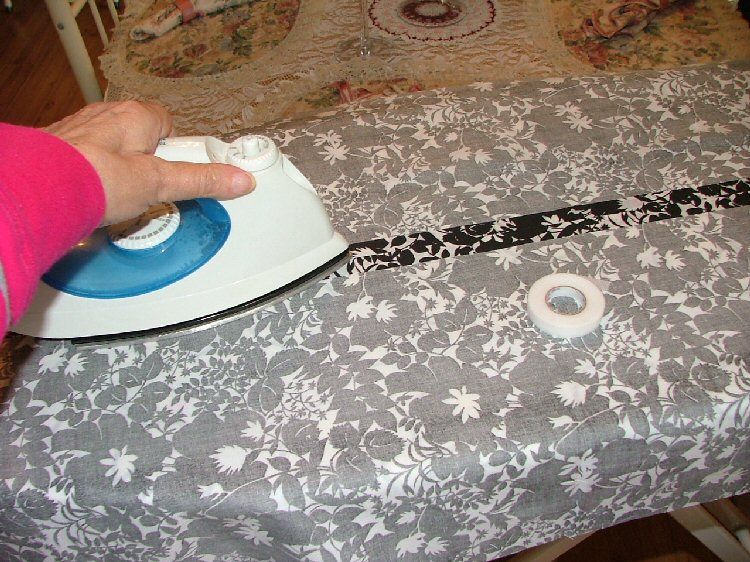
I use a bit of fusible web and reinforce the button holes, on the back of the fabric.
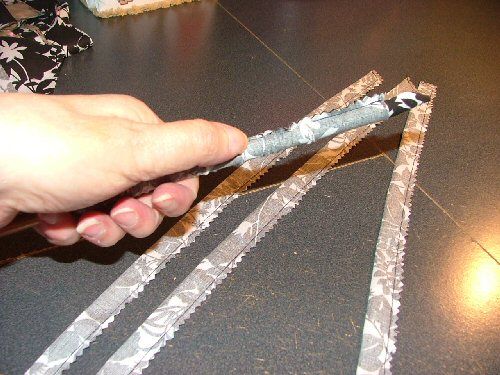
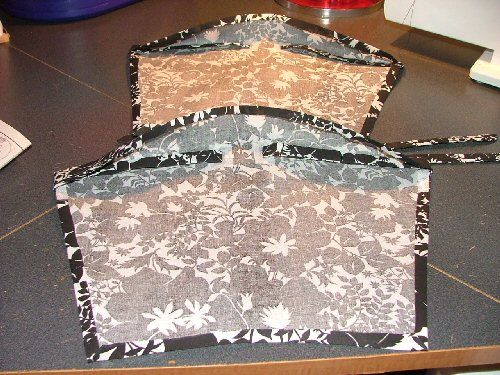
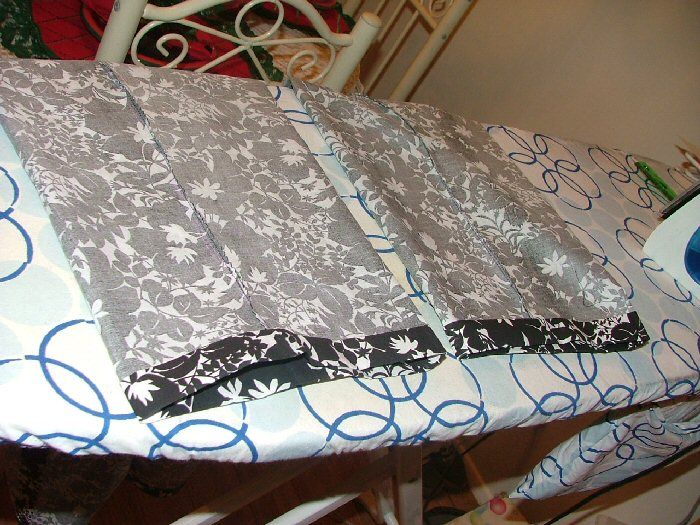
I cut 4, 11 inch pieces of fabric, 2 inches wide. I press them in half, with the right side in. I'll sew a 1/2 inch seam around three sides of each.

I use a knitting needle to turn them all right side out. I trim the seams with my pinking shears.
I thread my ties through the button hole openings. I baste the unfinished ends to the seam allowance of the pockets.
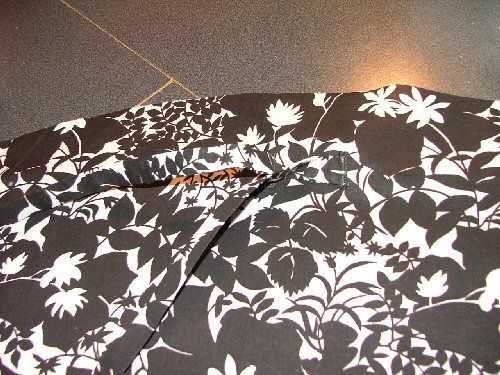
I press a 1/4 inch seam at the edges and miter the bottom corners. I'll sew the top flap over, encasing the and hiding the ties.
The front of the pocket. I'll set it aside and work on something else now.
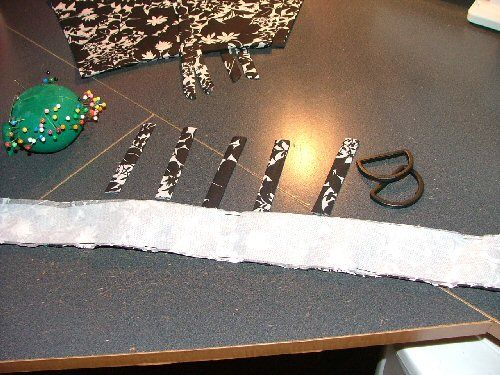
I'll make the belt and belt loops next. To make the belt loops, I simply cut a length of fabric, 1.5 inches wide. I sew it all along one edge, trim it and turn it right side out. I press it, keeping the seam in the center of one side. I then cut it in 3.5 inch sections. These will be added later and I set them aside too. For the belt, I cut 2 lengths of fabric, 3 inches wide and press fusible interfacing to the back of one piece. With right sides together, I then sew both pieces together on 3 sides. I trim my edges close with pinking shears.
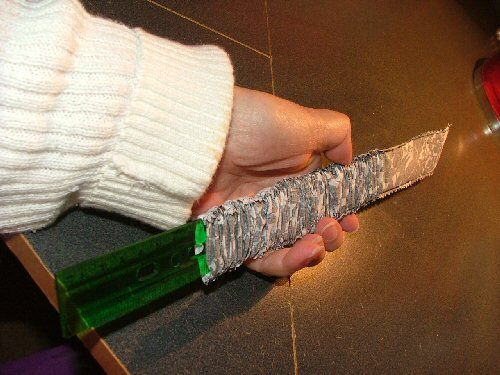
My ruler is the perfect size to help me turn it right side out. I press it flat and return to my sewing machine.
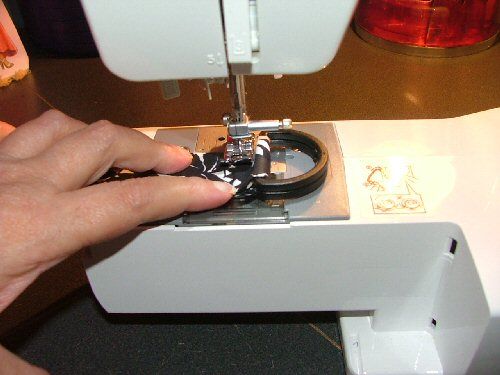
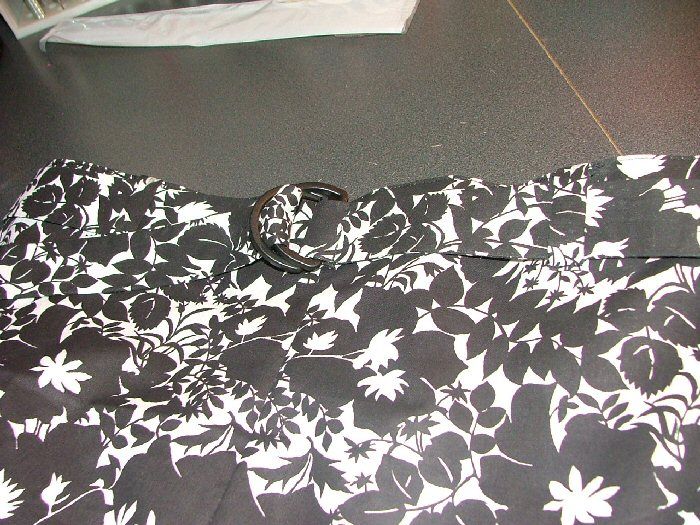
On the unfinished end, I feed the belt through 2 Black "D" Rings. I fold it over and sew it close, to secure the "D" rings.
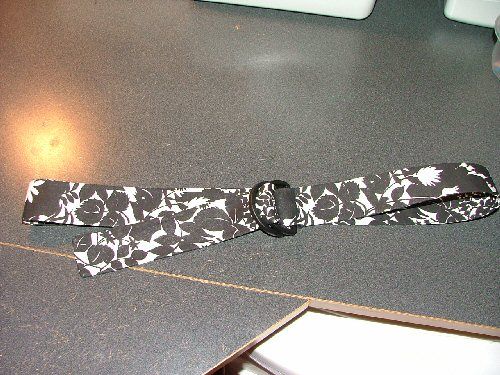
To tie it, I thread the end through both "D" rings, over one and back through the other. I like it.
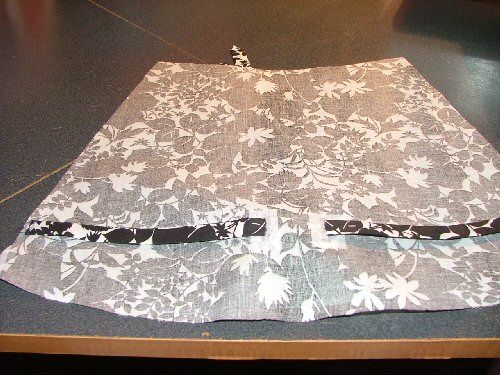
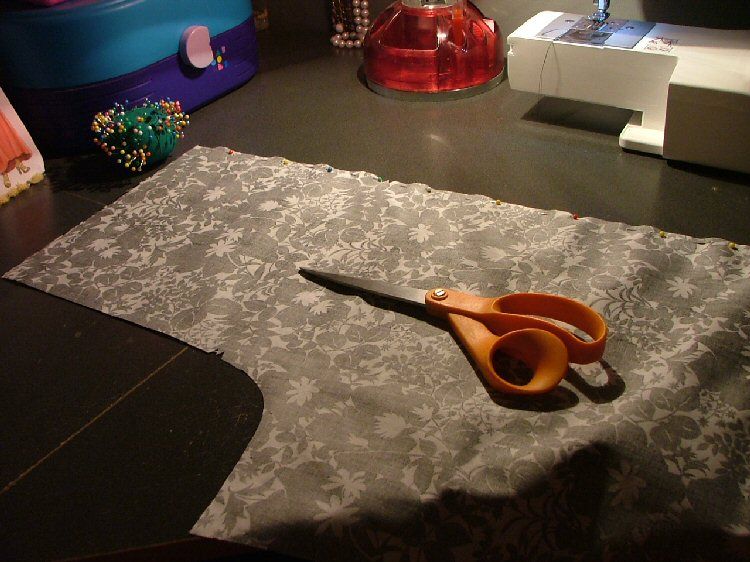
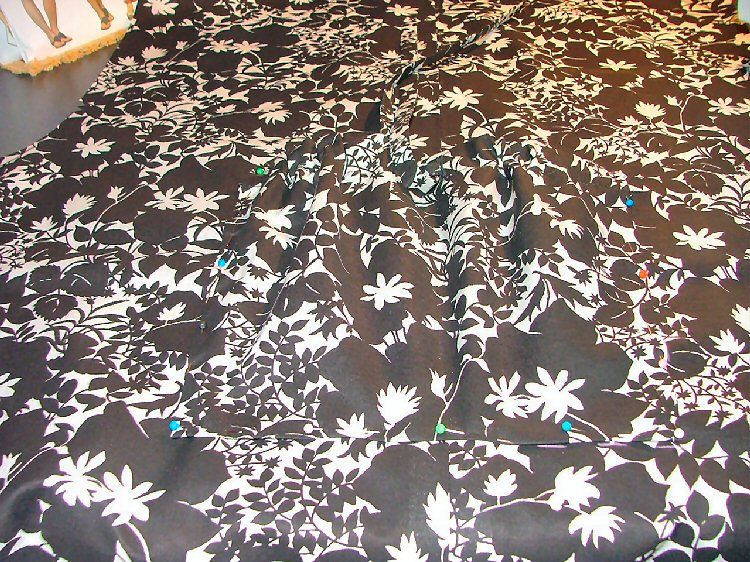
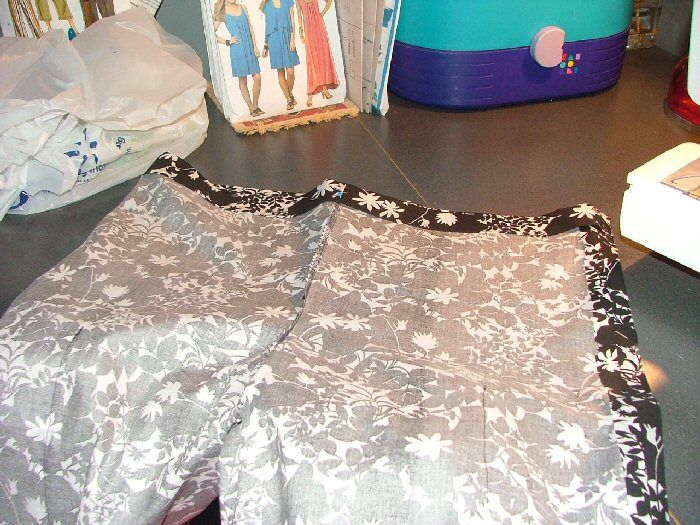
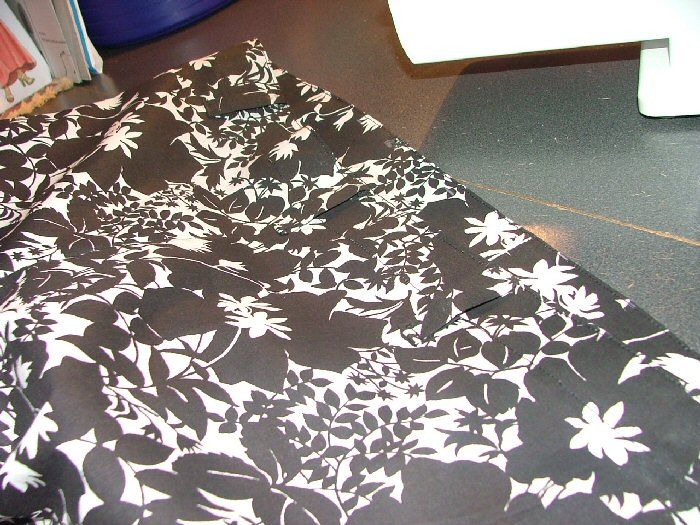
Now to actually make the pants, to add these pieces to. First, I make sure all my markings are transferred to my fabric. It would be a drag to try to place pockets and belt loops, if I just try to eyeball it all. I start by sewing the back to the front, at the side seams. I'll sew the inseams and crotch later.
I clean up my seams, press them flat and add fusible interfacing to keep them neat and prevent any fraying of the edges.
Now, the fun part! I pin my pockets in place on the side seams and sew them. I do this for both legs.
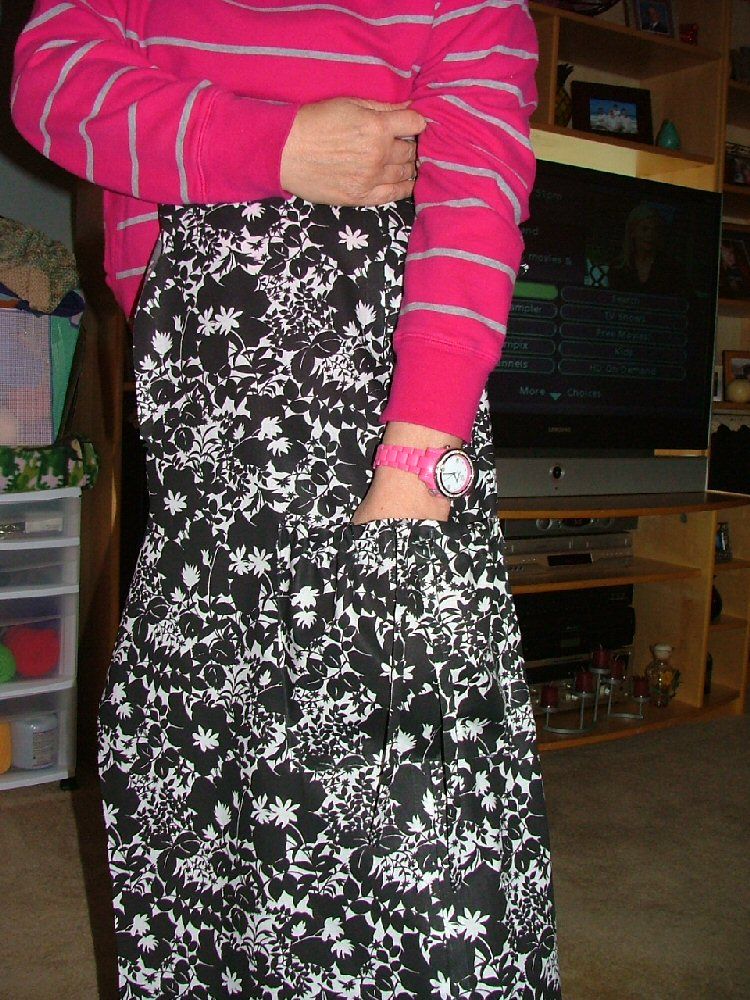
My finished "Cargo Pocket". I like the draw string. I'll probably tie it in a nice bow when I'm wearing them.
I pin the legs together at the inseam and get ready to sew them.
I try one leg on to adjust where I want my seam. I do not want them tight, but I don't want them baggy either. I change where I'll seam it, they were a bit too loose. I sew the sides together at the inseams and crotch. They are almost pants! I clean up my seams.
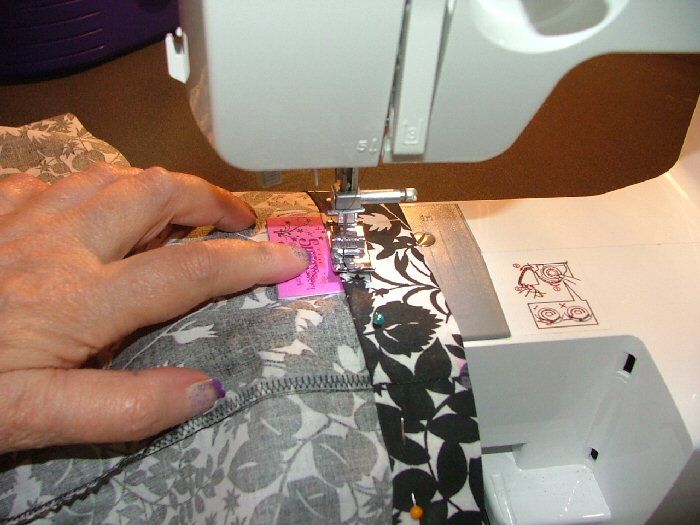
I press a .5 inch fold in the waistband. I add fusible web here and press it in place to prevent fraying. I then press the waistband over to form the casing. I sew it in place, leaving a opening in the back, a couple inches long. I'll add elastic here, later...maybe!
I sew my custom Fashion Label in here, as well.
Now, I'll add the belt loops.
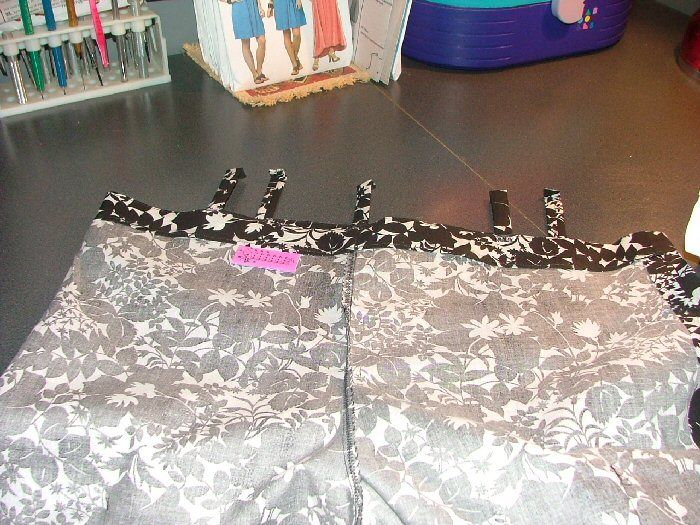
Finished belt loops.
The belt meets it's pants!
I press the hem on each leg, then sew it. Later, I may add elastic there, as well.
Look like finished pants to me! I still may go back later and add elastic to the hem on the legs. It depends what shoes I want to wear it with. It will probably stay as it is.
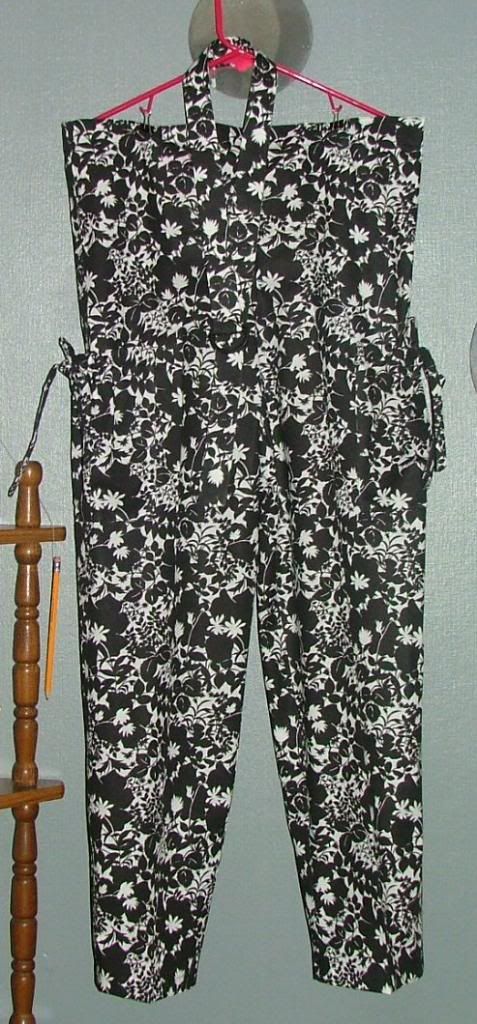
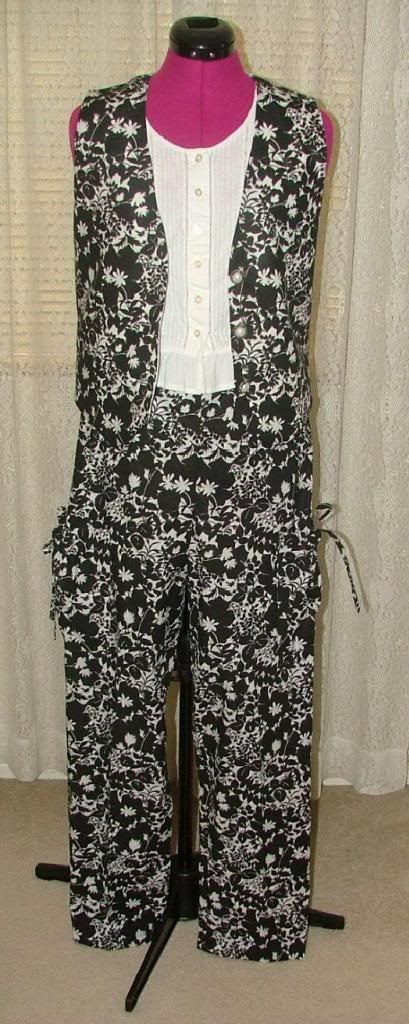
My completed outfit.
To see the how I made the vest, you can click HERE.
Originally posted on December 4, 2012, by Stef.
No comments:
Post a Comment