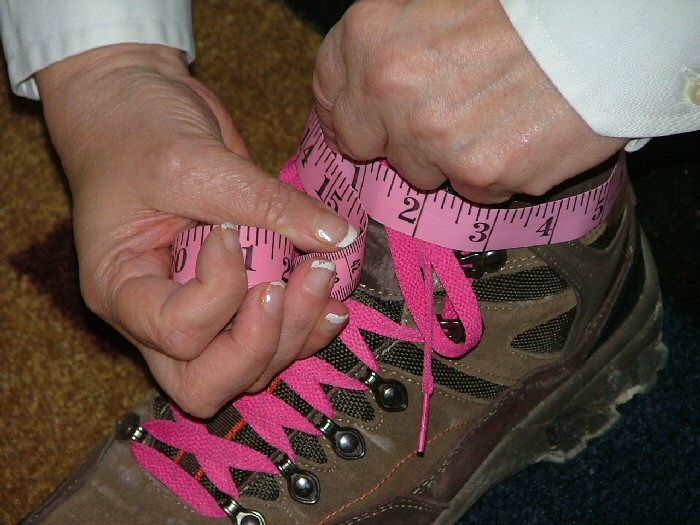
I begin by taking a couple simple measurements. I put on my hiking boots and measure around the top, just above my heel. I also take a barefoot measurement from the floor, to just below my knee. I'll use these measurements to create my custom pattern. I'll also take the same measurements for Rick and make him a pair too.
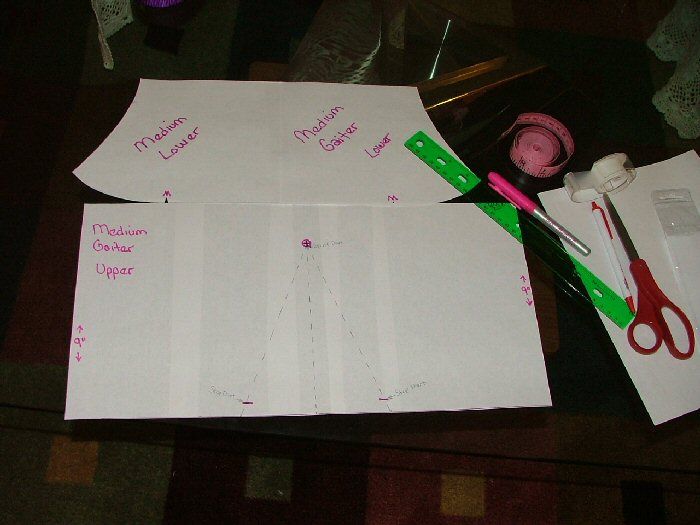
I create my pattern. I just use printer paper and Scotch tape. That stuff comes in handy for a lot of my projects!
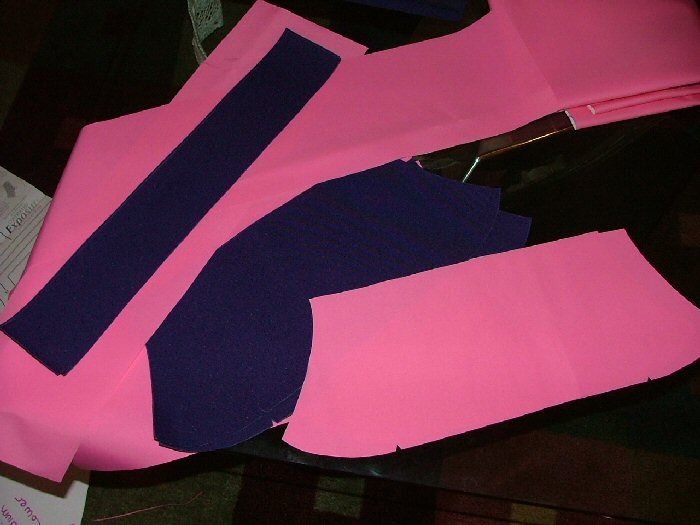
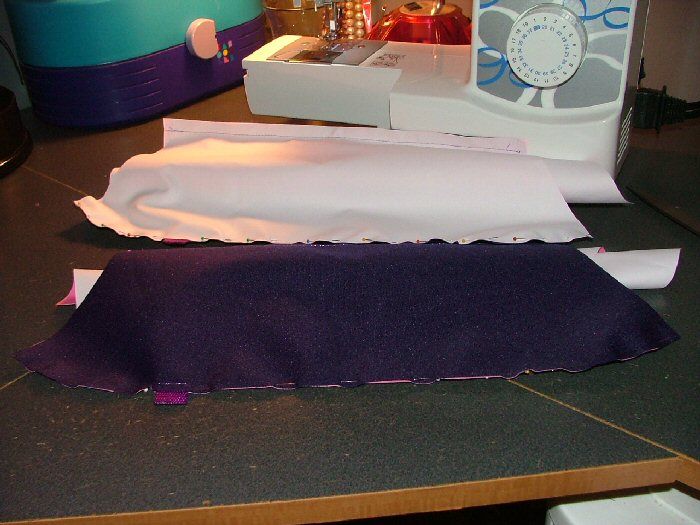
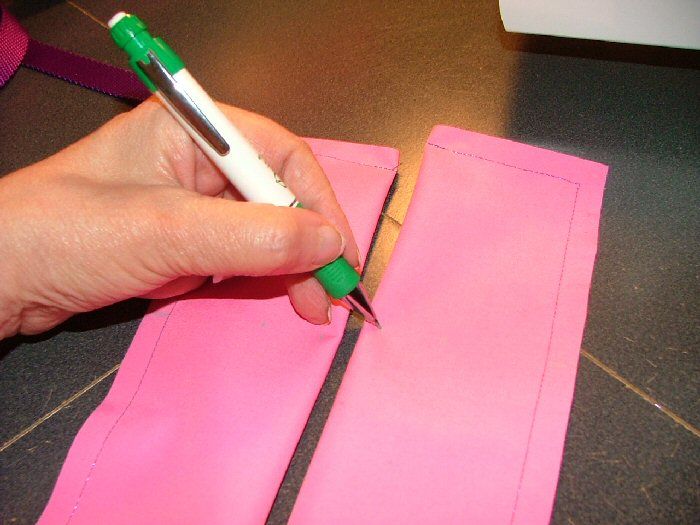
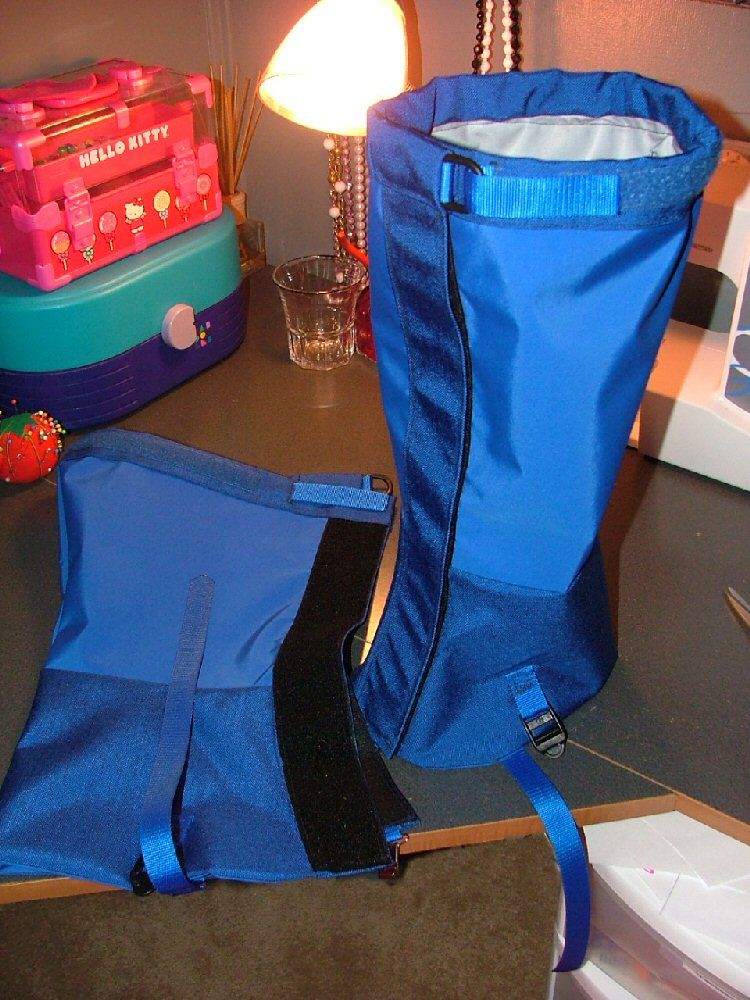
Rick and I went shopping at Seattle Fabrics, in downtown Seattle. I chose a Dark Purple, waterproof, medium weight Cordura for the lower portion and Bright Pink waterproof, lightweight, breathable Ultrex for the upper portion and the lining. Rick chose two shades of Blue in the same fabrics, for his pair. We purchased all the Velcro, webbing and hardware I would need to make them too. I laid my pattern on the fabric and used my Dritz chalk marker, to mark all pieces. I didn't want to poke unnecessary holes in my fabric.
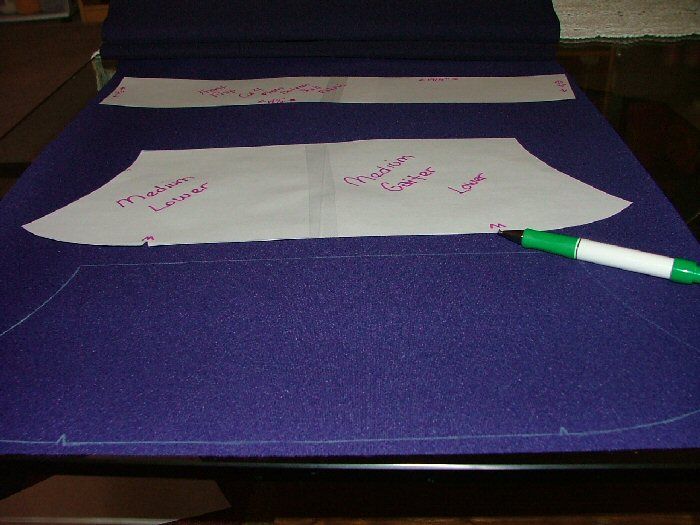
I cut out all the pieces needed for my pair and got ready to start construction. I'll start Rick's after mine are finished.
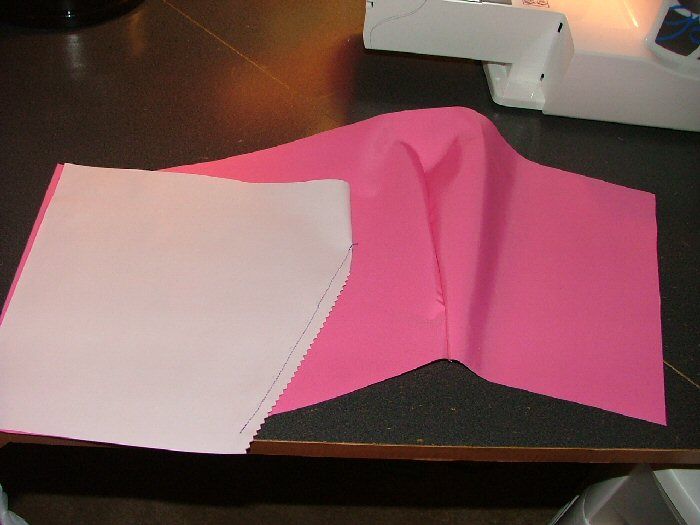
I want them to be form fitting, so I create large darts on the upper portions to hug my calves.
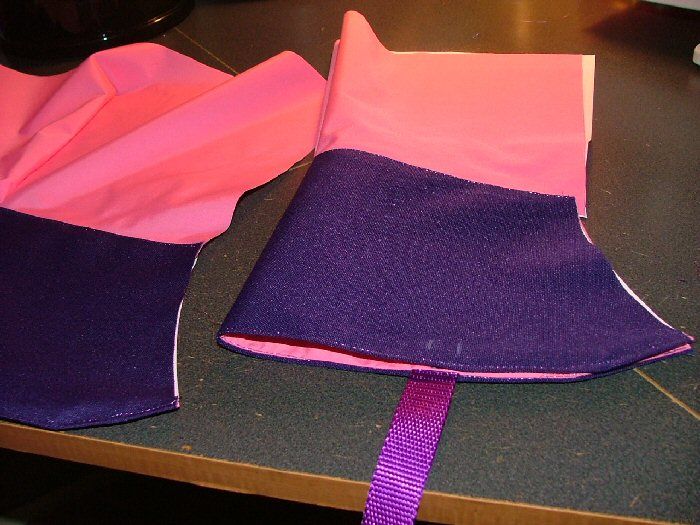
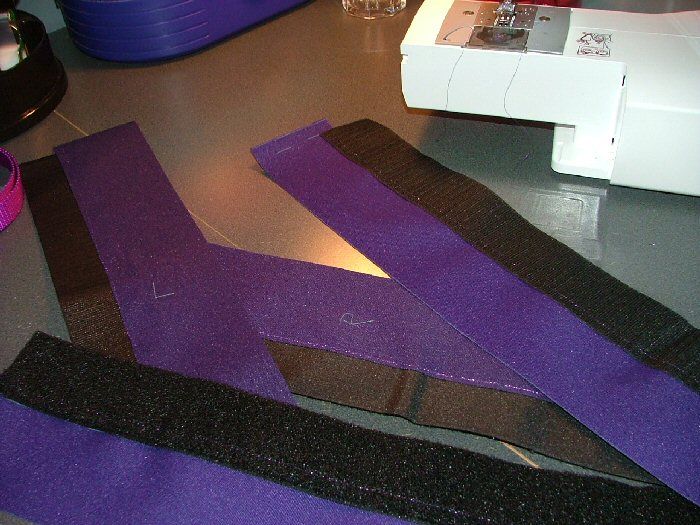
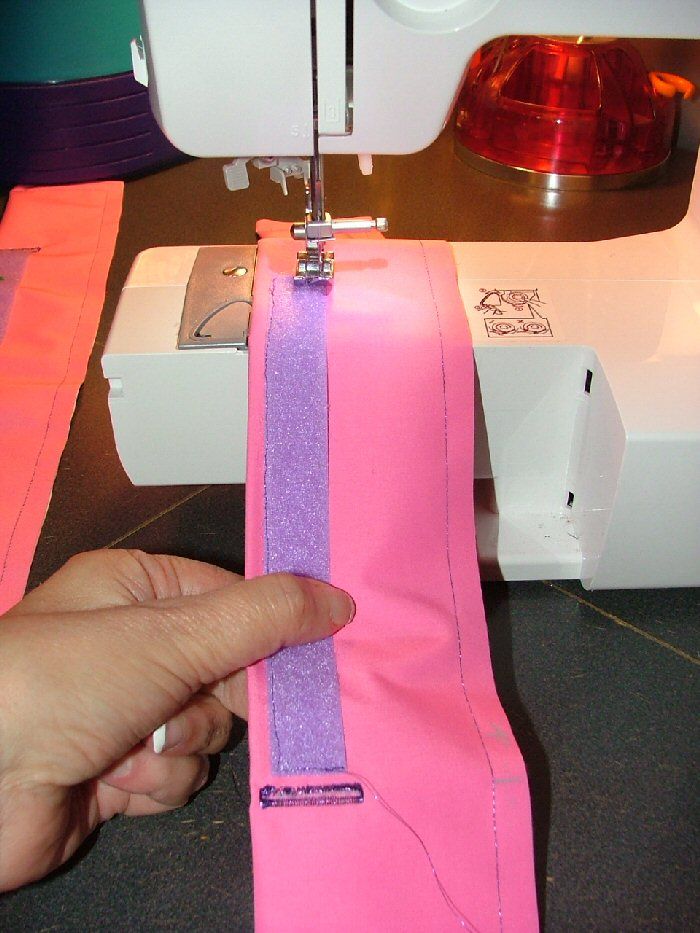
Then, I cut some of my purple webbing. This will be used for the "Under the foot" strap, that helps keep your Gaiters from riding up, keeping them securely over the top of your boots. I use a lighter to burn all the end edges, to prevent any fraying.
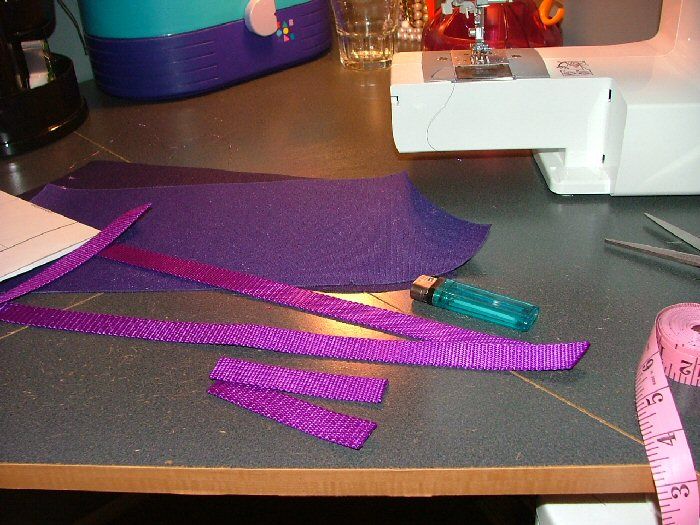
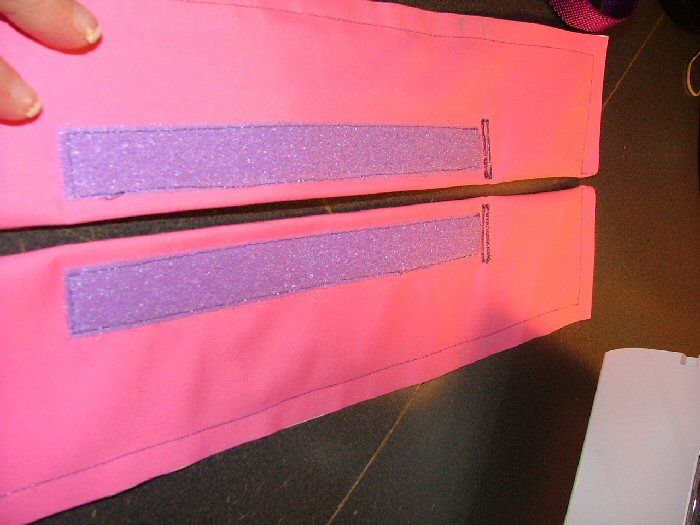
In my shorter sections, I add my Tablers. I had cut the ends of my longer sections at an angle. This will make it easier to thread through the tablers, when putting them on.
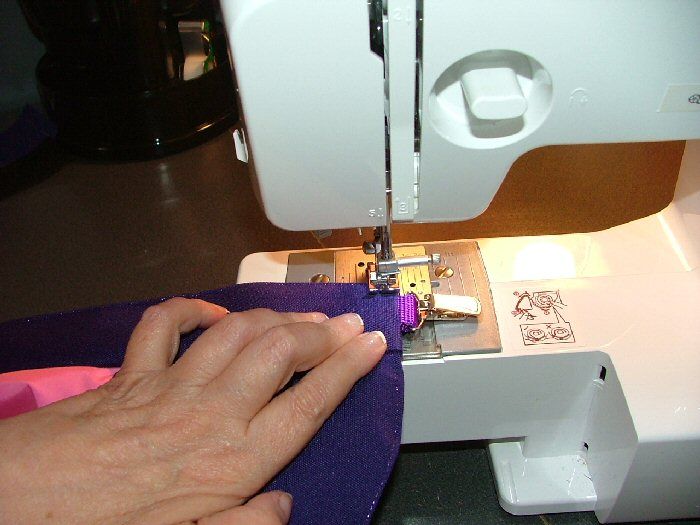
I tack one long section of webbing to each bottom part. I pin the Upper section to the lining and the Lower section at the straight edge. I sew these together.
I roll up the Upper section and the Webbing strap and pin the Curved edge over them. I sew this seam now.
I turn it all right side out and press my seams flat.

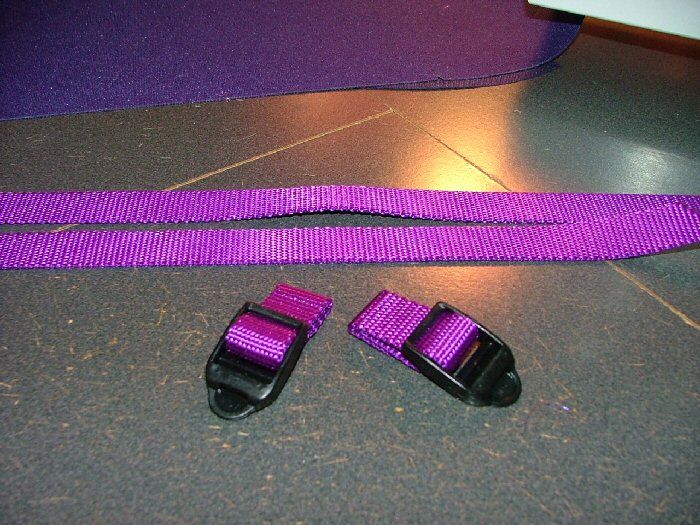
Now, I measure and mark where my tablers will be attached.
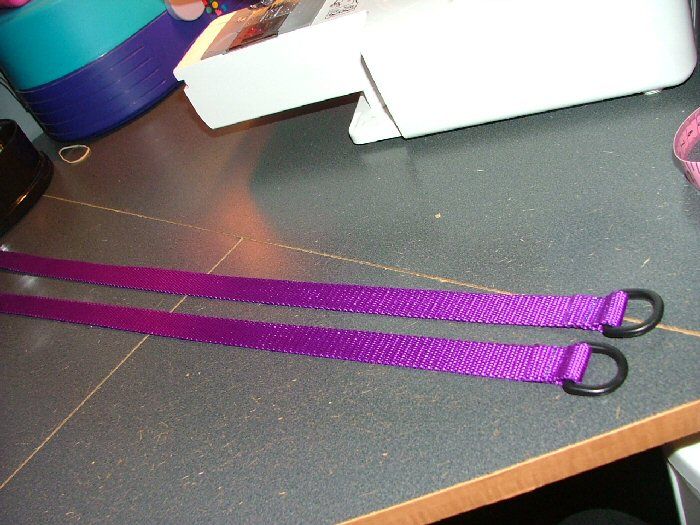
The straps and Tablers, completed. These straps go under your boot and attach on the other side. It keeps your Gaiters down, over your boot, in the back.
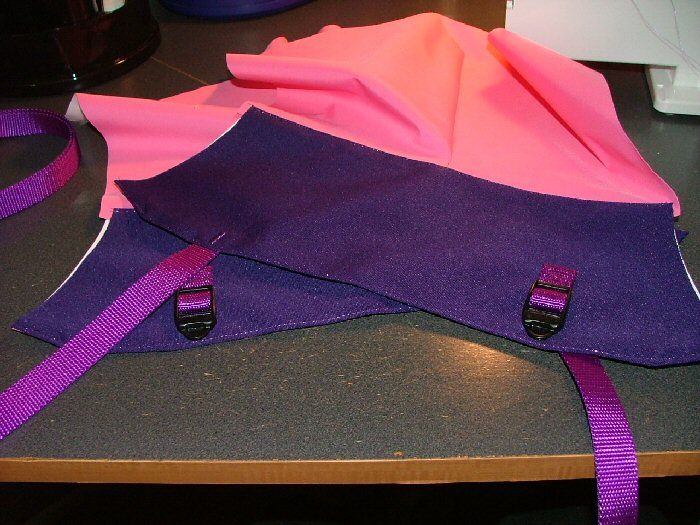
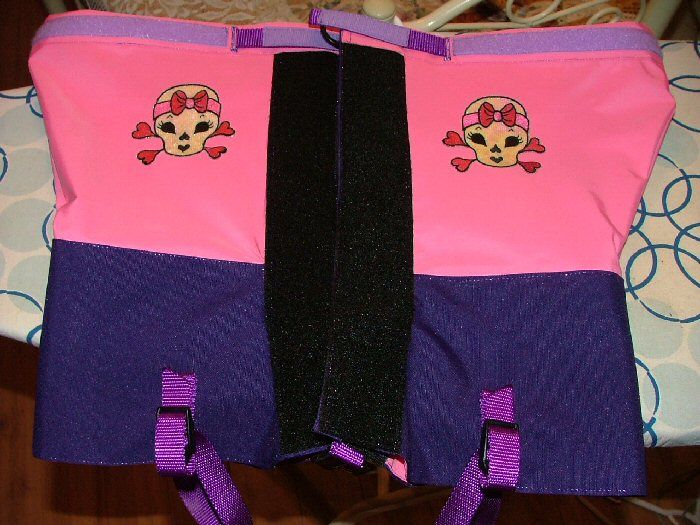
Many Gaiters have a hook at the front, to grab onto your laces, to make them even more secure. I was going to add them on mine too. But, the store was out. Then I had an idea. What if I use Suspender Clasps? They would never jiggle loose. More security for my tootsies! So, I bought some. I used some of my webbing to get them ready to add. Then, I set them aside.

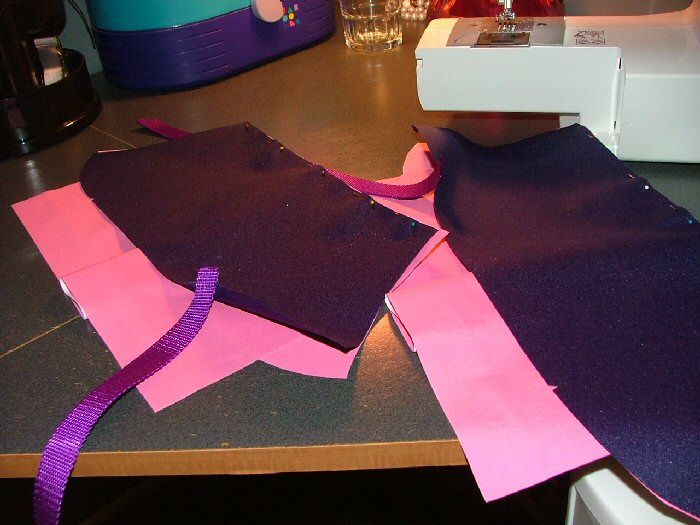
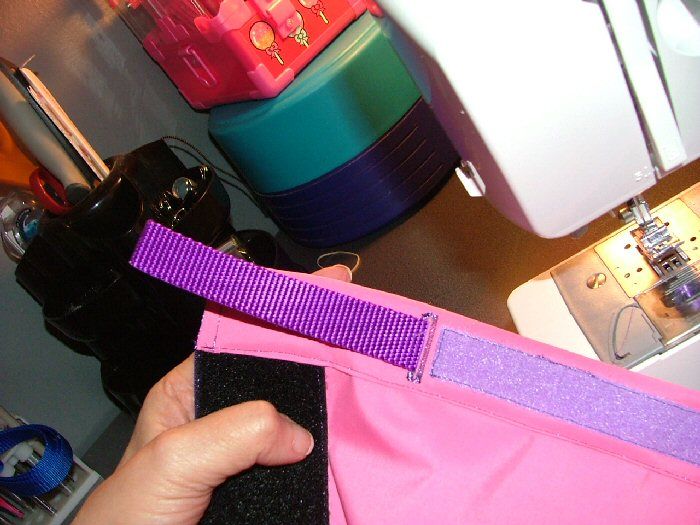
My Gaiters will have a front, center closure. To keep them closed, I'll use 2 inch wide Velcro. I mark my front flaps and get ready to make the Velcro attachments.
I sew them all in place. I make sure to mark which go on the Left and Right. Mixing them up while I'm not paying attention wouldn't be good. This way, I won't.
I attach the Velcro "Hook" flap to one side and enclose my "Lace Holder", while I'm at it.
I sew the Velcro "Loop" part, to the other side.
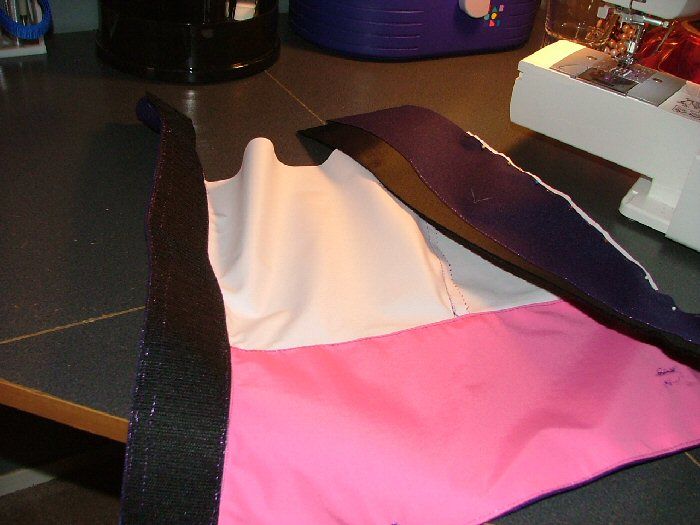
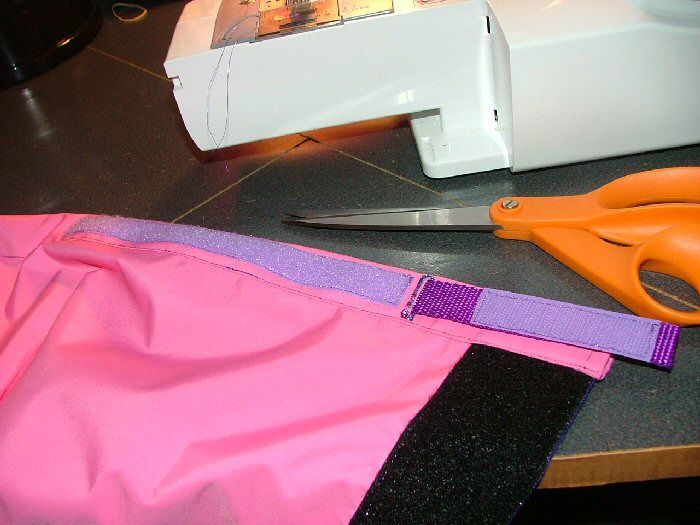
I trim the excess from the top and close them to make sure they're right. They are! Now, to finish them up.
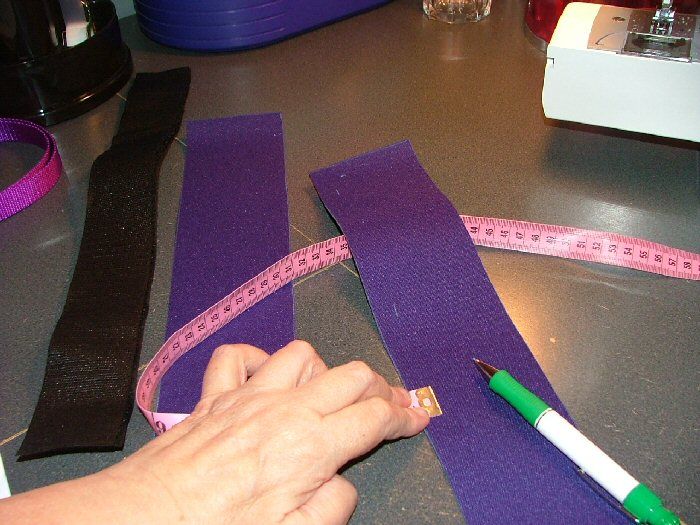
The last thing to do is to create the top trim. This will include the casing and the adjustable strap. First I sew my pieces together and mark for a buttonhole.
I make the buttonhole and add a strip of Velcro loop.
I do this times two, of course. I also cut open my buttonhole, through both layers of fabric.
I attach the band to the top of each Gaiter, making sure to keep my Right and Left with the proper sides.

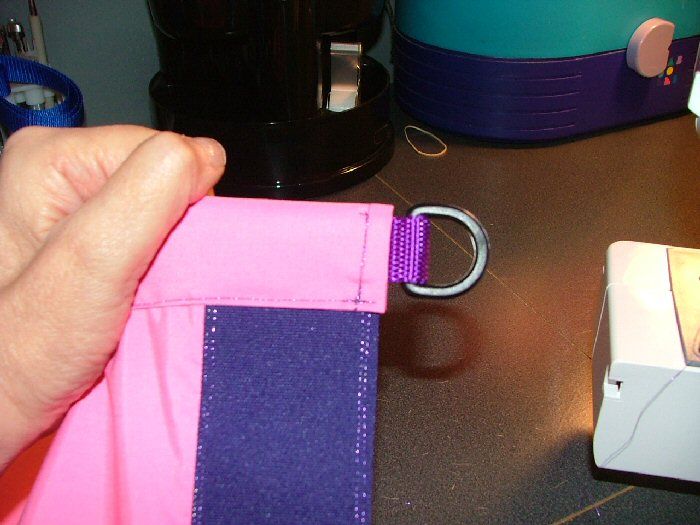
More webbing. This time, I cut a 2 foot section of the webbing and secure a plastic "D" Ring on one end of each one.
I thread the strap through the casing and sew the end with the "D" Ring closed, close to the end.
The other end goes through the buttonhole.
Then, I sew a piece of Velcro Hook, to the end. To adjust, after you close the front Velcro, you thread the Top strap through the "D" Ring and pull it back over the Velcro, making it as tight or as loose as you like.
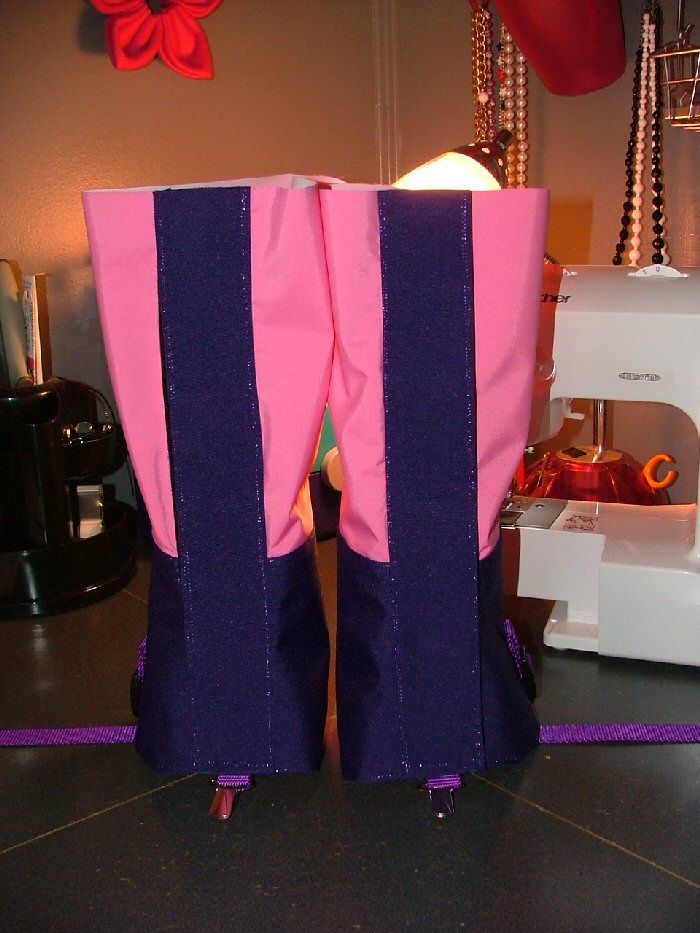
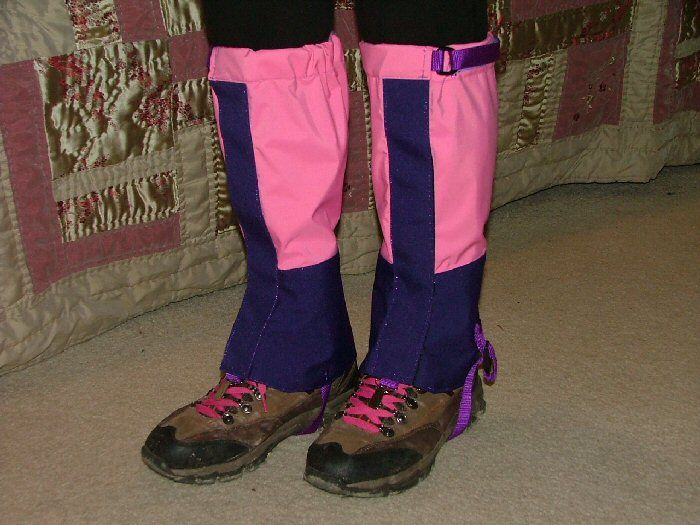
My finished Gaiters! No drab black or brown for me!
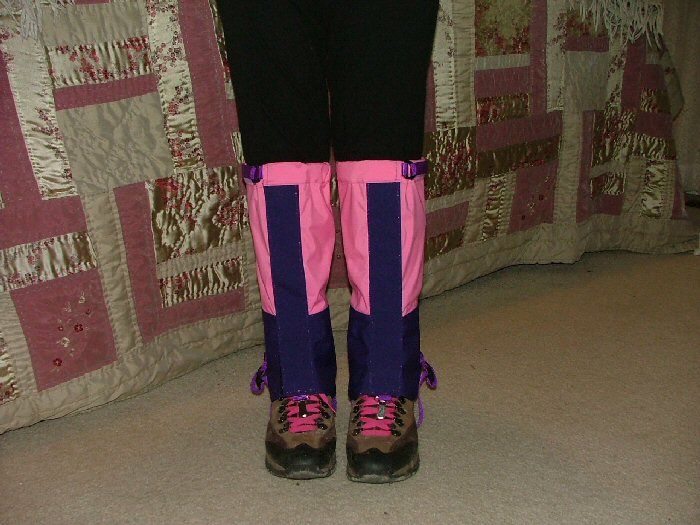
Here, you can see the adjustable strap at the top. It works very well!
Ok, you know that I couldn't just leave them like that. I had to do something to make them reflect my personality a bit more. So....
I love my new Gaiters. They were a ton of work to get done. Mainly because the fabrics were so thick, with Velcro and multiple layers, it was a bit tough and slow going to sew. I actually broke two sewing machine needles, in the process! haha I was down to one when I finished. So, I made a trip to JoAnn and bought a new 10 Pack! Now, to start Rick's pair. I need to start from scratch and make a new pattern for his, as they need to be quite a bit larger. We should both be stylish, snowshoeing on Saturday! Big Four Ice Caves, here we come!
The last week of January, I started a set for Rick. Today, 02/01/13, I finished his! We will both be wearing our new Gaiters tomorrow, while we snowshoe/hike to Big Four Ice Caves. I can't wait!
Originally posted on January 17, 2013, by Stef.
No comments:
Post a Comment