I picked a simple, button up shirt. I chose the short sleeved version. He likes them better.
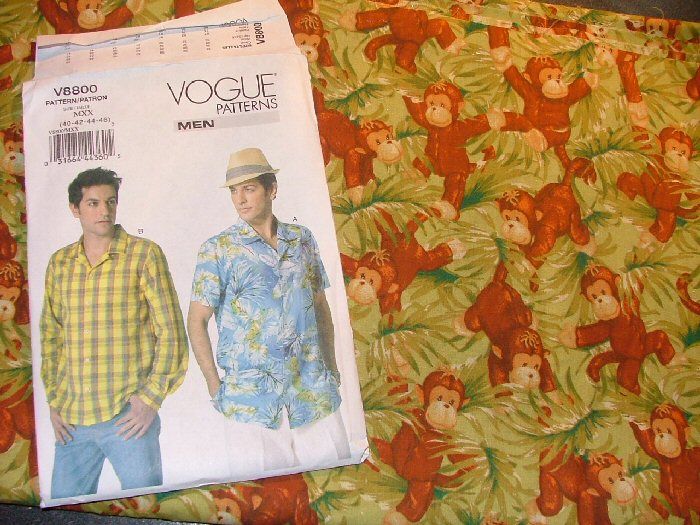
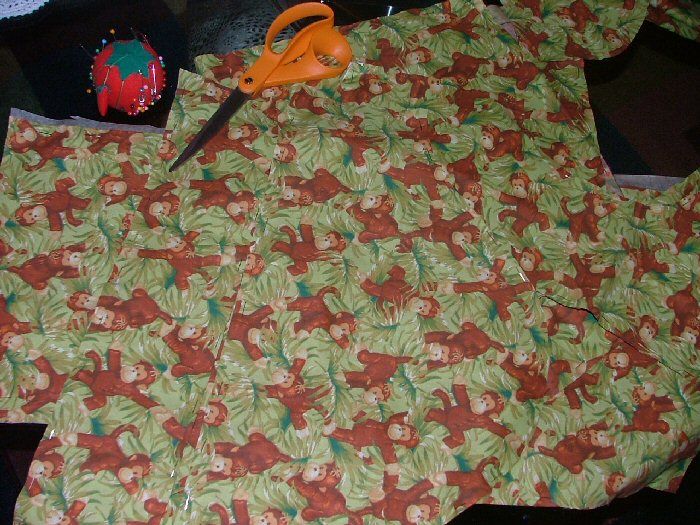
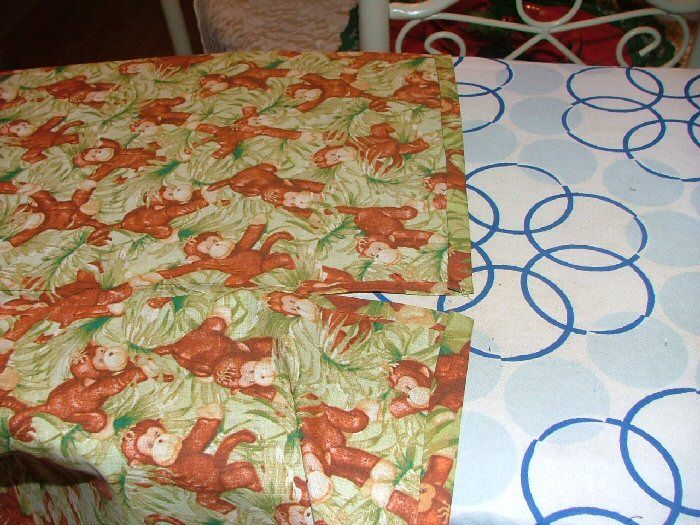
I cut out all my pieces and get ready to begin the construction.
I start with the collar. I always like to start with the smaller parts and set them aside, so I have it ready when I need it. I press fusible interfacing into one collar piece.
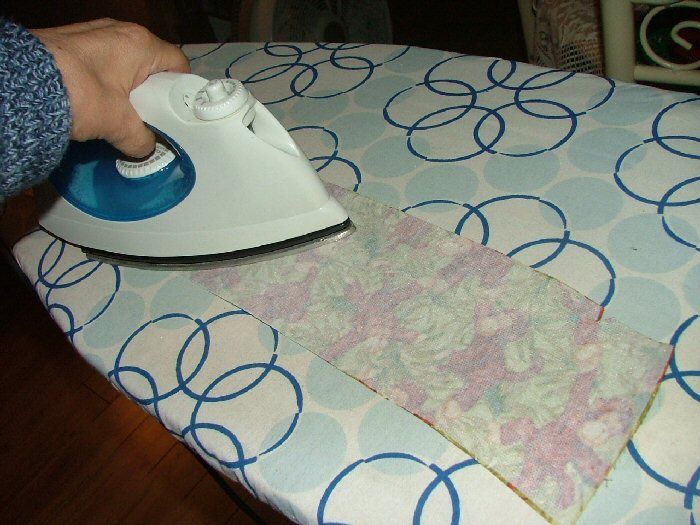
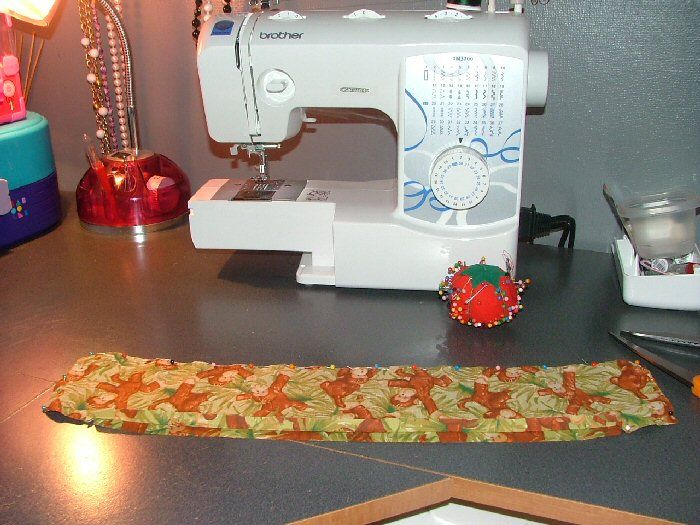
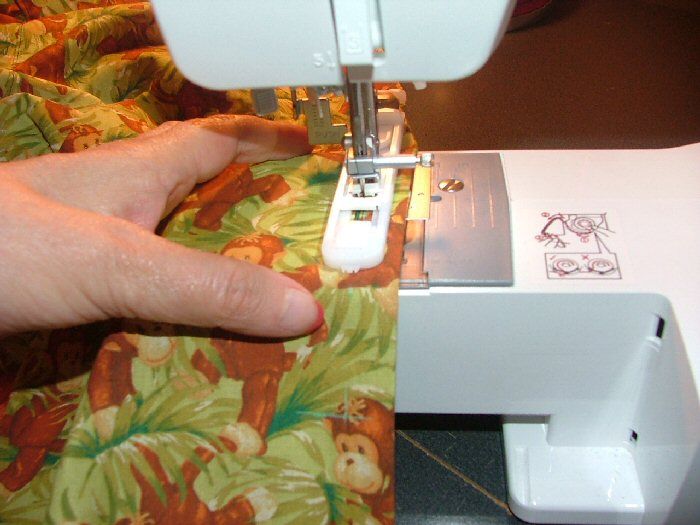
I pin the collar pieces together and sew them around three sides, leaving open the side that will attach to the shirt. I turn it right side out and press it. I then add a basted stitch 1/4 inch, around the three stitched sides. I set it off to the side and will work on something else. As always, I clean up all my seams to prevent fraying.
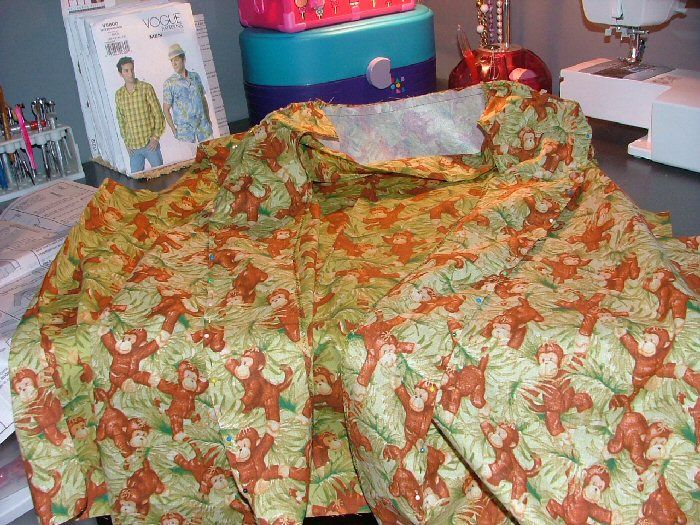
I add pleats on each side of the back. I then add the yoke and yoke lining to the back. I stitch it in place and press it into place.
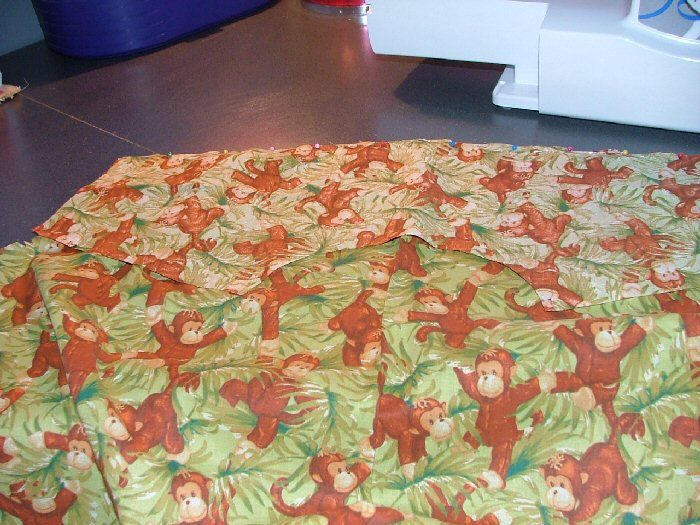
I pin the front sections to the back, at the shoulders. Then, I sew it in place.
Time to add the collar. I pin it and sew it in place. When I made the collar, I had purposely left an opening, I am careful not to sew this closed.
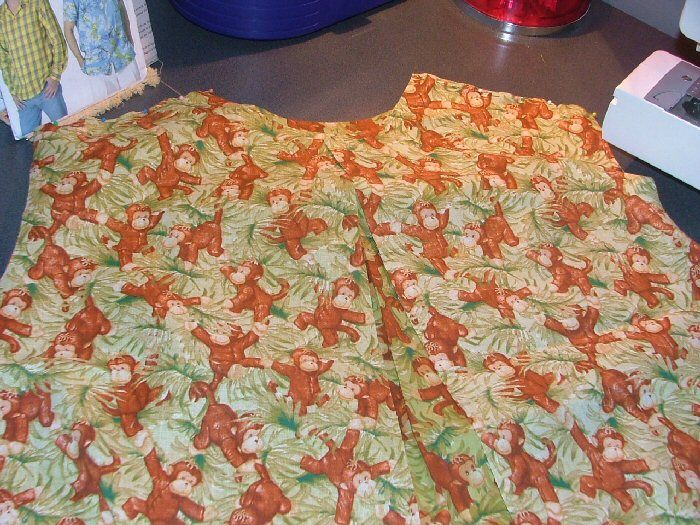
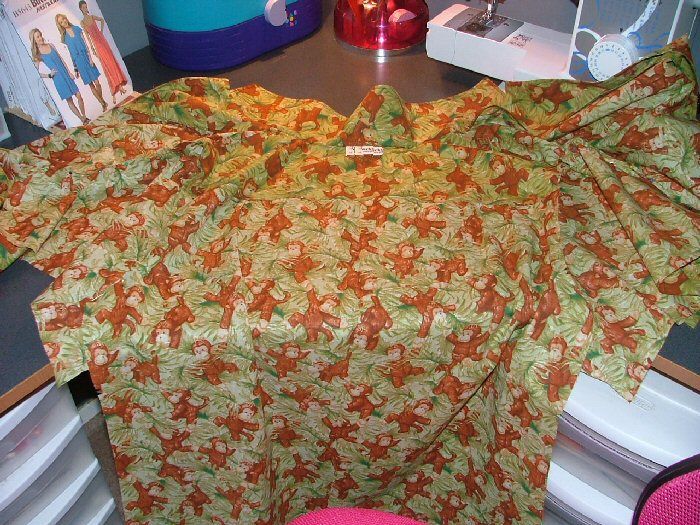
The collar is in place. I leave it hanging while I prepare the front linings.
The front linings, pinned in place on each side and up around the collar. Now, to carefully stitch these in place, making sure not to sew anything closed that shouldn't be! haha
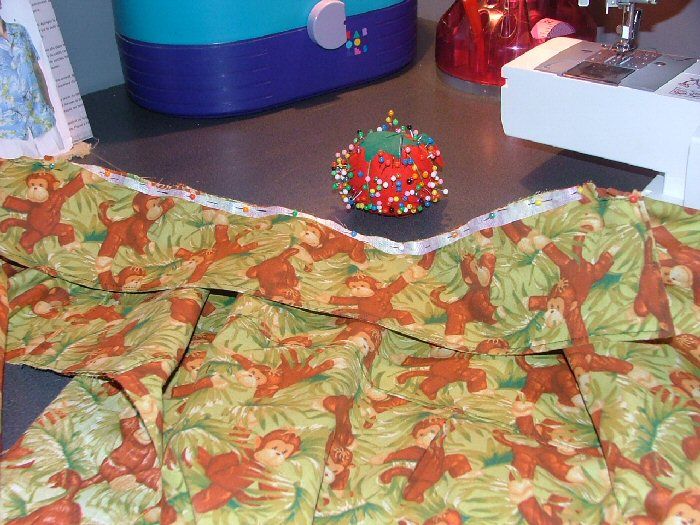
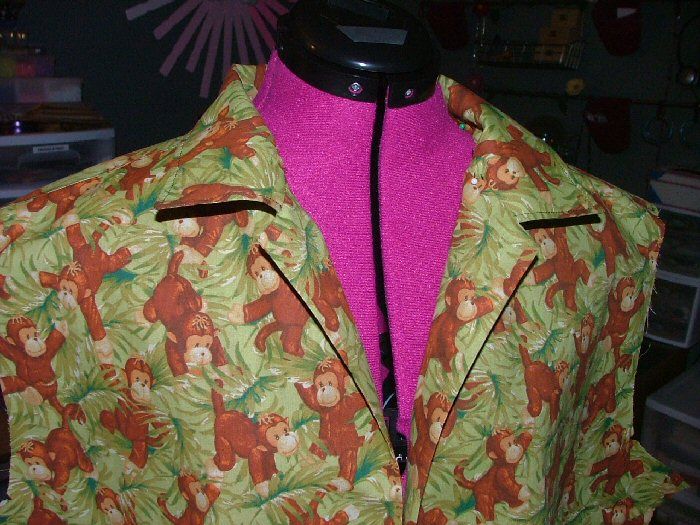
All sewn together. Next, I have to turn my front facings out and press them into shape. It's beginning to come together!
The facings are sewn in place. Now, to finish the collar. I'll add my label here too. And yes, I have something besides my Pink labels for the guys clothes! Muhahaha
I like the look so far. All that is left is to add the sleeves, sew up the sides and hemming. Oh yeah, I should probably remove the pins from the collar! =D
I pin the sleeves in place and sew them in.
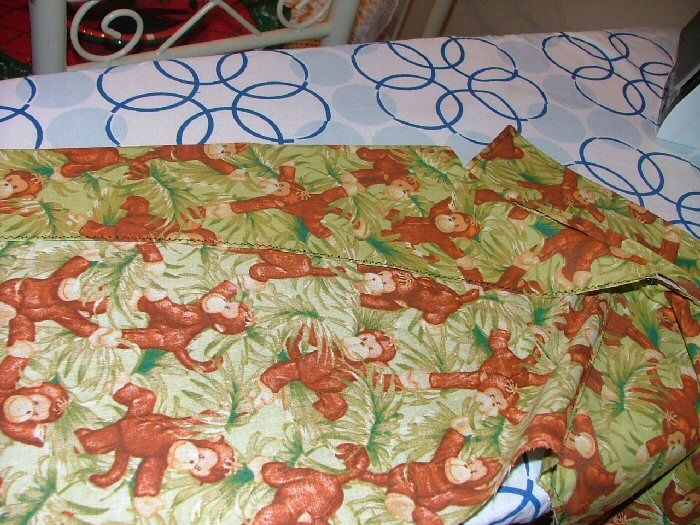
Next, the sides are stitched together. It looks like a shirt at this point.

Pressing the hem allowances in, then I'll stitch them. I do the sleeve hems at this point too.
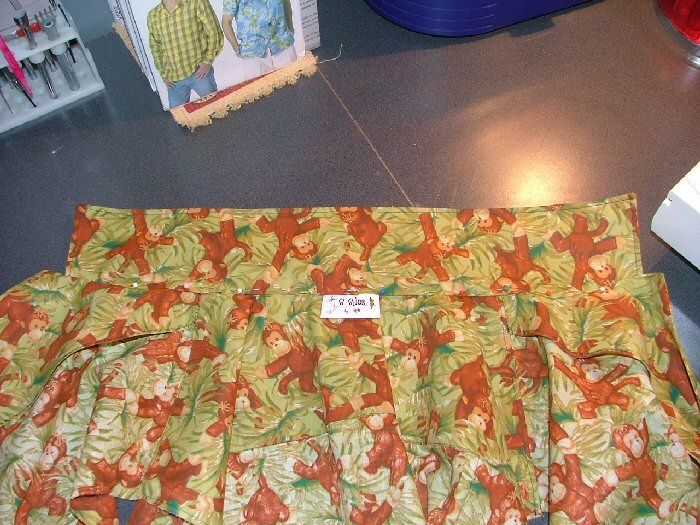
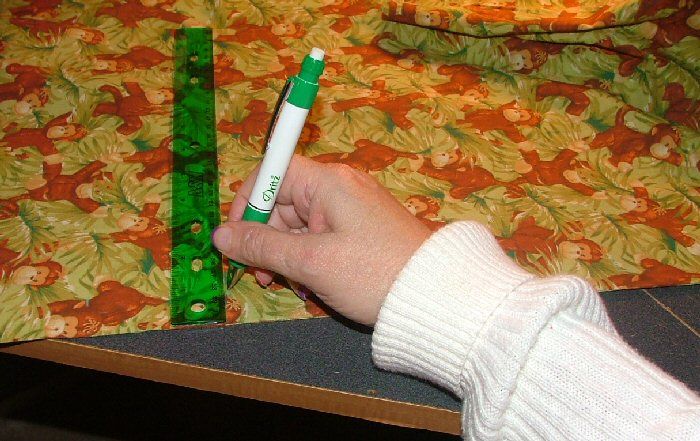
I have to mark where my button holes will go.
I make the button holes. I sew the buttons on.
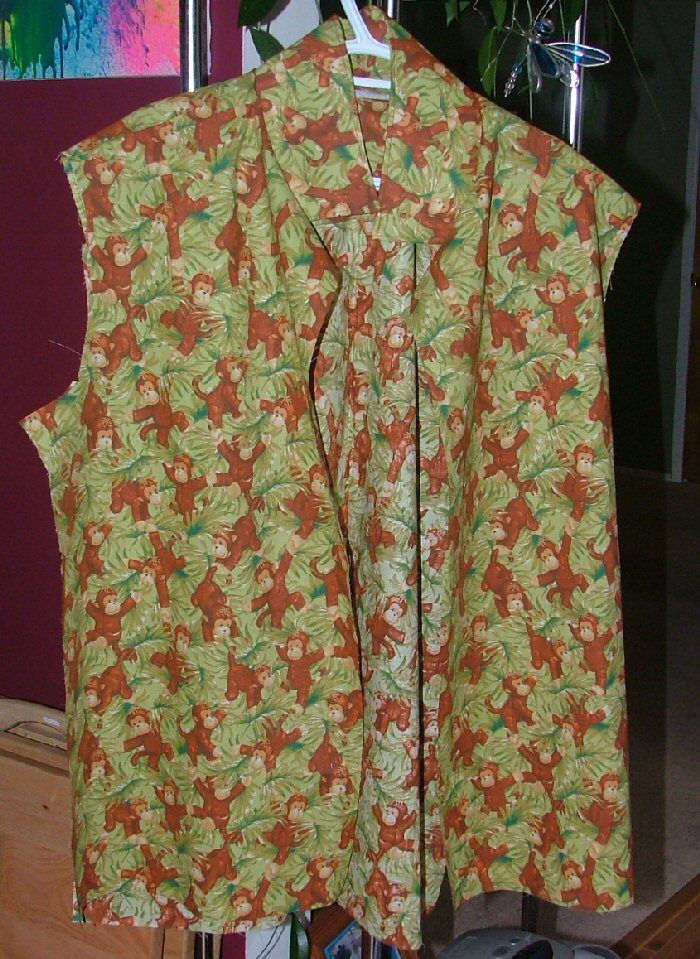
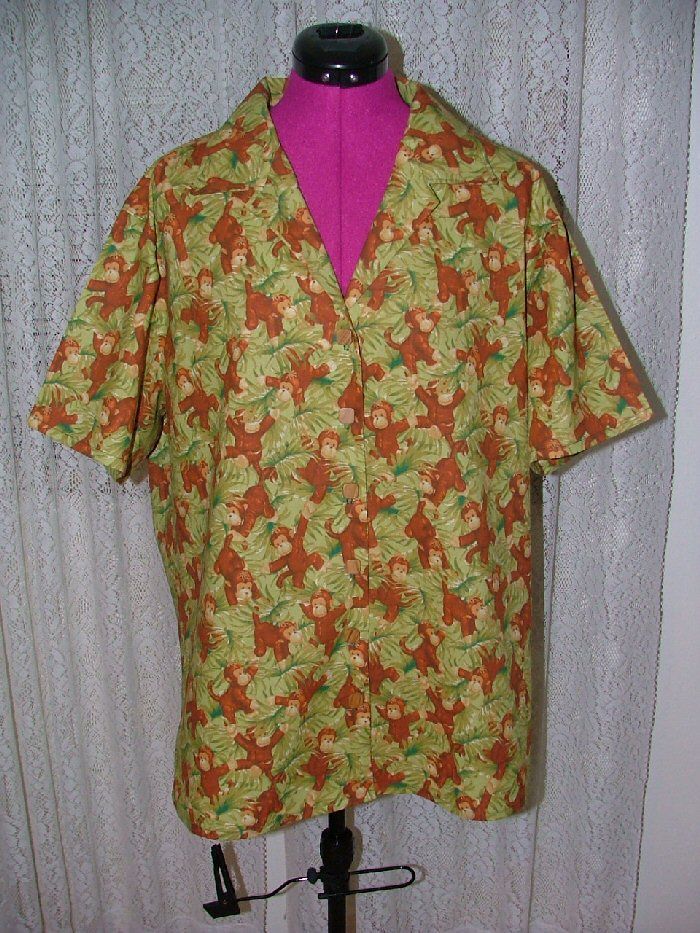
A finished shirt for my boy.
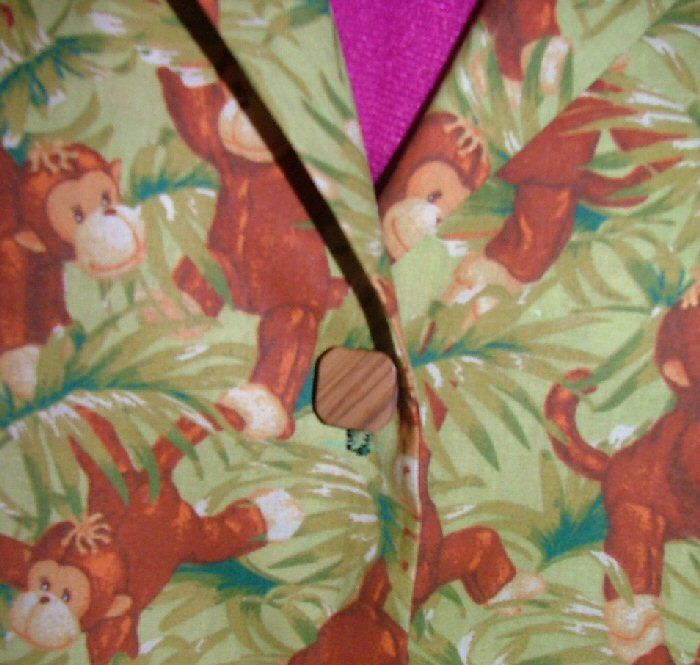
Close up of the buttons. I found these wooden buttons and thought they would look good with it.
That's all for now. Next I have a shirt to make for Rick. I actually cut it all out this afternoon, while I was watching Young & Restless! Now, you know, it's my guilty pleasure. I have watched it since it started when I was just a girl.
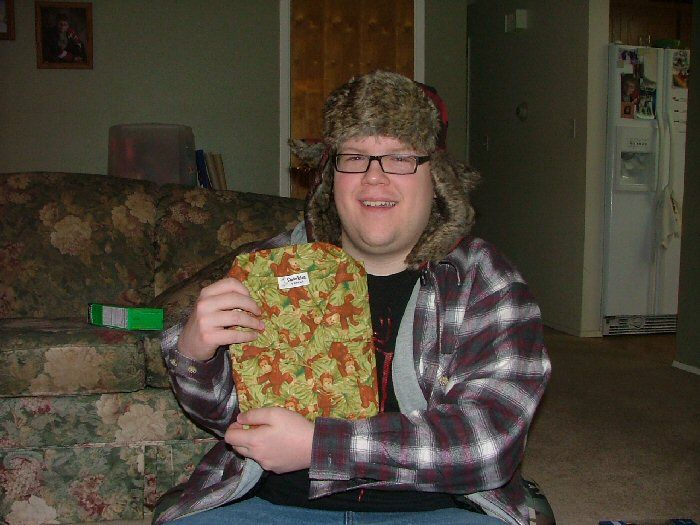
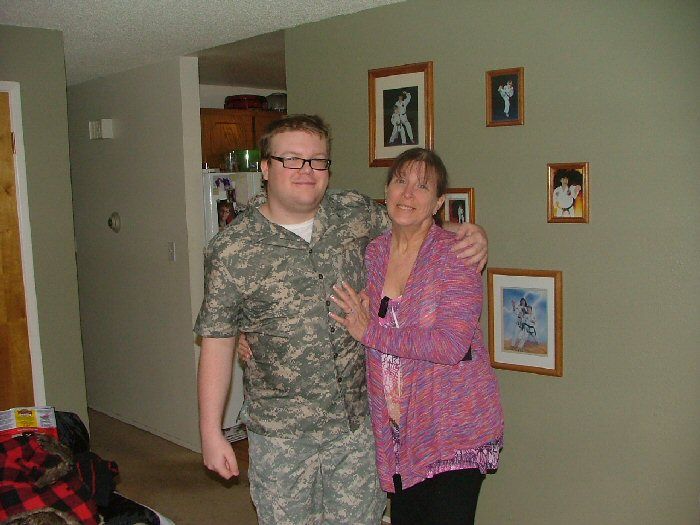
Update : Sammye with his Monkey shirt on Christmas morning. Also, on Christmas eve, I decided to make him another shirt, this time in his favorite Camo print fabric. I worked on it most of the night and right up until 3am on Christmas! Below is a picture of him with me, wearing it.
Originally posted on December 11, 2012 by Stef.
No comments:
Post a Comment