Using his hat as a reference and only finding a couple mediocre pattens online that I'm not really happy with, I create a pattern using some of their ideas and adding some of my own. I make it from printer paper, a front, back, front flap and ear flaps.
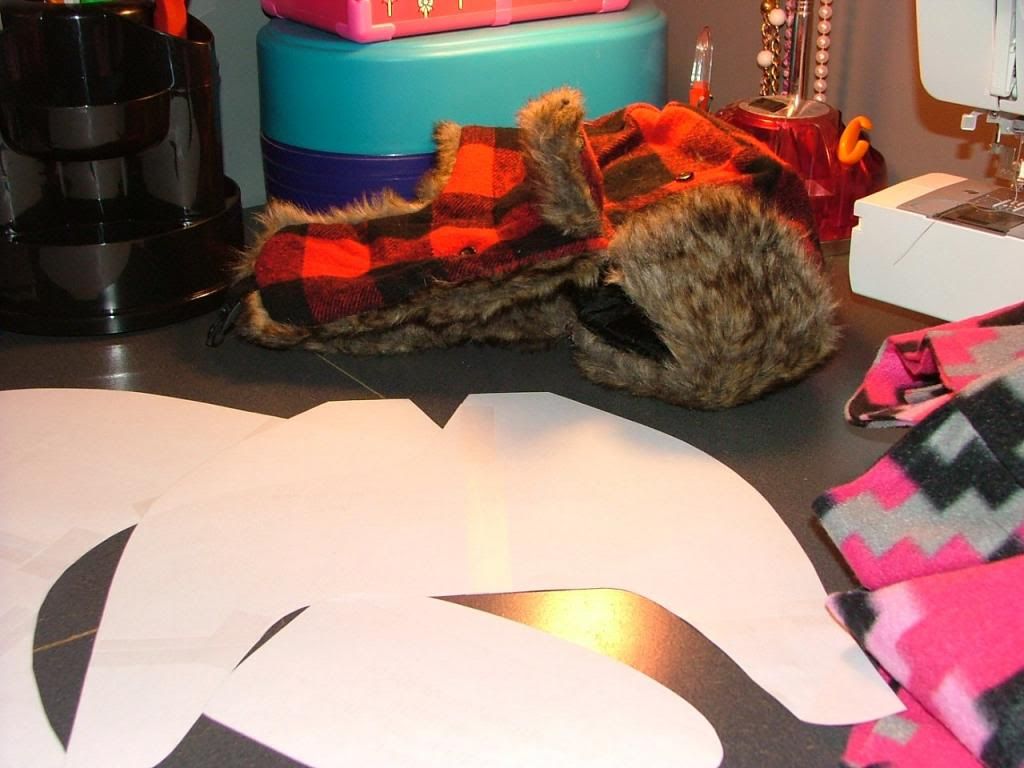
I had purchased a bright, bold fleece a couple weeks ago. I bought it to make myself a Hoodie, which I have already cut out. I'll use the scraps from it to make the shell of my hat. I also have some thicker, fluffy ivory fleece that I'll use as the lining.
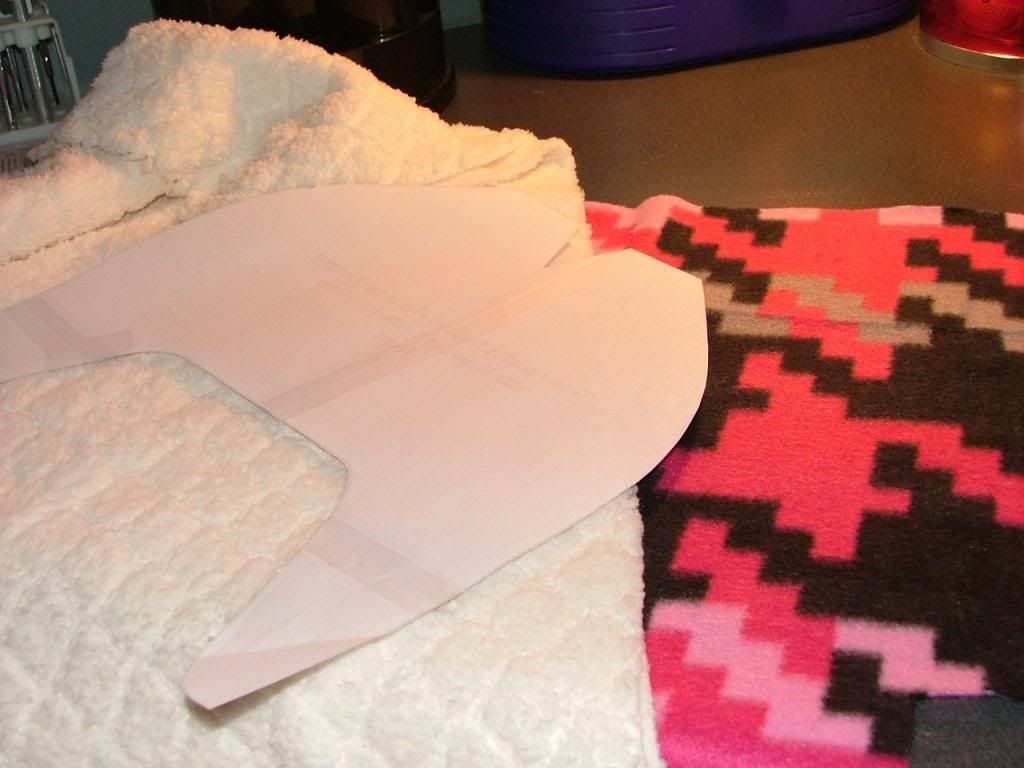
Next time, I'll use a Rotary cutter, as the printer paper is not the easiest to work with.
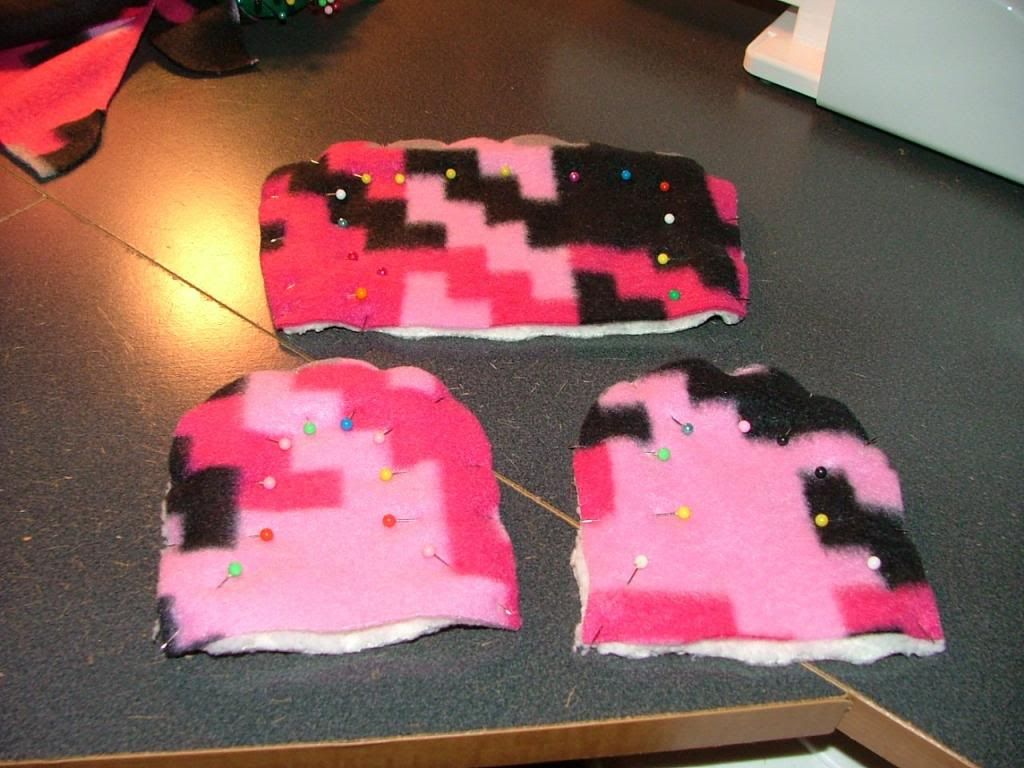
After a bit of work, I get all my pieces cut out and am ready to construct my hat!
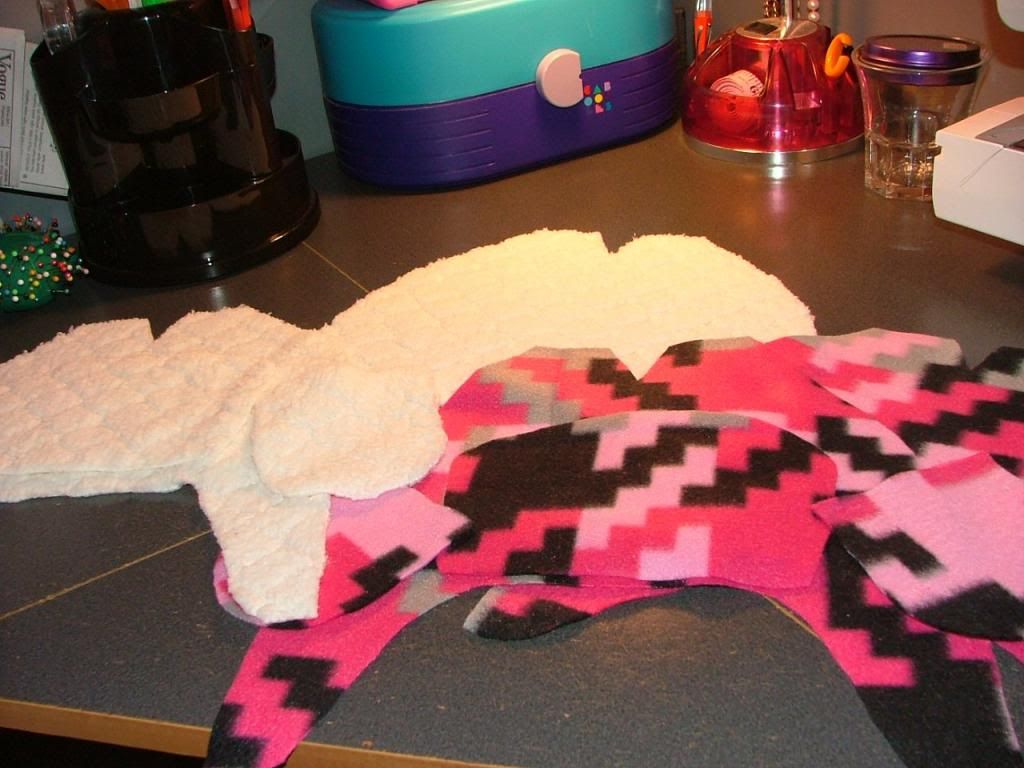
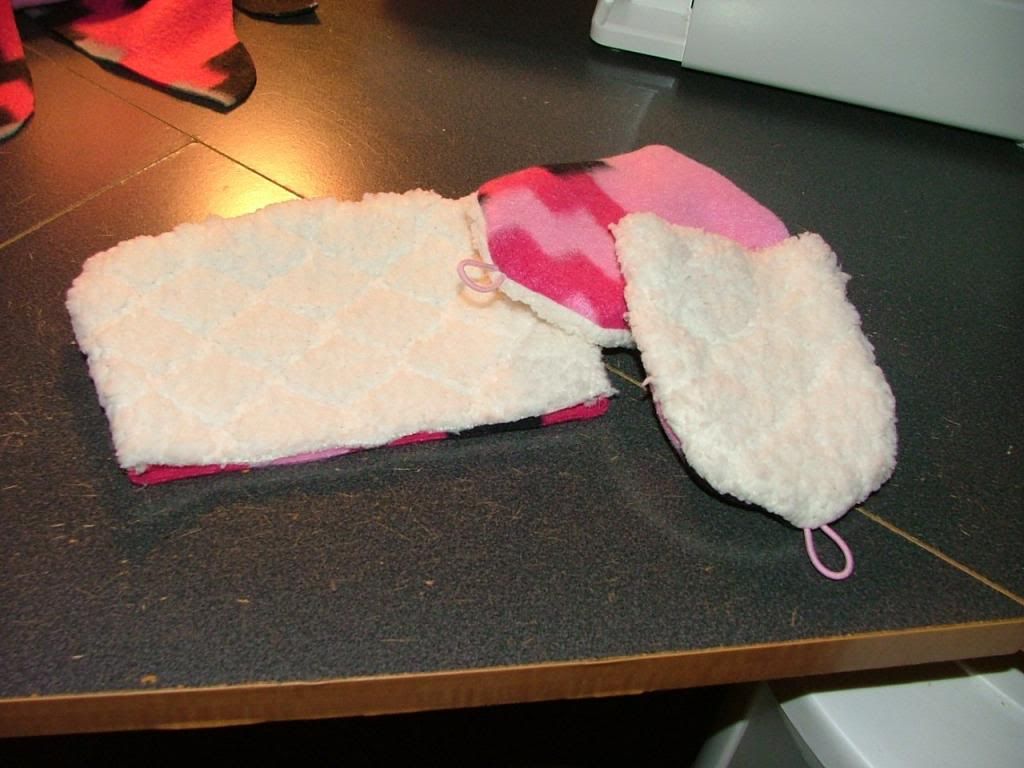
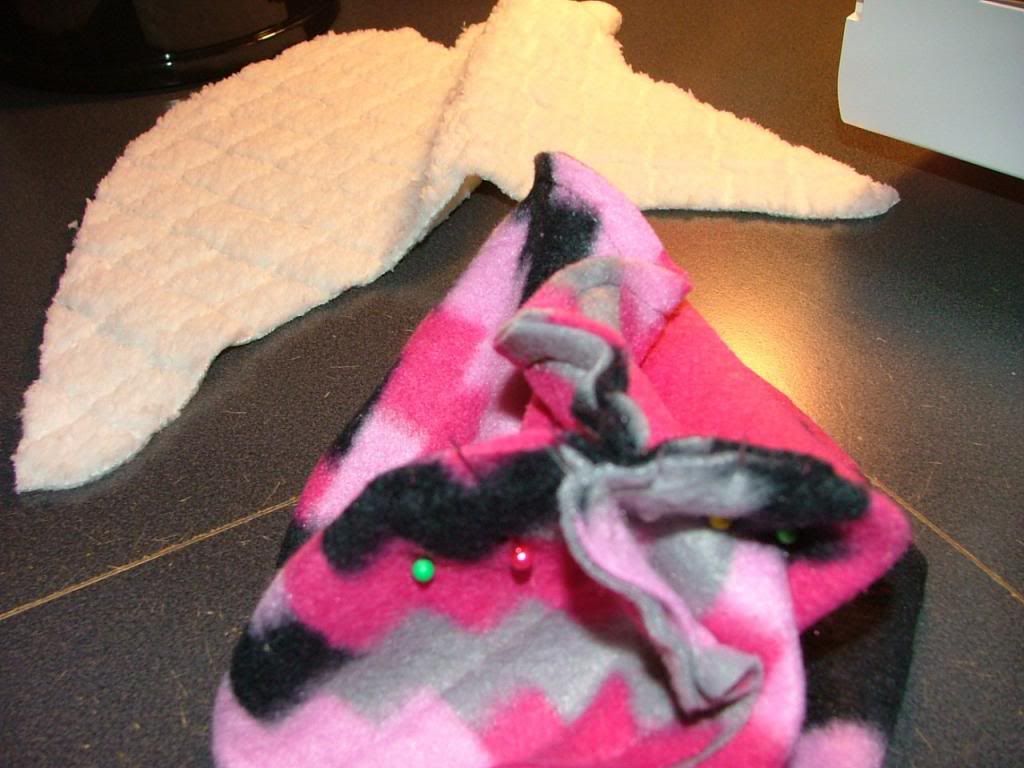
The first thing I do is get the "Attachments" (Front and Ear Flaps) ready.
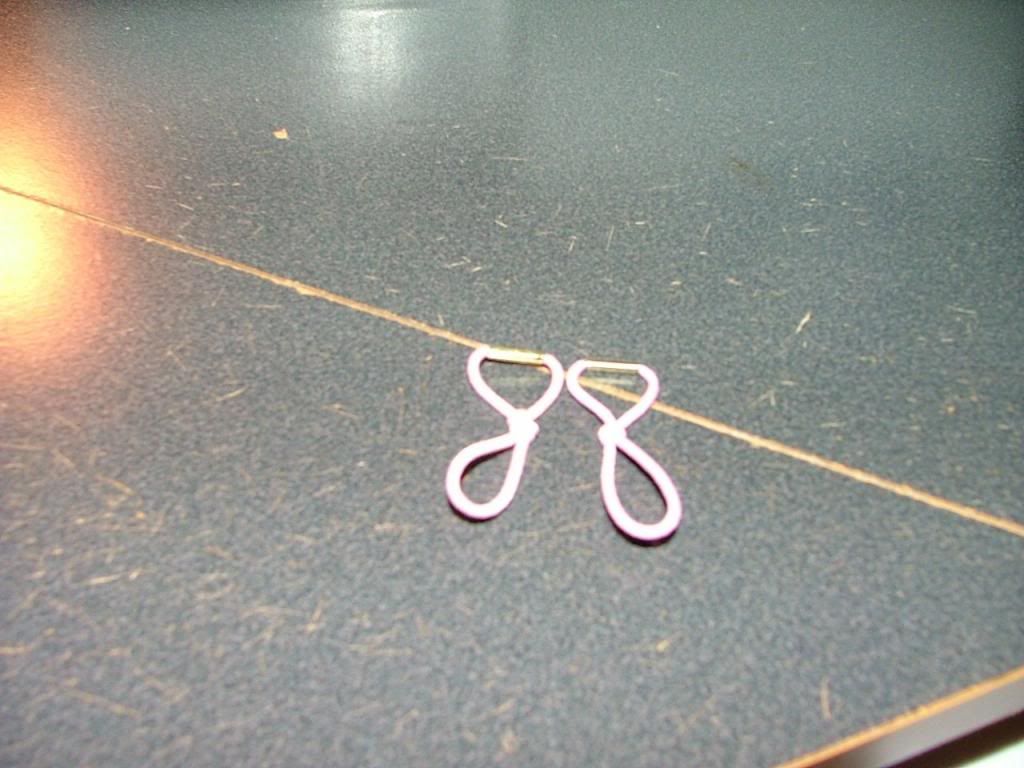
I'll add buttons to the upper and lower part on each side, to secure the Ear Flaps in place. So, I use two hair ties, which I have a gazillion of anyway, in pink to use as the loop. I tie a knot in each to help keep it securely in the seam.
Those are finished. I'll set them aside and make the hat.
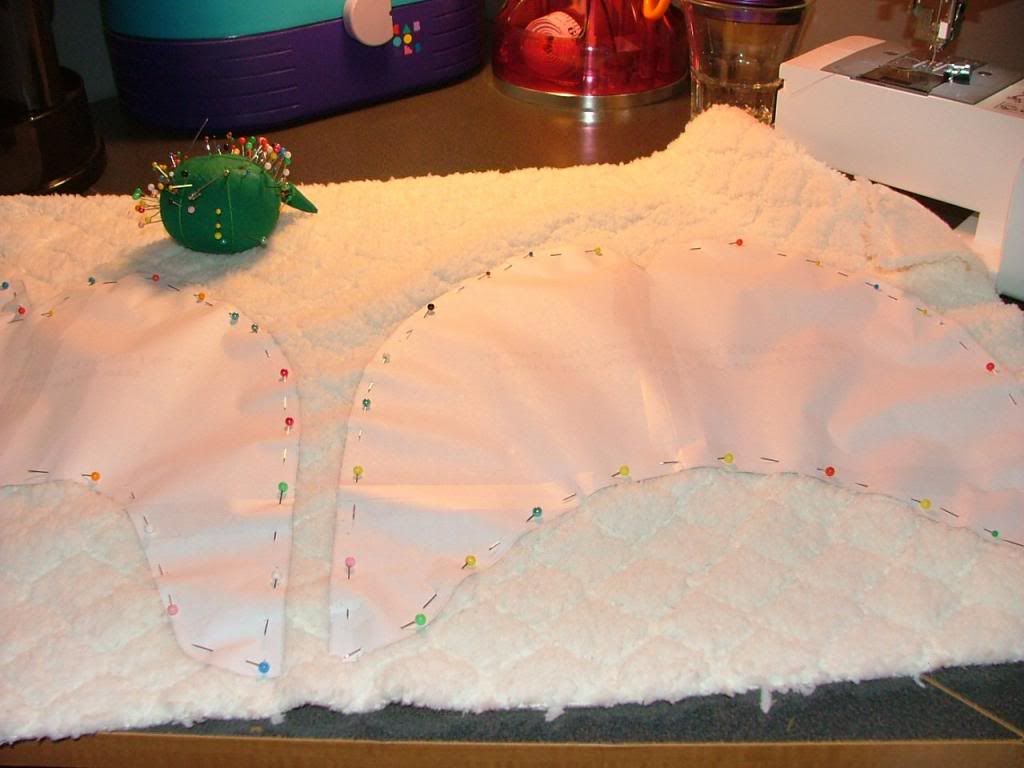
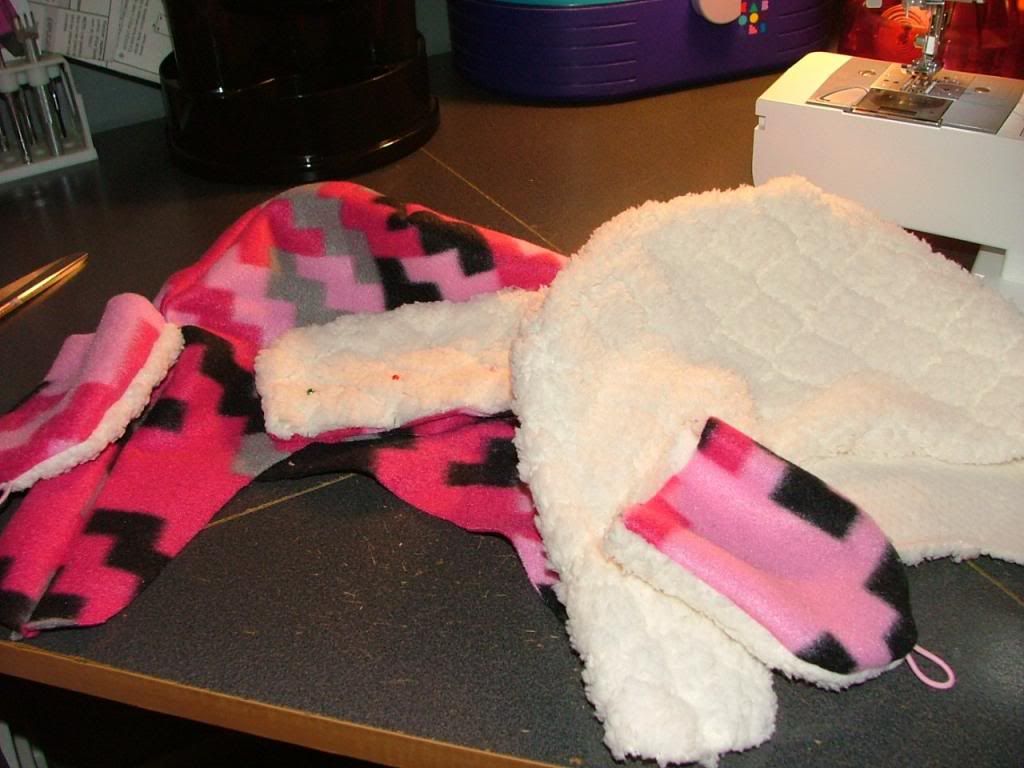
I pin and sew the front and back together, to make the shell.
I tidy up the top. I do the same thing with my lining fabric.
Now, all my pieces are ready to come together...right now...over me!
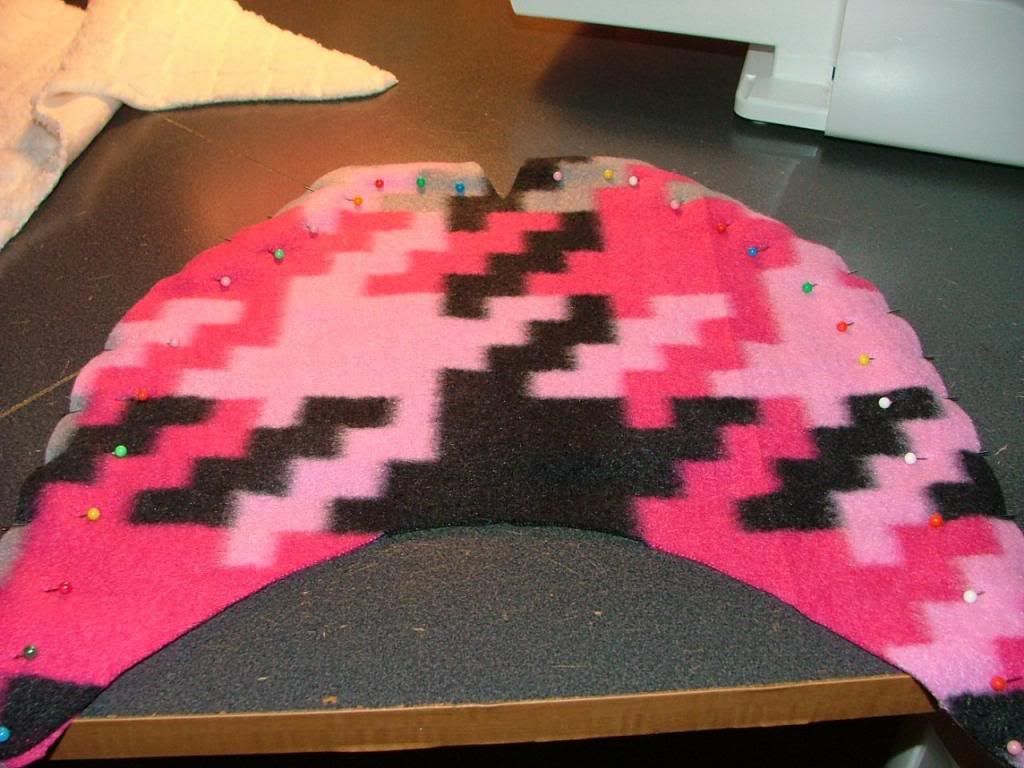
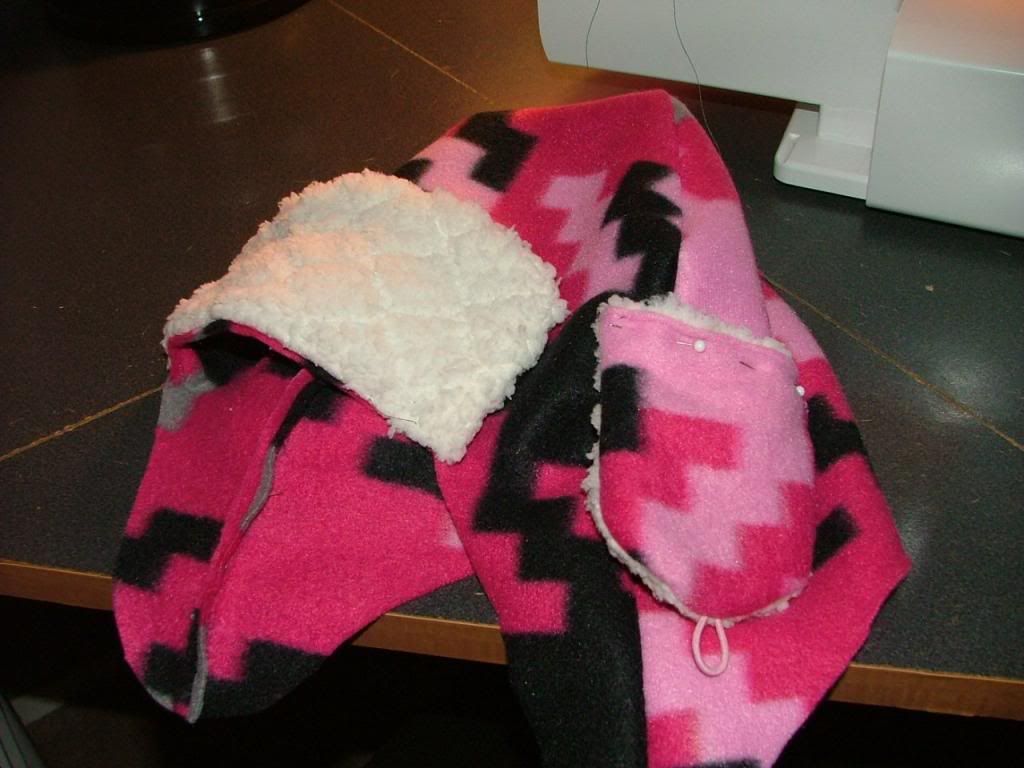
I pin the flaps in place. I sew the front seam on the front flap and tack it at the top. I pin the ear flaps in place and after a few trips to the mirror, wearing it, I finally get them exactly where I like them. I sew the ear flaps to the shell, along the top.
I cut 2 strips from my shell fabric and 4 strips from some matching pink fleece. These will hang down from the hat.

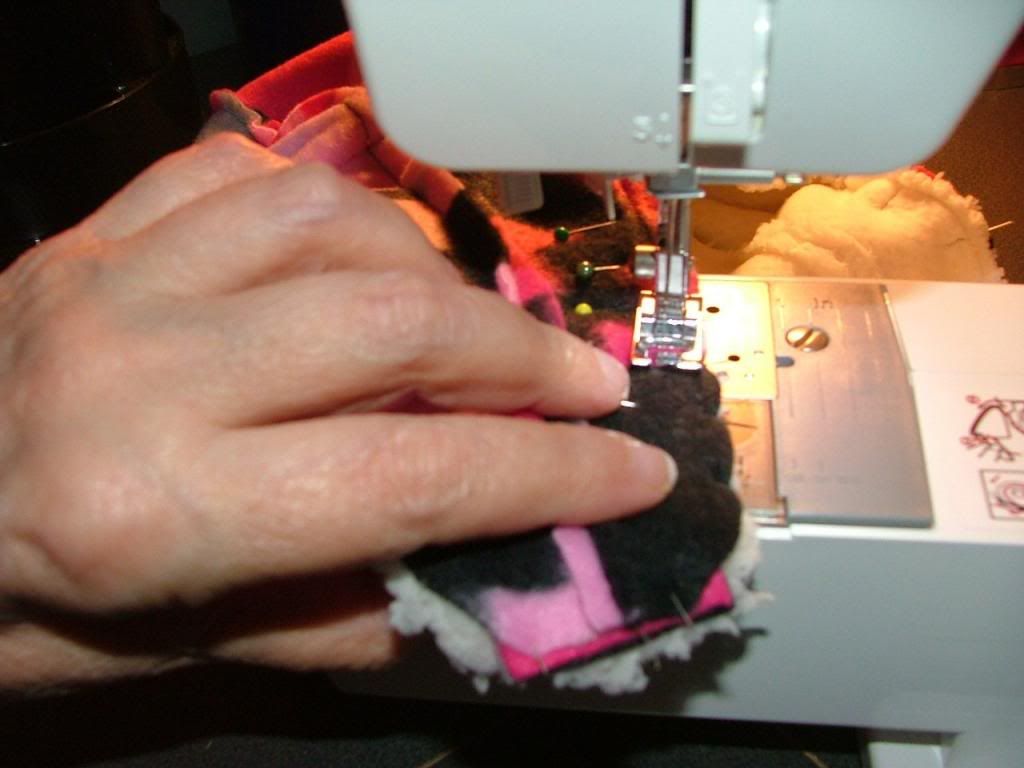
I pin the shell and lining together, right sides facing in.I pin my strips, 3 on each side, inside the hat. I sew all around the seam allowance, being extra careful not to catch my strips or flaps in the seam. I leave a three inch opening to be able to turn the entire thing right side out after I'm finished.
I turn it out and hand sew the opening closed, using a blind stitch.
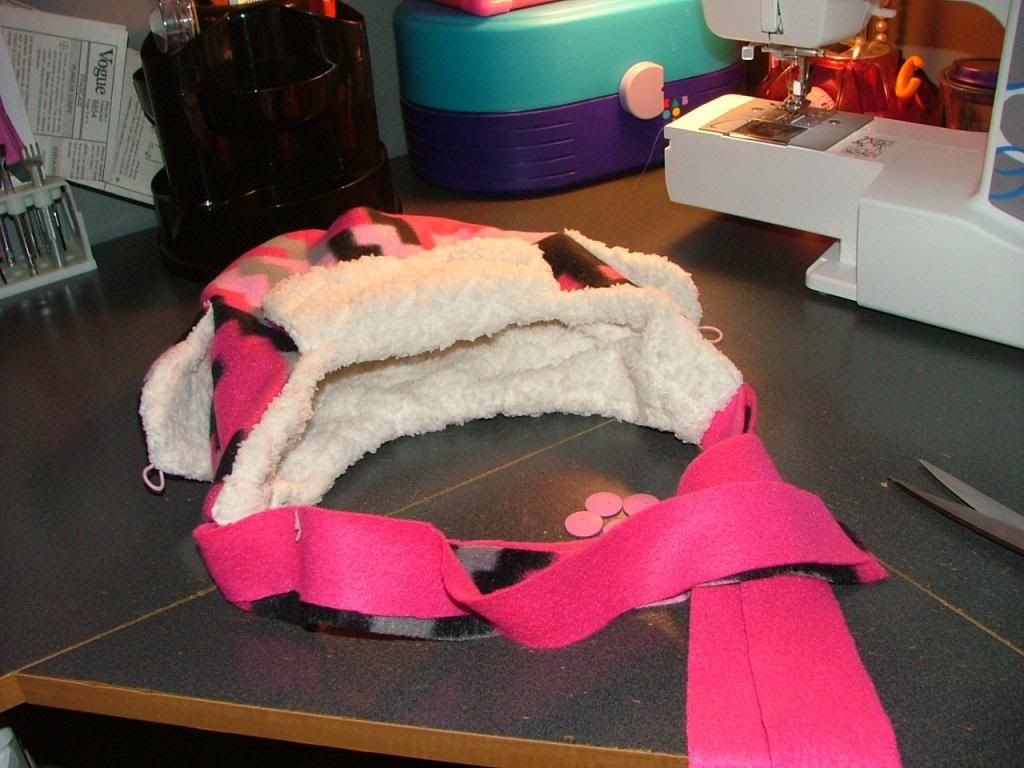
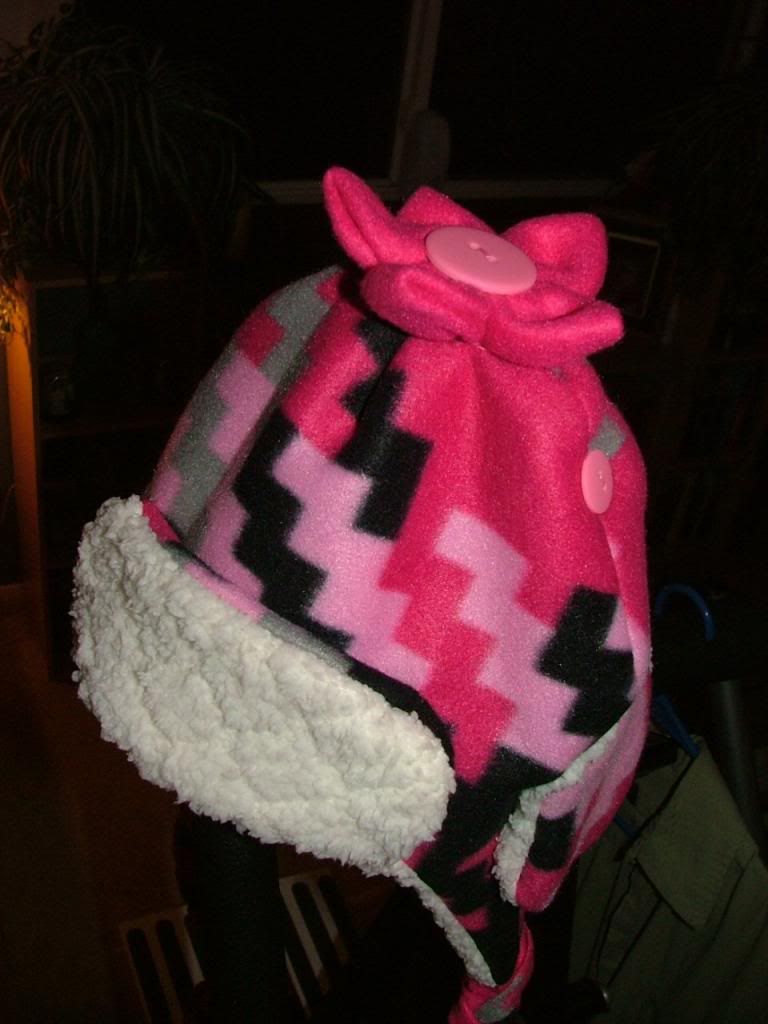
I like it so far. I braid my strips too. I need to add the buttons. But, the more I look at it, the more I think it needs something to make it more...I don't know...ME! I've got it, I know exactly what it needs!

I cut 6 three inch circles from my Pink Fleece.
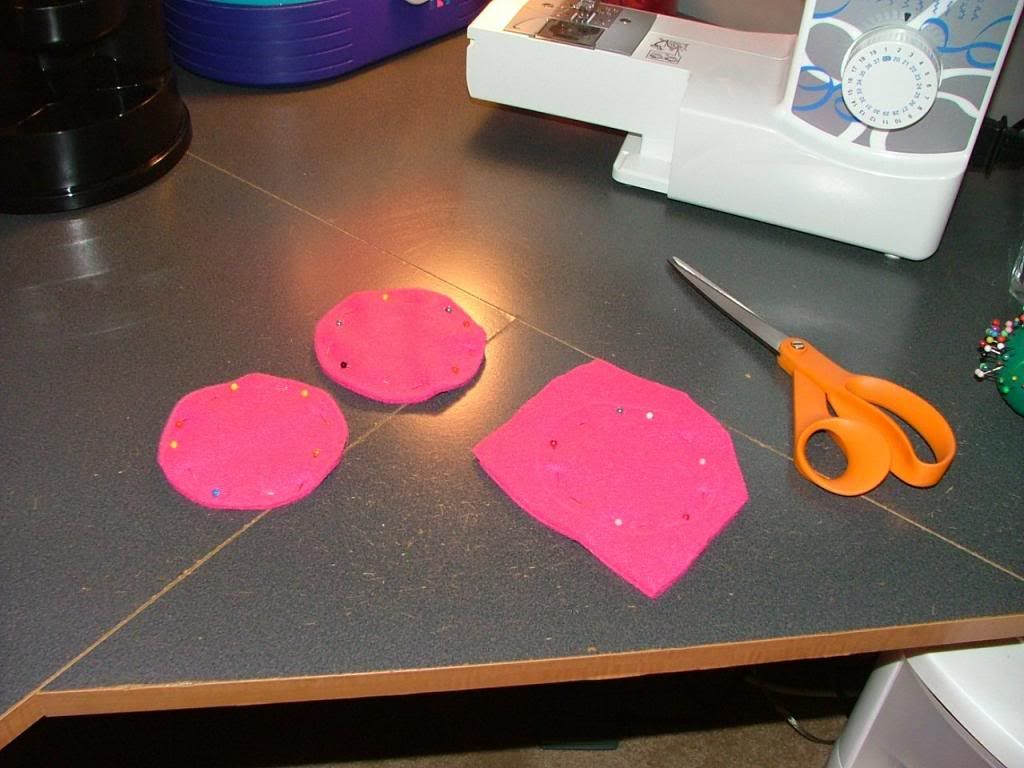
I fold them twice and baste them together on the raw edge.
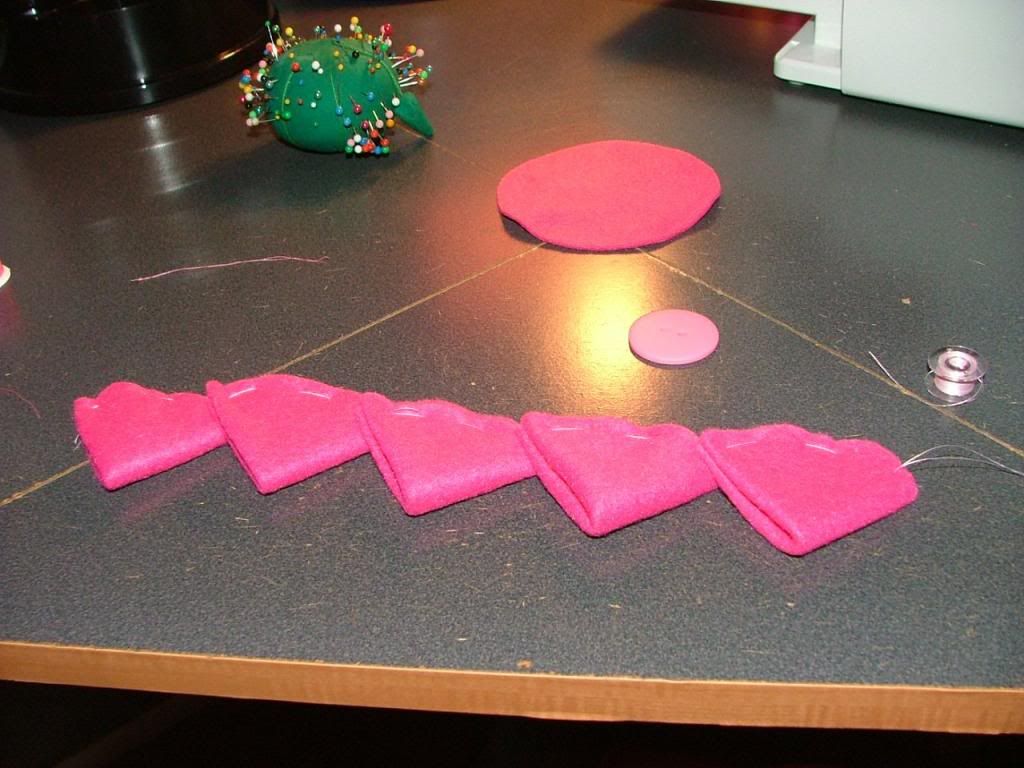
I end up using just 5. I pull my thread tight and tie it securely. I get out one more button, only BIGGER!
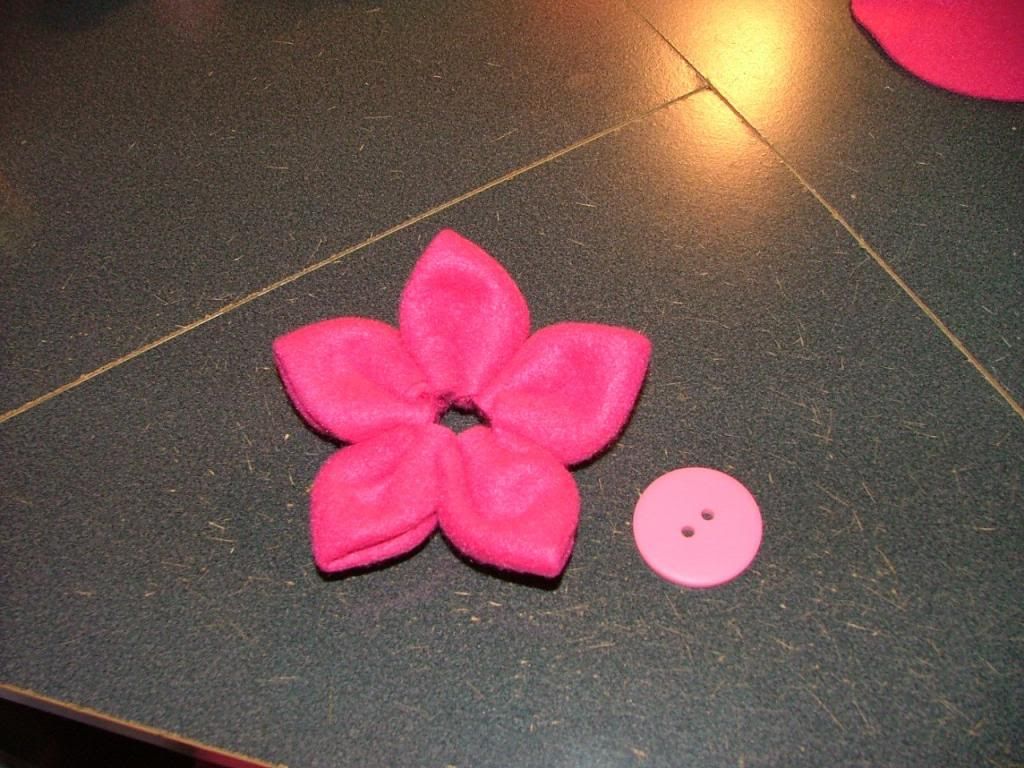
I sew the flower at the top of my hat and add the button in the center. Now, it just screams...ME! Muhahaha
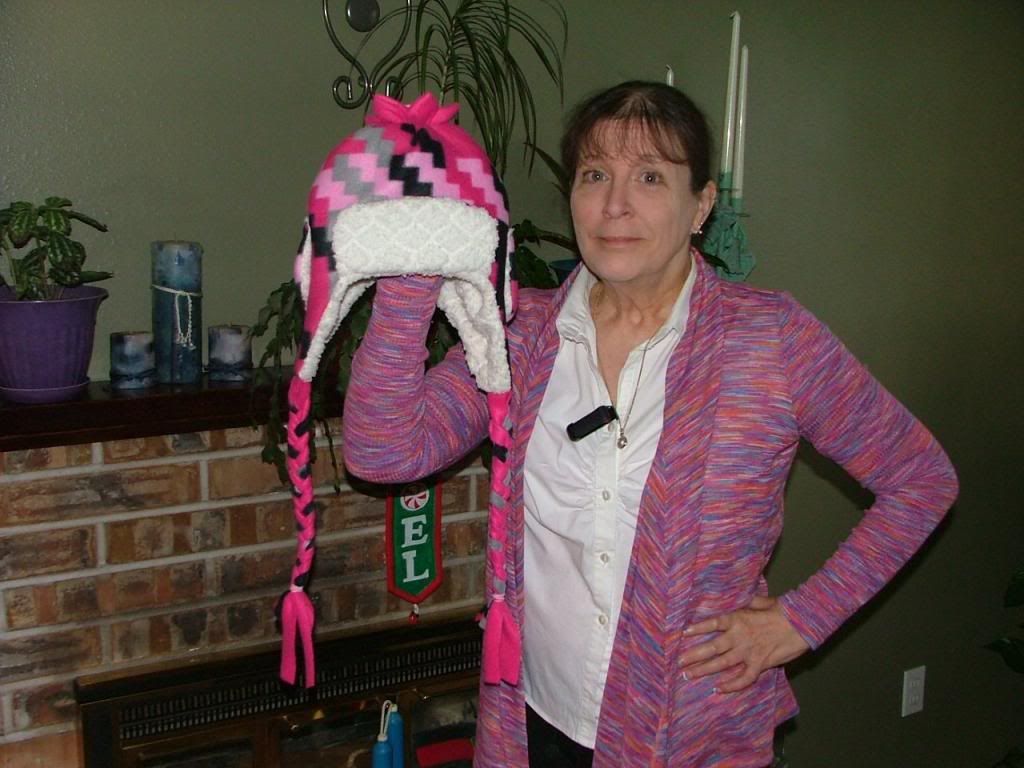
Me, with my new hat.
Me, wearing my new hat!
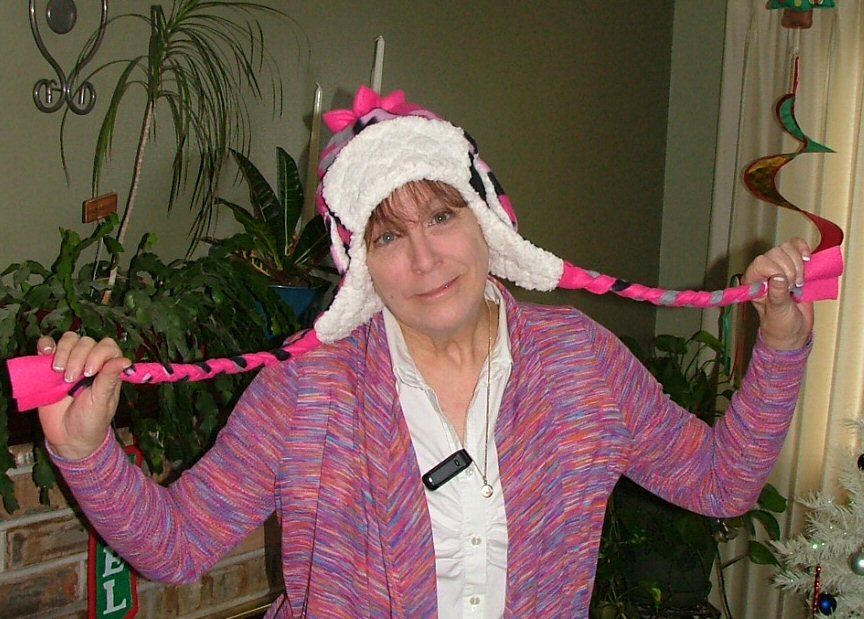
I made this hat to wear on our snowshoeing trip on Saturday. It is very warm, so warm that I might have to come out of it before the day is done. But, I now have a warm hat to wear in the snow at Stevens Pass! Yay! I love it!
This could possibly be what some of my family gets for Christmas next year! I know I'll have one in every color I want! haha Until next time.
Originally posted on December 28, 2012, by Stef. Today also happens to be my 8th Anniversary! <3
No comments:
Post a Comment