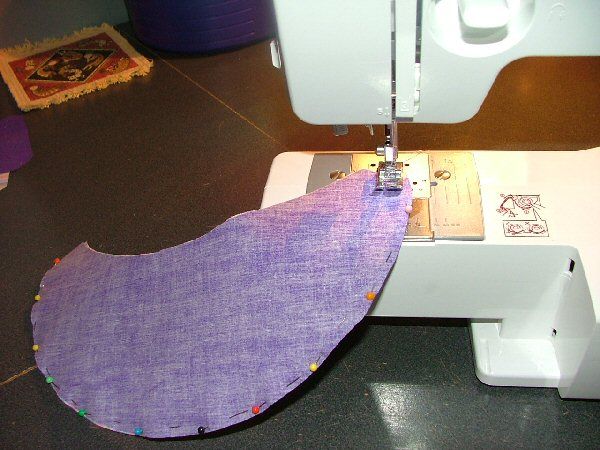
I have a Handy Dandy program that I use to design some things, hats, bags, belts etc. I can design them specifically in my size. Then I can just embellish and decorate as I feel, to make them my own style. So I created a pattern and pinned it to my fabric. This fabric is left over from making my backpack, previously!
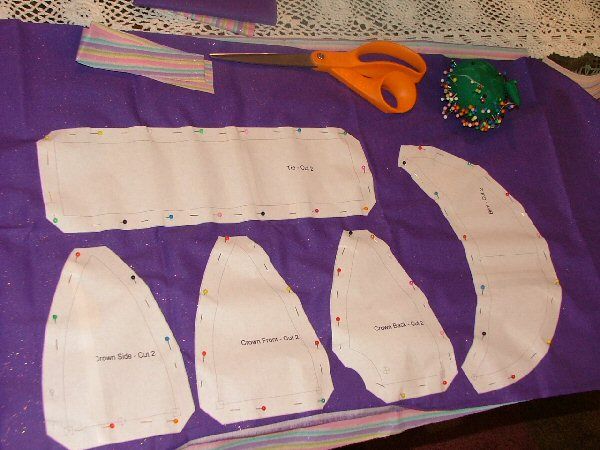
I cut out enough for a lining too. I also cut out a heavy interfacing to sew into the brim.
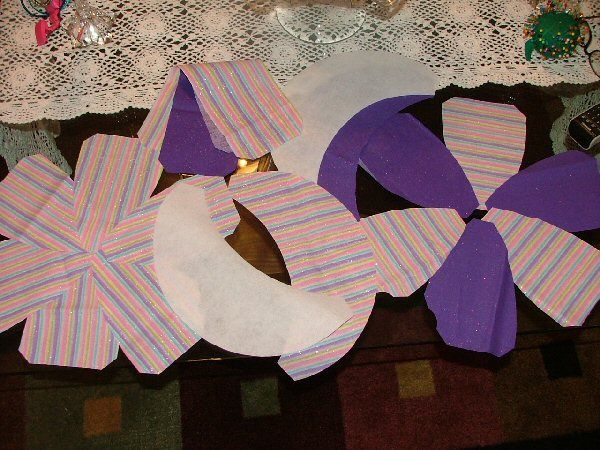
I start by sewing all my cap panels together. I make a cap and a lining.
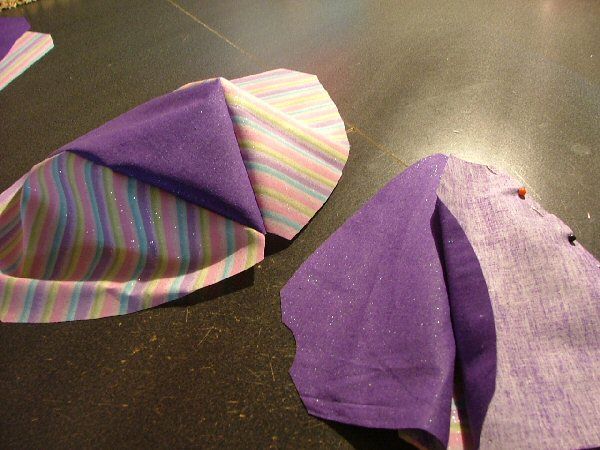
One part finished.
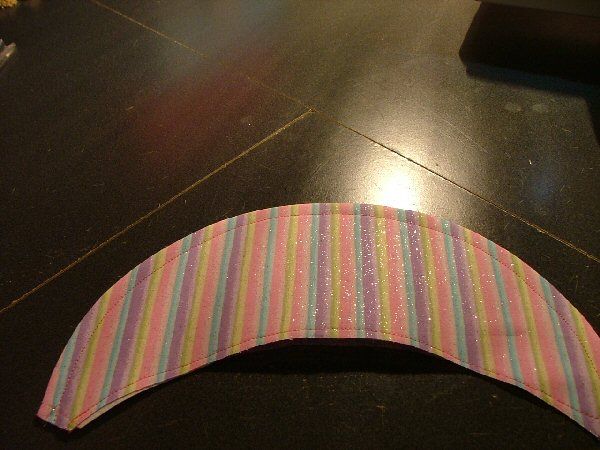
I sew my brim parts together, enclosing the interfacing inside.
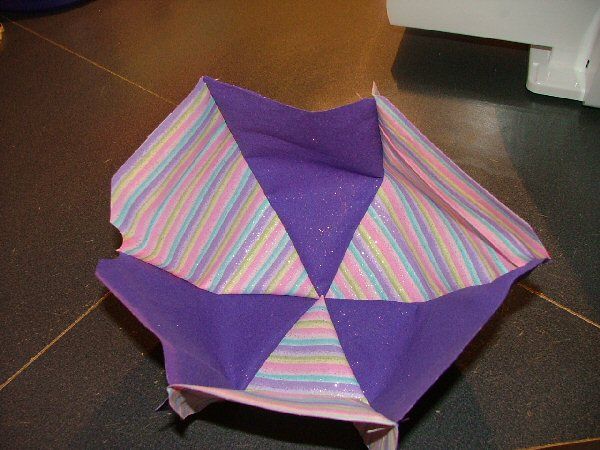
I stitch it all around to keep it all in place while I'm working with it.
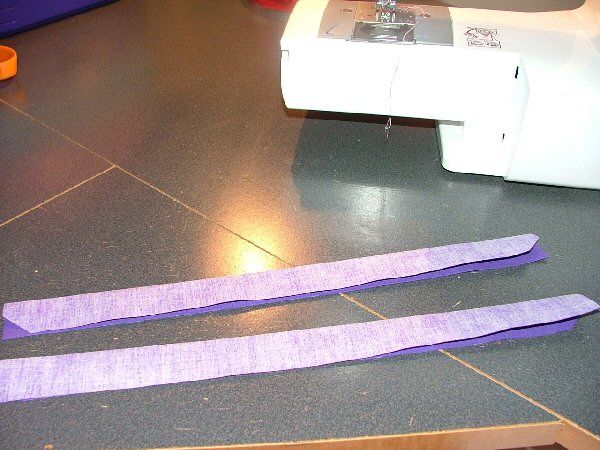
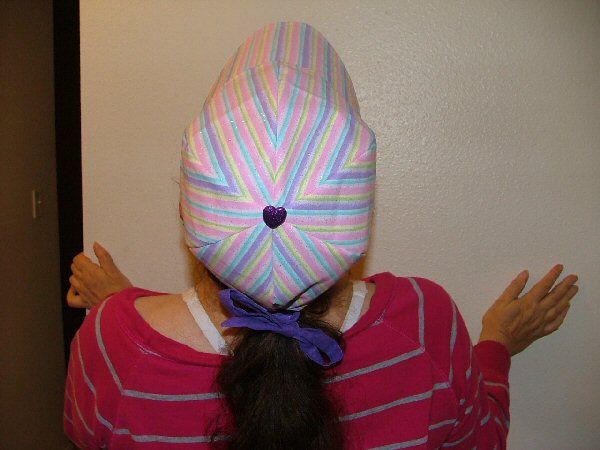
I decide I want to add a tie to the back. This way, I can tie it under or over my braid or ponytail. It will help keep my cap secure on my head, while not having an uncomfortable lump under it.
I pin all my pieces together and get ready to sew it. I leave a small, 3 inch opening so I can turn it all right side out, after I finish. I'll also sew a decorative button in the center.
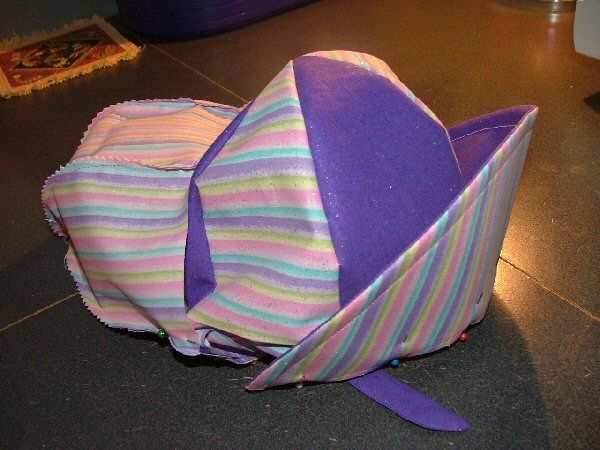
Viola! It's a cap! I love it! But, there is a little detail that I forgot to mention...
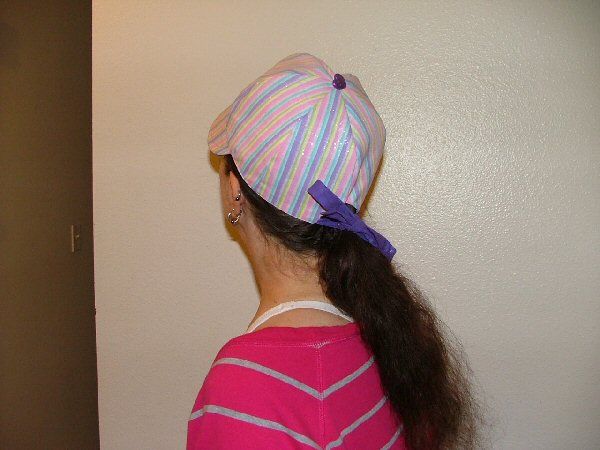
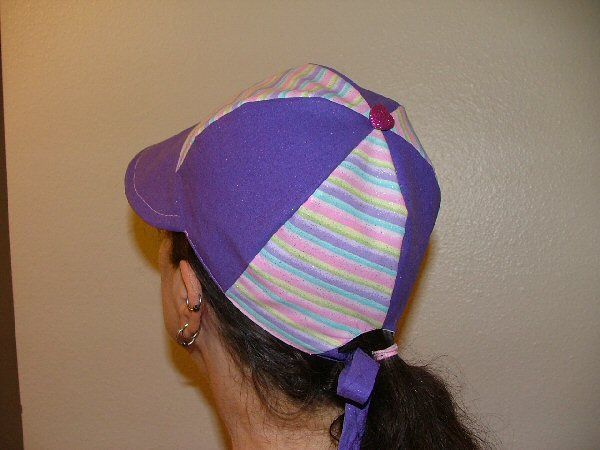
It's REVERSIBLE!!! Muhahaha

One way...
The other!
I will be wearing this cap on Saturday, as we hike the Old Sauk Trail, near Darrington, Washington. It'll be great! Think I'll make more! One to go with every outfit I sew. LOL
-Originally Posted on October 9, 2012, by Stef-
No comments:
Post a Comment