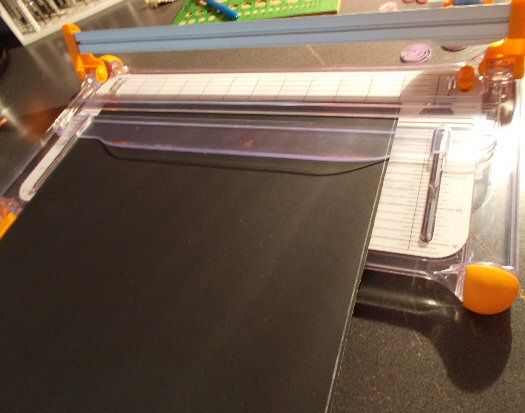
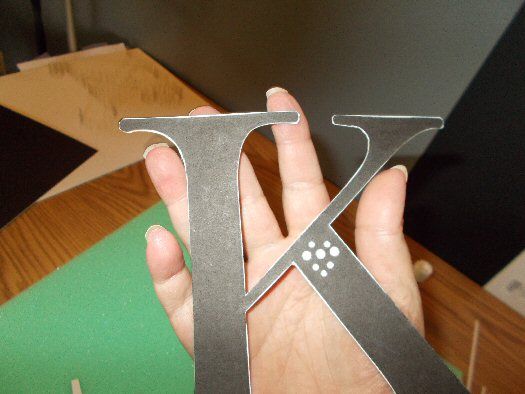
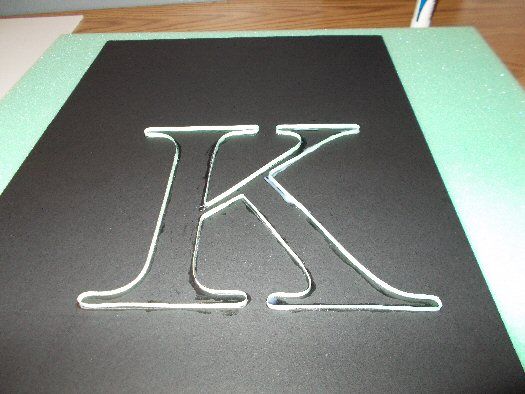
I like a black background, so I'll cut an 11x14 piece from a sheet of Black Mat board, that I have. It's thin enough to not be bulky and stiff enough to hold up. It's also very lightweight. I also found a capital K design that I like online, made a couple adjustments and printed it out!
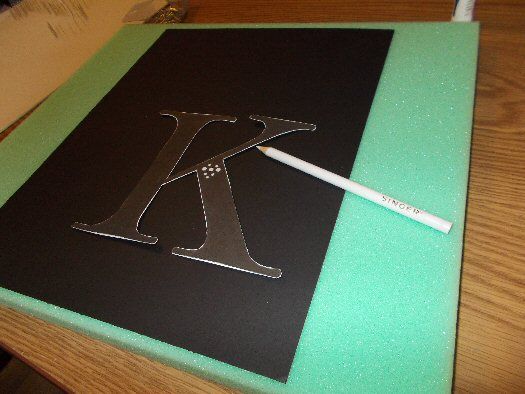
I start by cutting out my K and making a stencil from cardboard.
I use a white fabric marker to draw the outline around the main part of the K. I'll add scrolls, squiggles and things later.
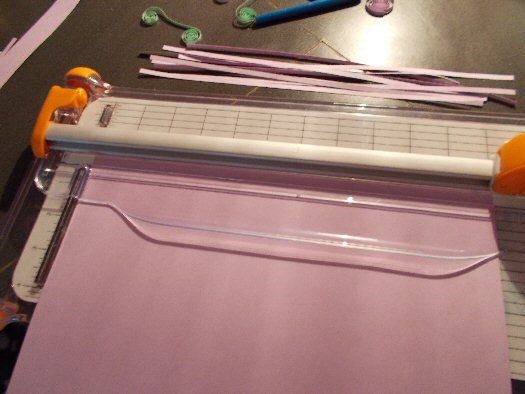
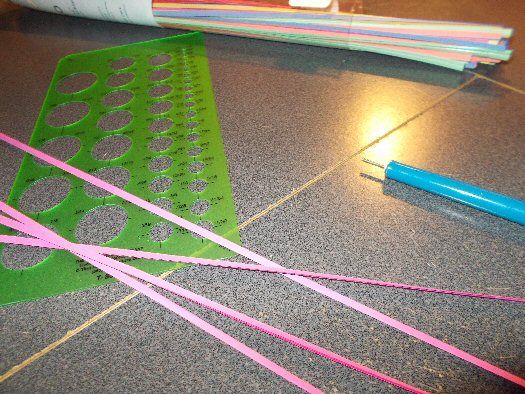
I need to add paper around the outline. I use some pre-cut quilling strips and I cut some of my own. The pre-cut do not always have the exact colors I'd like. I can get card stock in an endless amount of colors, it's perfect!
Now I start adding quilling paper in green, using a bit of "Tacky Glue", making sure to hold it in place long enough for it to stay. It just take a few seconds.

The entire outline is finished. That is all I need done. Later, I'll add some scroll work at various points, just to make it a bit more pleasing to my eye.
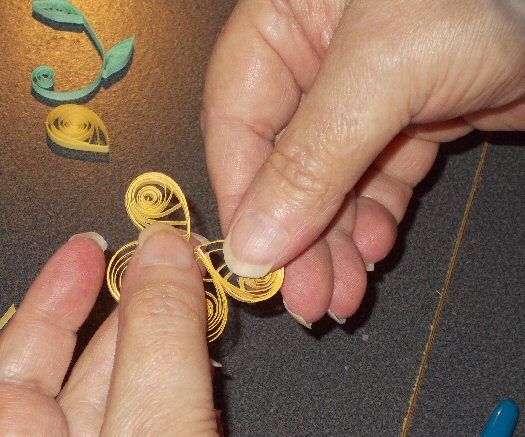
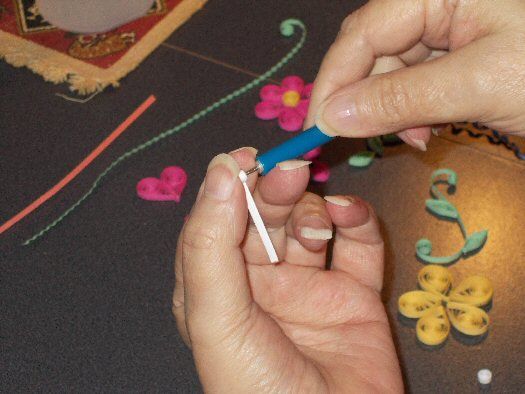
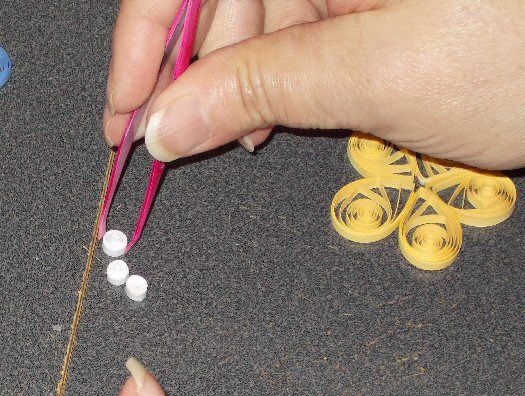
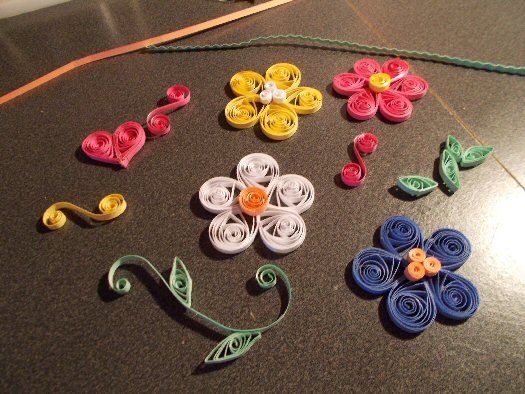
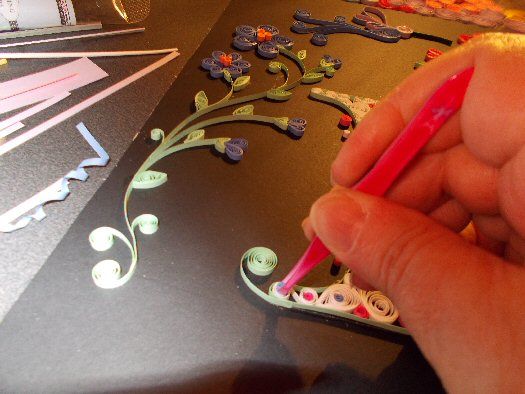
While I let the outline dry completely, I can make a bunch of pieces that I may use in my picture.Ok, I made a ton and I probably won't use a lot of them. But, being my first attempt at quilling, practice is good!
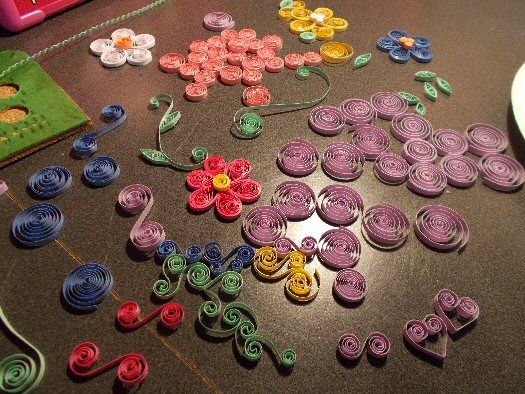
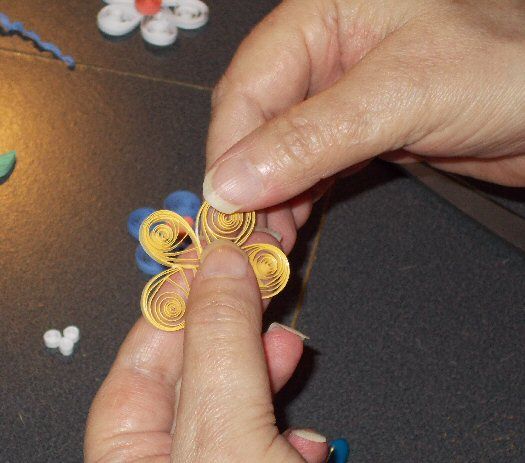
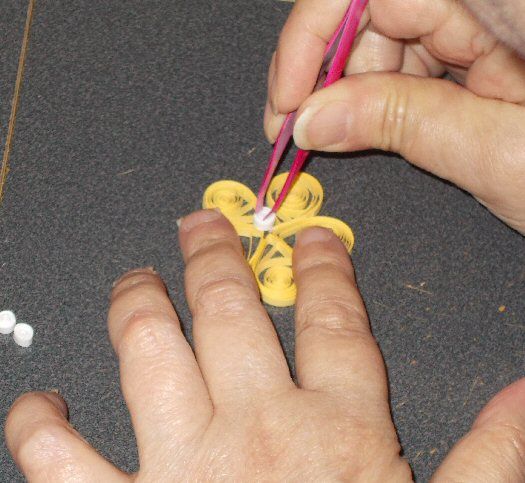
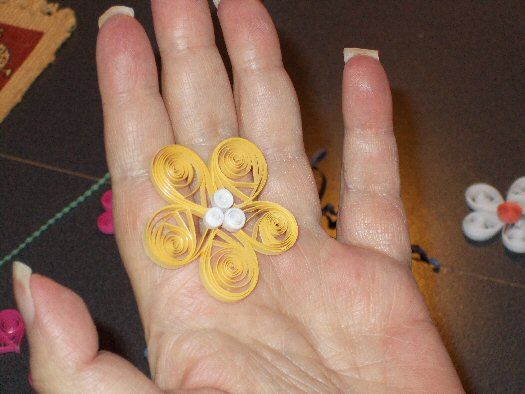
I'll start creating some things that I might use. This is the process of making a flower. I decided against using any yellow in my picture.
 ...
... ...
... ...
... ...
... ...
... ...
... ...
...I'll make some more flowers in various colors, vines, leaves, scrolls and other things.
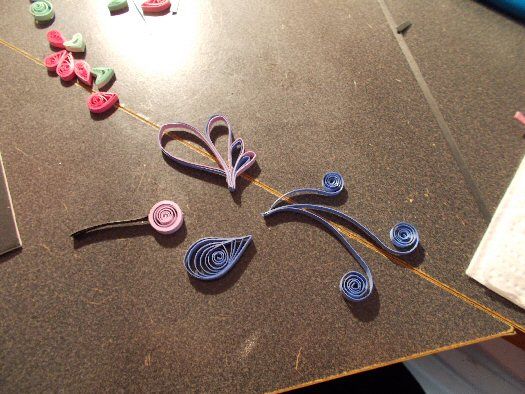
My mom told me she loves hummingbirds. I think I can create one so I start making pieces that I can put together to make one. I also make the pieces to make vines, leaves and dark pink flowers and buds.
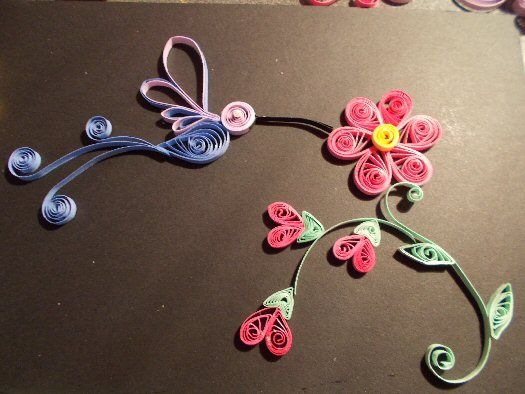
I piece my parts together to see how I like the look. There is no turning back now! Here comes the glue! Hey! It looks like a hummingbird to me! I do believe I'm getting the hang of this!
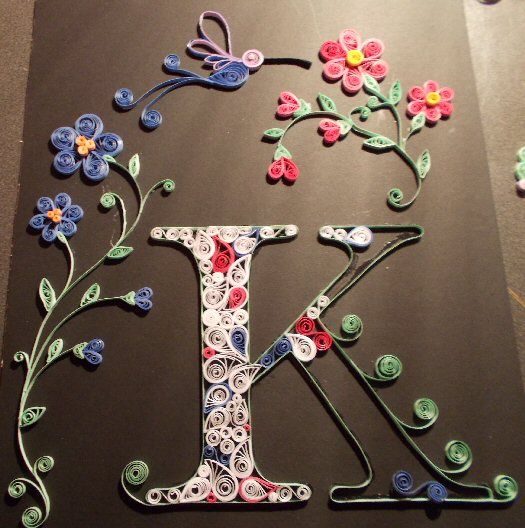
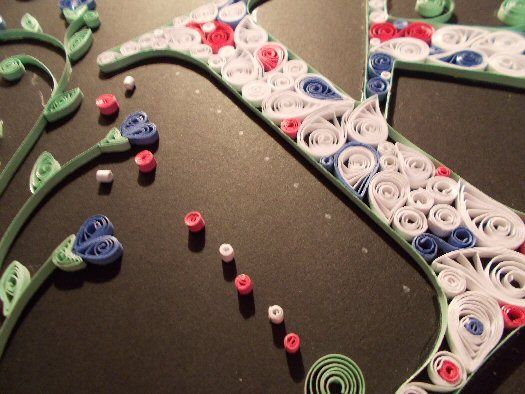
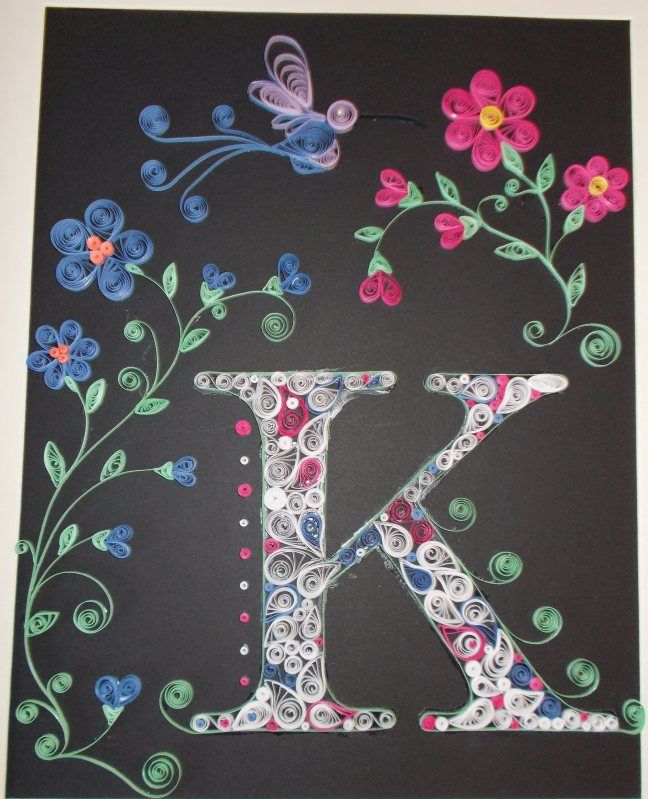
I start filling in my K and begin making vines, leaves and blue flowers up one side of my picture. It was pretty empty there and needed something. I fill the K in with mainly white and add blue and pink in random places to match the flowers.
I continue filling the K up, making most of my parts as I go. I also add some scrolled tendrils coming off the side, for no other reason than it looked bare to me. I like it though. Good thing because it's glued in place! haha
I make some accent pieces in pink and white.
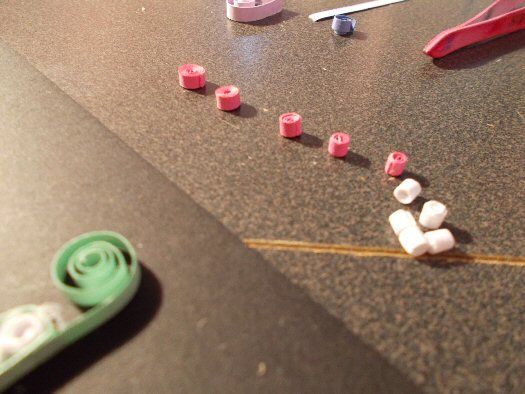
I measure and use my white marker to place dots next to the K. I'll glue my accent pieces here.
I just want to add a few details here and there, a few more scrolls, buds, dots. I add definition to my hummingbirds wings and give him a chest, abdomen and another tail feather. I glue a tiny seed pearl in place to give him an eye! I like him better now.
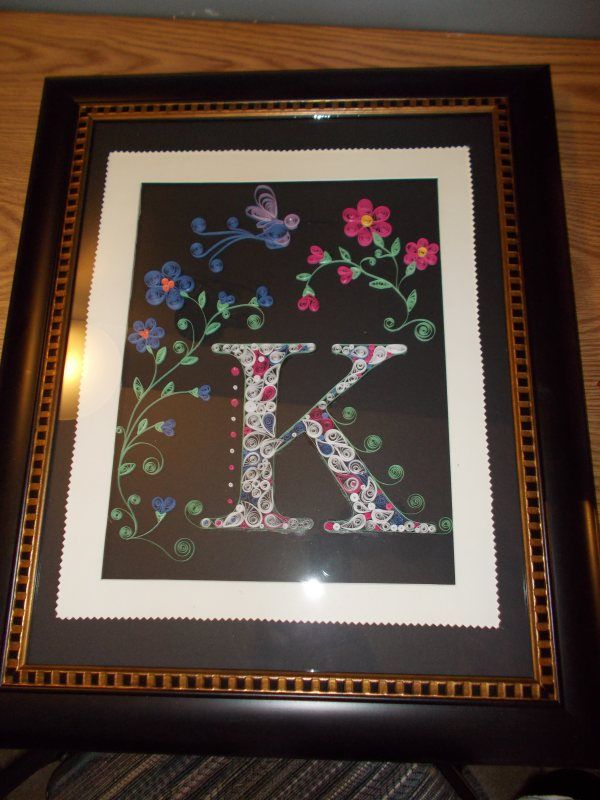
I cut two mats, one white, one smaller in black with zigzag edges. I might change it before I mail it, I'm not sure. I mount it in a nice 16x20 frame I bought last night. My picture is 11x14 inside the mats.
I sure hope my mom likes it. She gets the 'Rookie" made picture. I have already decided on my next project. I'm going to make three filigreed, quilled, Faberge type eggs for my fireplace mantle. They'll be various colors and sizes, but cohesive. I can't wait to start, I can see them in my head now! Until next time!
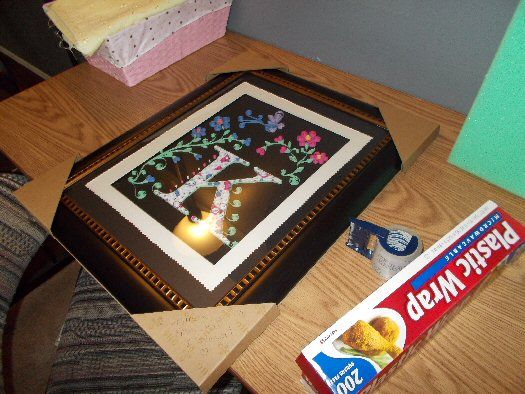
Update, Saturday, July 21, 2012: So, I finally got around to getting mom's gift ready to send. I cleaned the glass and made sure there were no fingerprints on it. I put it back in the frame's original packaging. Then I got some Cling Wrap out and wrapped the entire thing, to make sure it was still print free when she receives it.
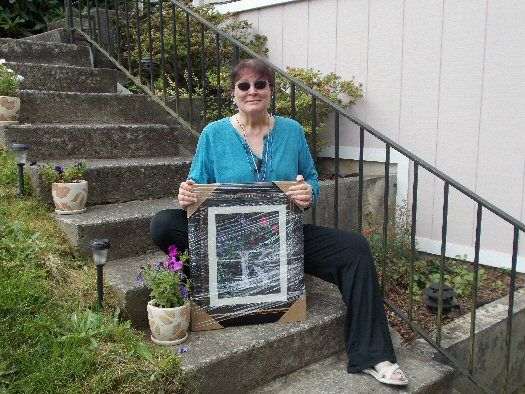
I carried it outside and down the front steps.
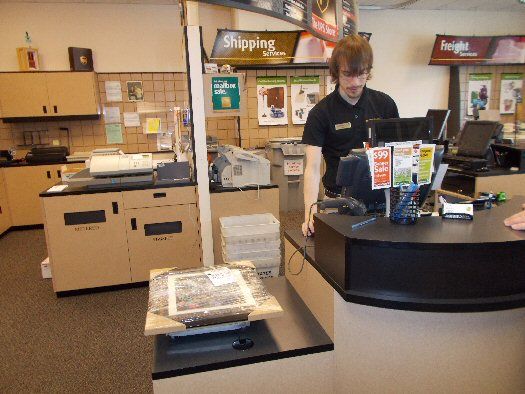
Drove to our friendly, neighborhood UPS store...

The nice guy inside took it and assures me that they will package it so carefully, that nothing will happen to it. He didn't even mind that I kept snapping his picture! haha It's insured anyway. I am going to trust them!
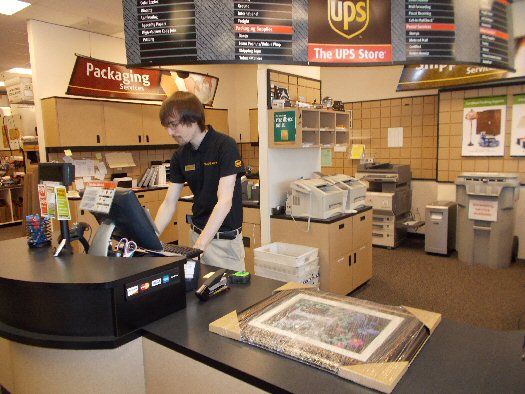
It's weighed and tagged. This is the last time I see it. I sure hope it makes it to mom in one piece. It will take until Monday, the 30th to make it there. Next stop, Perryville, Arkansas!
Originally posted on July 16, 2012, by Stef
No comments:
Post a Comment