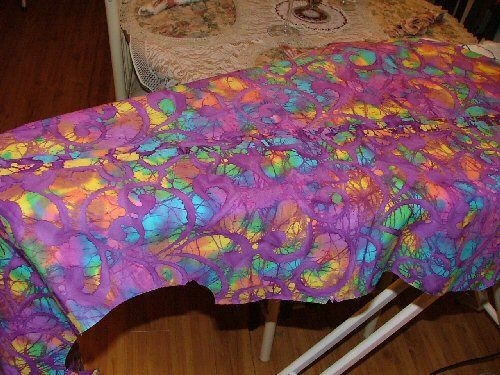
I decide on a bright, purple, tie-dyed print and a blouse pattern, Butterick B5786. Now to decide which I like best. I like both View A, shown in yellow and View B, shown in blue on the pattern.
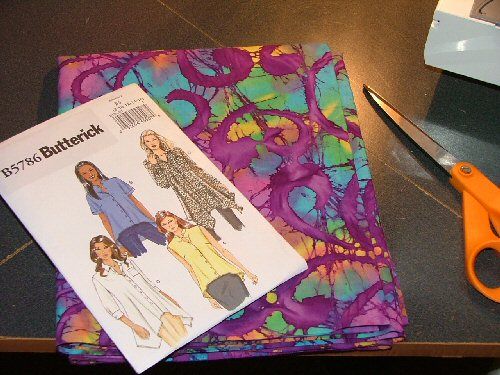
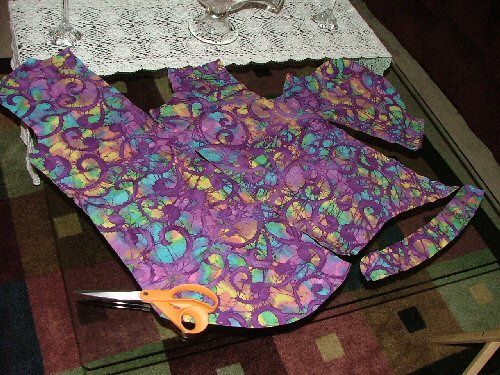
I choose View B with short sleeves and a shaped hem that drops in the back. It also has a collar band, instead of a traditional collar. I pin the pattern to my fabric and cut out the pieces. I also cut one piece of interfacing, for the collar band. This will be a simple blouse to sew, there are only 4 parts.
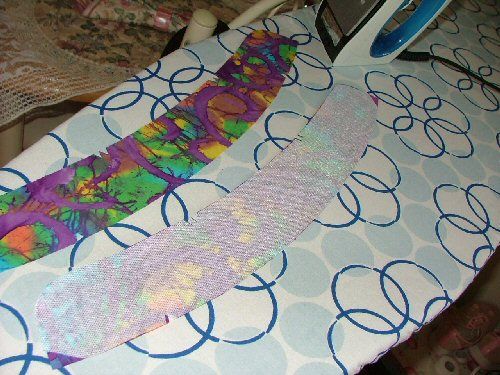
Now the fun part begins, the construction! I'll start by attaching my interfacing to my collar. I am using fusible interfacing, so I just iron it to the wrong side of one of my collar pieces. I'll set this aside and work on constructing the blouse. I'll come back to the collar later.
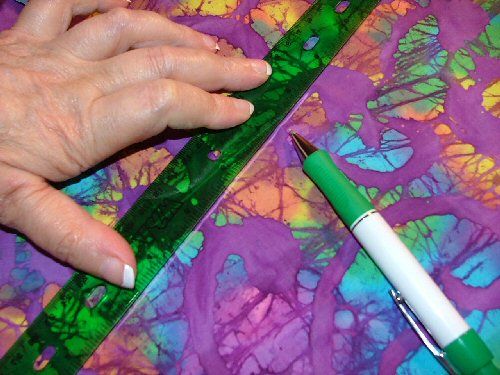
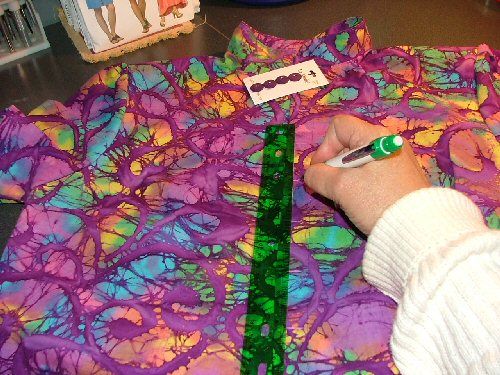
I'll start with the front, since it is the most involved part. I remove my pattern from the fabric and make sure to mark all guides, to make it easier and more precise. I mark my darts, using a ruler.
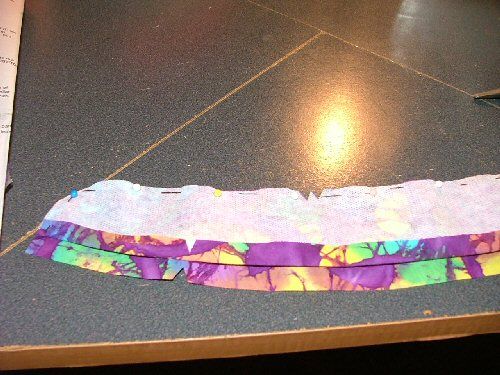
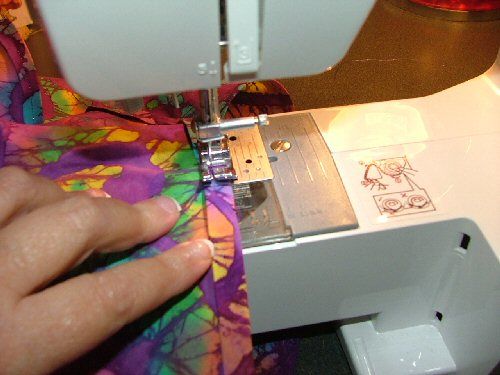
Starting the front. First, I'll fold and press my front allowances. This is where my buttons and button holes will eventually be. I'll sew a decorative stitch around the entire area.

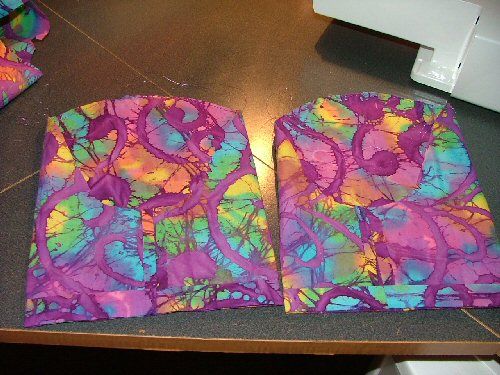
I stitched the entire area with a bright metallic purple thread! I love it. Next, I sew the back together, at the center seam. I then sew the front pieces to the back, at the shoulder seams and then the sides.

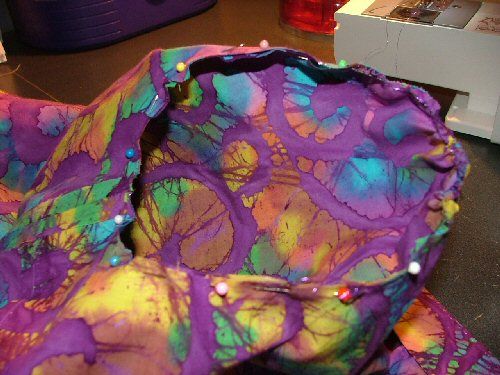
I take it to my ironing board and press all seam allowances down. I use a tiny bit of fusible web to secure it all.
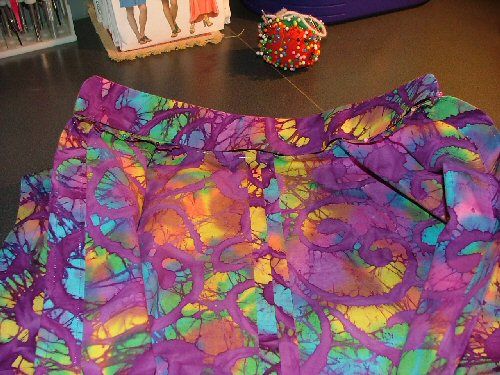
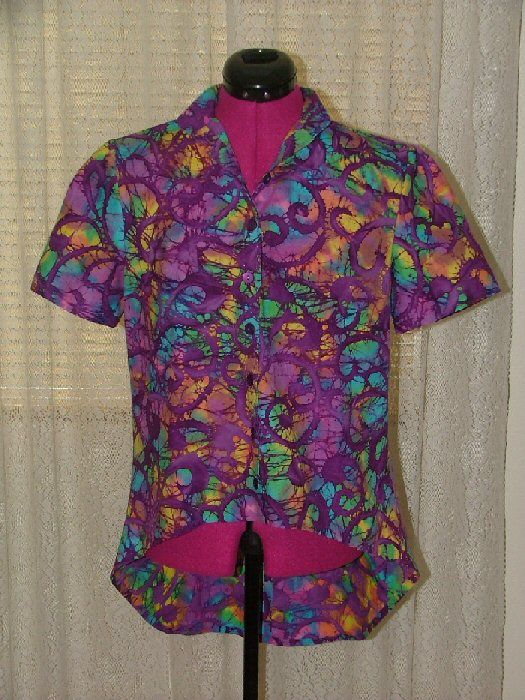
Almost finished garment. I still need to make and attach the sleeves and collar. Then, I'll hem it and make button holes and sew on my buttons. I like it so far!

I create my collar and get it ready to attach to my blouse.
I pin it in place and sew it in.
I sew my sleeves to get ready to add. I hem them before I sew them in place. It just makes it easier, than hemming them after they're on the blouse.
Then, I pin each sleeve in the arm holes and sew them in place.
Before I start button holes and buttons, I press my hem allowance and hem the entire bottom.
I mark my button holes...
Then, I make them, using my machine. I remember when I used to make button holes with a needle and thread. This is so easy, compared to that!

My finished buttons.
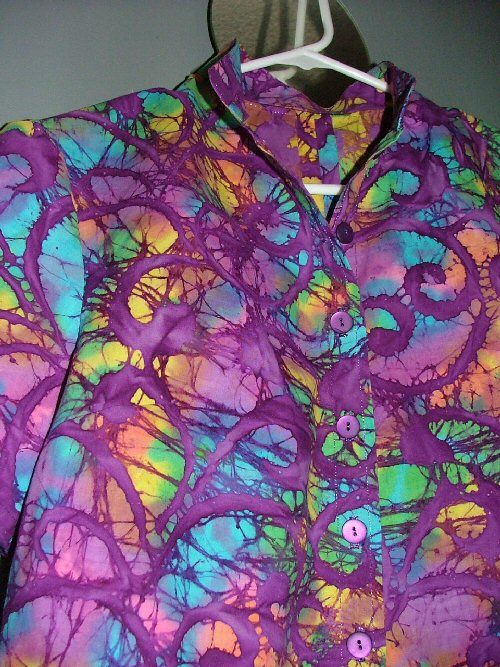
My finished blouse. I'm not sure what I'll wear it with. Several colors will match!
I visited JoAnn Fabrics last night and purchased several new patterns and restocked my Fabric drawer. I think I'll make a dress next, to wear with the BEAUTIFUL sweater that my wonderful Rick is crocheting for me!
-Originally posted on November 17, 2012, by Stef
No comments:
Post a Comment