Thursday, March 21, 2013
Thank Heaven for Little Girls
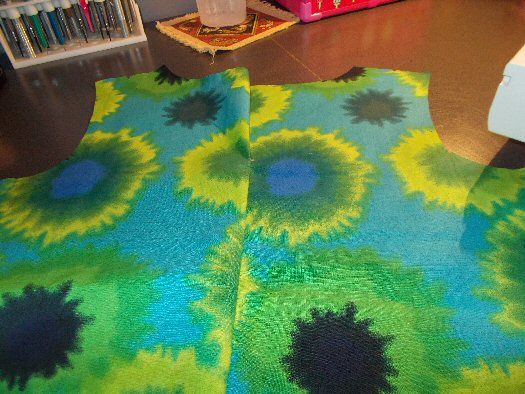
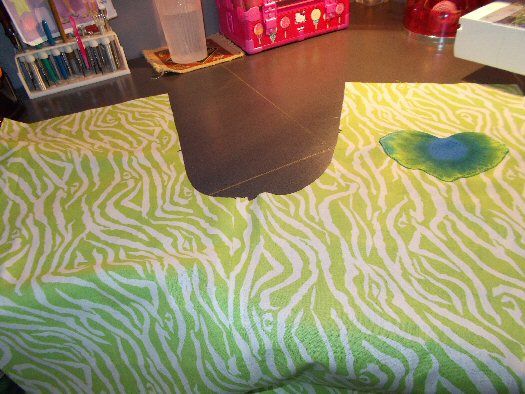
Starting, my pattern is cut out and ready to start sewing.

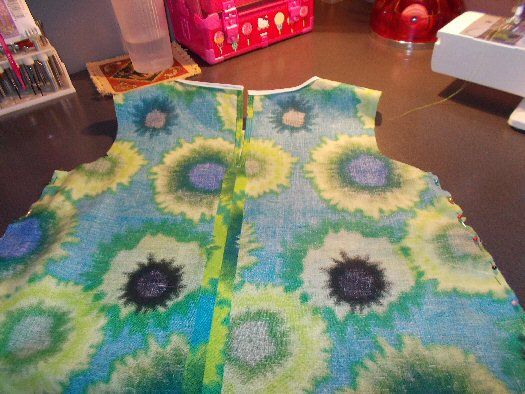
The first thing I do is sew the back halves together, creating a center back seam. I'll iron it flat and secure it with fusible webbing. Then, I set it aside and work on the front.
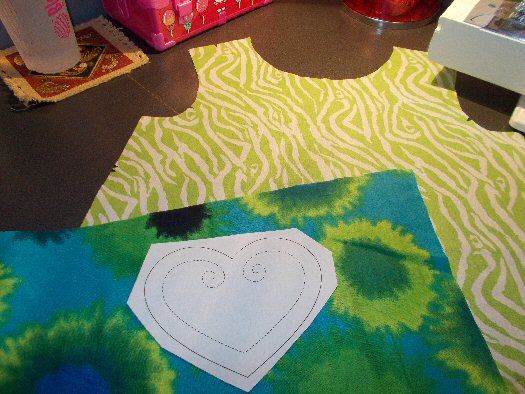
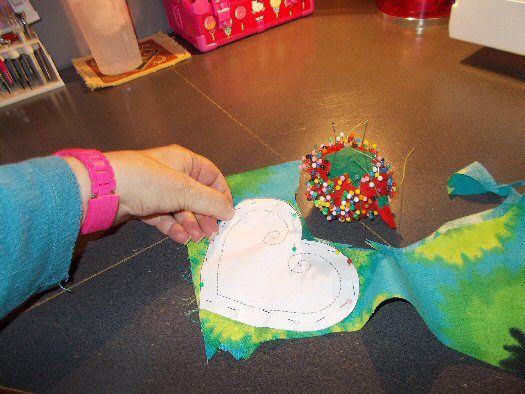
My pattern does not call for one, but I think the front looks a little bare. I decide to make a pocket for it. I think I'll go with a heart shape. Easy enough, I just grab a heart off my PC and print it in the size I want.
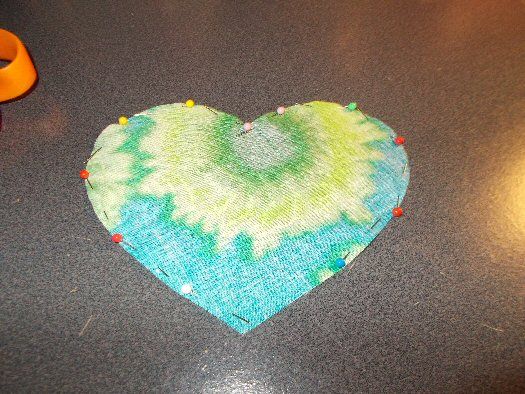
I cut two. Then, with right sides together, I pin and sew it around the edge, leaving a small opening. I turn it right side out, straighten the seam and iron it flat. I'll mark the position I want it on my shirt front and sew it in place.
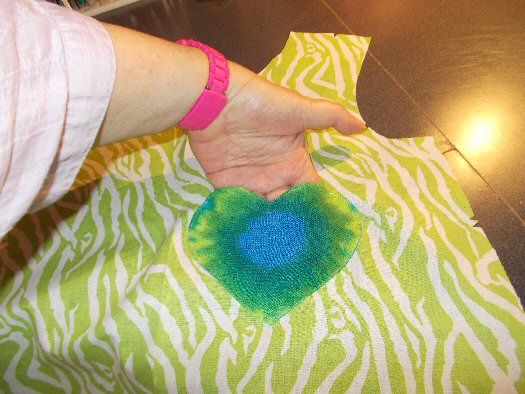
It's a Pocket! Now on to actually making the shirt!
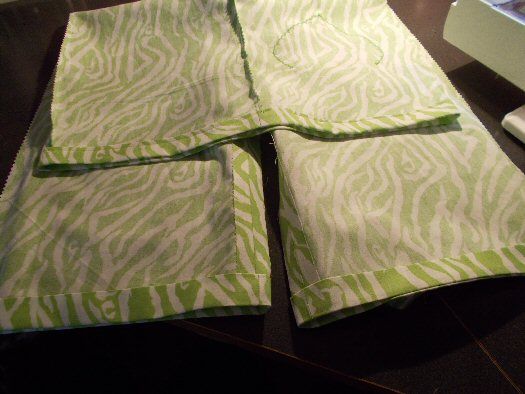
I attach the front to the back at the shoulder seams.

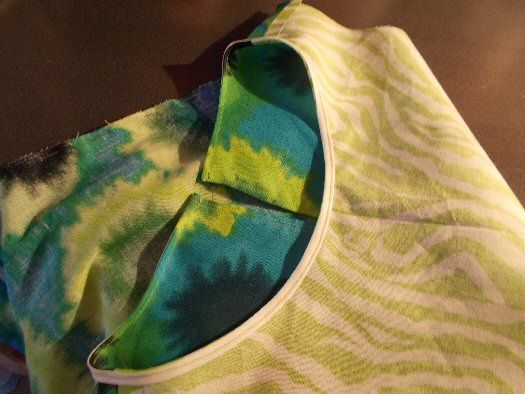
Then, using a bias tape, I finish the neck opening.
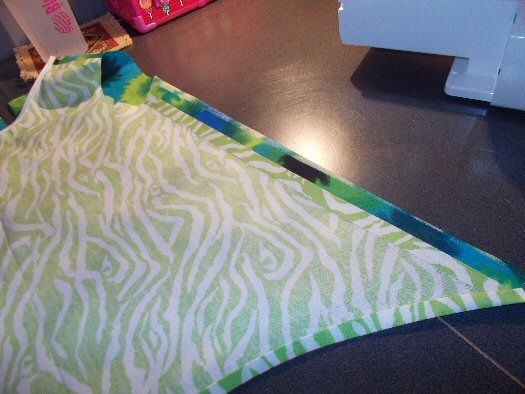
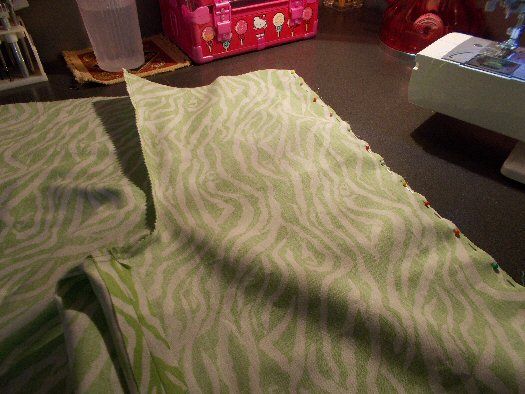
Pin and sew the side seams.
And, of course, I iron my seams flat and add fusible webbing. At this point, I also iron and sew my hem.
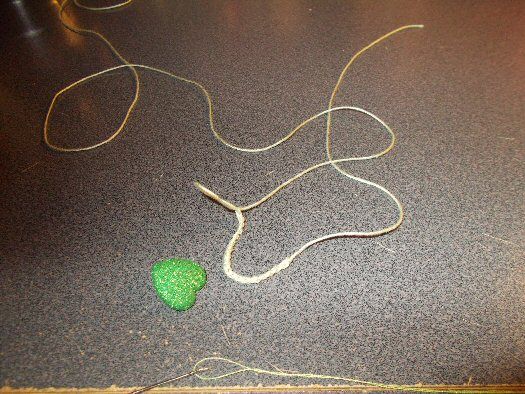
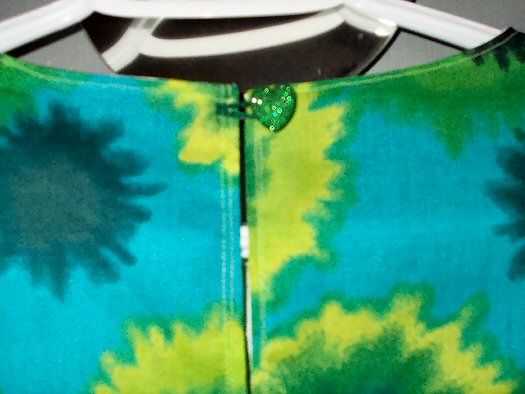
I added a heart to the front, so the closure in the back may as well be a heart button to keep with the "Heart" theme! I changed my mind on the color at the last second and used a dark green embroidery floss instead of the light green.
Ooooooh Shinies!
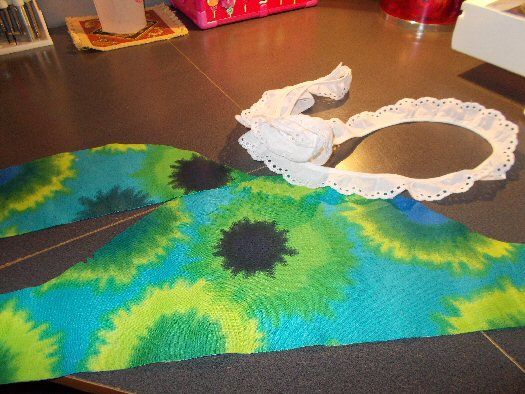
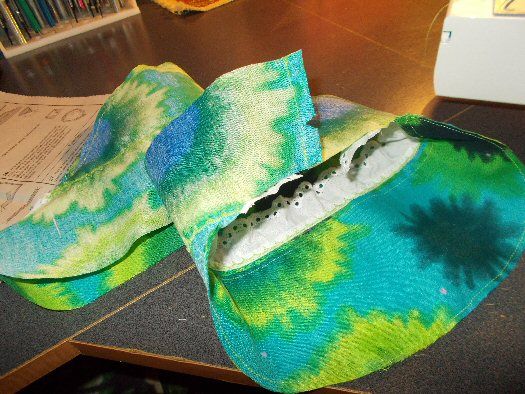
All done, except the sleeves, which will be the most work on this entire shirt! I gather my sleeve pieces and some pretty eyelet lace trim.
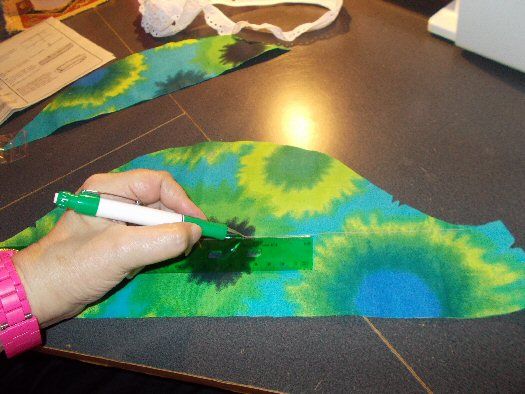
They will have a main sleeve and a 'Cap' above it. I mark the main sleeve to add my eyelet.
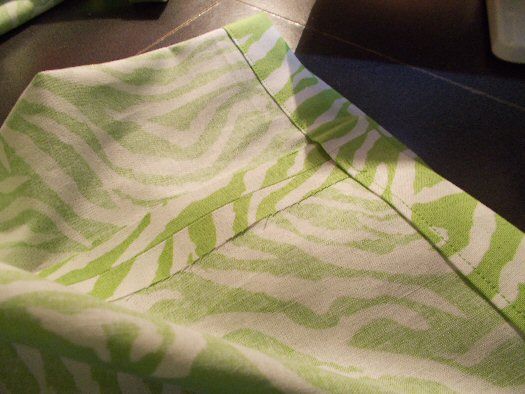
I pin it in place and then sew it with a decorative stitch. My new favorite stitch on my new sewing machine...
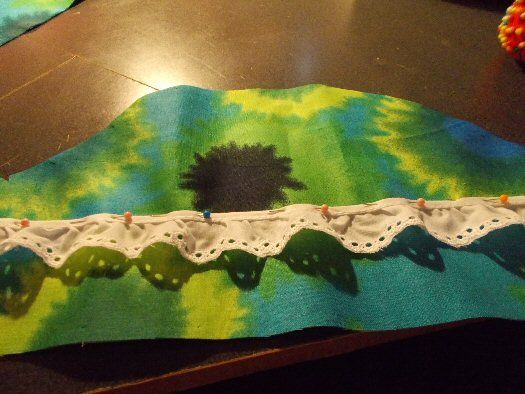
...is this 'Scallop' stitch. I just love how pretty it is and it really spruces up an exposed seam!

I hem and baste the 'Cap' in place and then stitch the seam to create the completed sleeves. Now, all I need to do is gather them, pin them in place and sew them in!
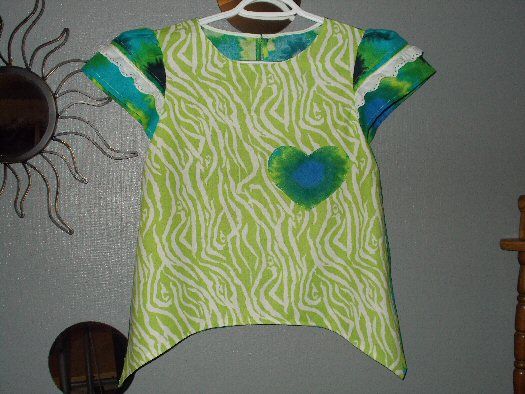
Not too shabby, if I do say 'sew' myself!
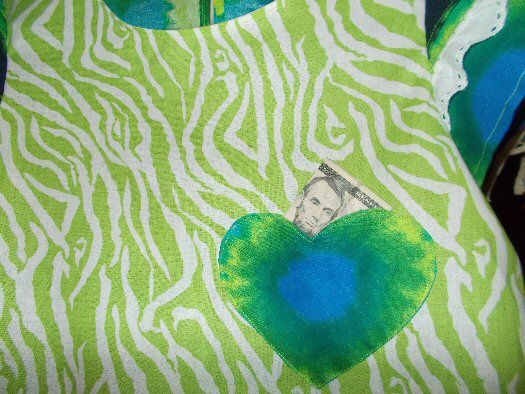
I tuck a little surprise in the pocket so she'll find it when she gets it.
Starting the pants. First thing I'll do is make a pocket to match the shirt. Neither part had a pocket, I just like adding them!
I sew the pocket on the right butt. Then, I sew the inseams.
After the inseams are done, I sew the front to the back at the crotch and then the side seams.
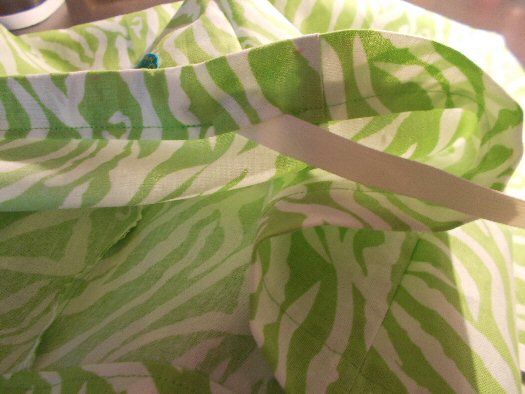
I create casings to enclose elastic, at the waist and bottom of the legs.
I leave a couple inches open to allow me to thread the elastic through.
Of course, I use safety pins. Is there another way?
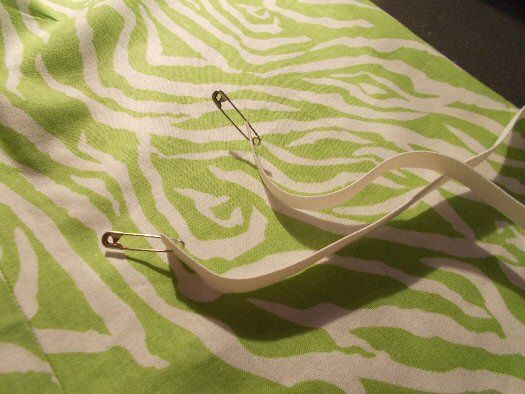
I thread the elastic through all three openings, sew the ends together and close the gap.
Only thing I need to do now is iron them.
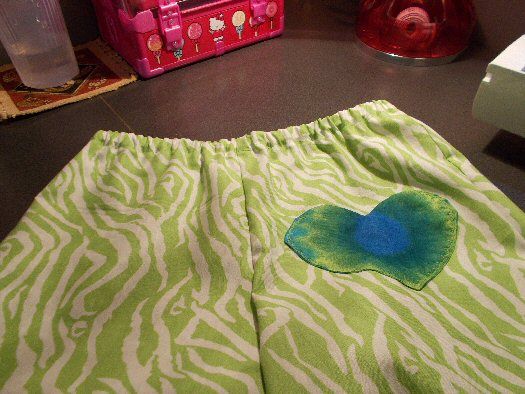
The finished front.

The finished back.
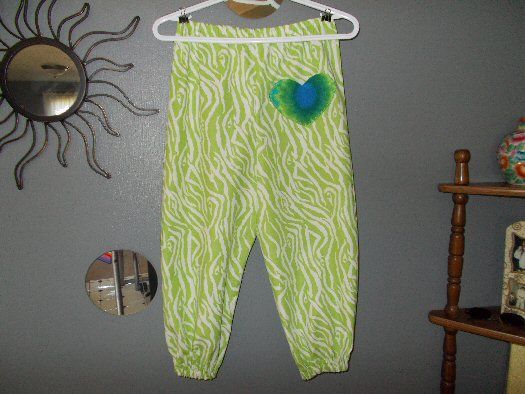
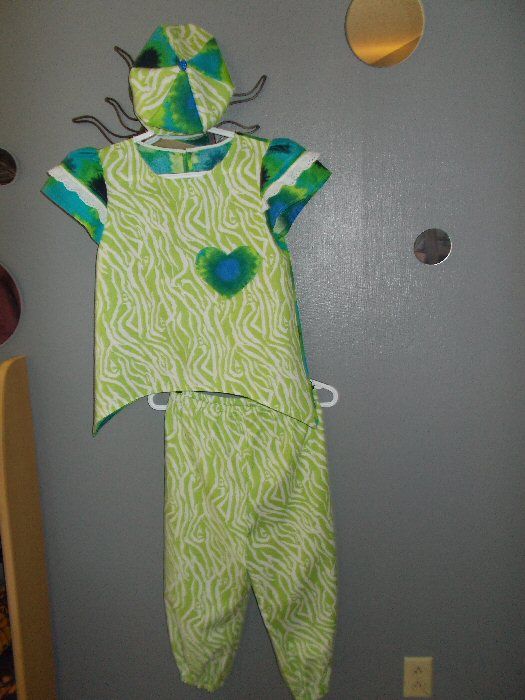
The completed outfit. I hope Ashlyn likes it. I'll add a picture of her wearing them after she receives the package. I need to package the clothes and head back to the UPS store. They are beginning to recognize me when I walk in the door!
To see the dress that inspired this outfit, click HERE!
Subscribe to:
Post Comments (Atom)
No comments:
Post a Comment